Download
1 / 12
120 likes | 219 Views
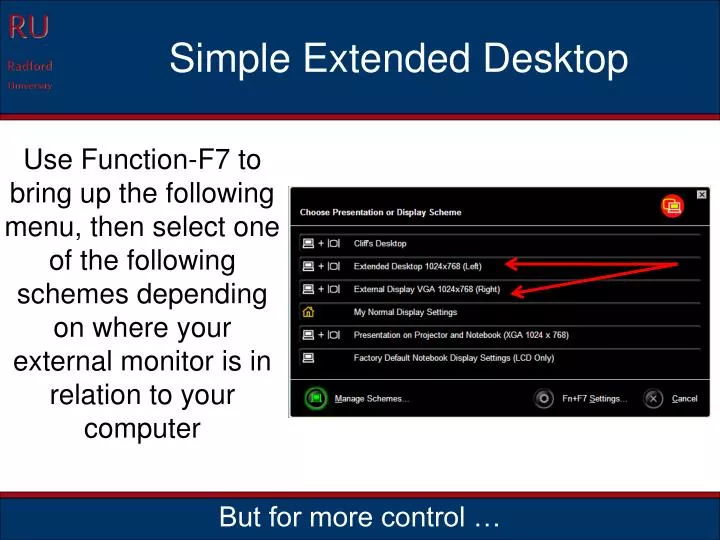
Simple Extended Desktop. Use Function-F7 to bring up the following menu, then select one of the following schemes depending on where your external monitor is in relation to your computer. But for more control … . Extended Desktop Customization.

E N D
Simple Extended Desktop Use Function-F7 to bring up the following menu, then select one of the following schemes depending on where your external monitor is in relation to your computer But for more control …
Extended Desktop Customization Use Function-F7 to bring up the following menu, then select “Manage Schemes” at the bottom Step 1 of 10
Extended Desktop Customization When you get to this screen click the “New” button to create a custom extended desktop configuration Step 2 of 10
Extended Desktop Customization A wizard is invoked that will walk you through the steps you need to customize your extended desktop scheme; Click Next Step 3 of 10
Extended Desktop Customization Make sure both checkboxes are checked. Check the radio button that you prefer here; it is more useful to extend your desktop rather than merely mirroring it. Then click NEXT Step 4 of 10 Here you may have a choice for a digital connector, so choose that if you connect to your monitor with a digital cable (i.e. not VGA)
Extended Desktop Customization Set your resolution for each monitor separately here Select the position here If you want to work from the LARGER monitor then click the bottom radio button (recommended) Step 5 of 10
Extended Desktop Customization Once you have selected your settings hit the TEST button and follow the test on your screens; if all went well click the close button to return to the wizard, otherwise change the settings and test again … Then click NEXT Step 6 of 10
Extended Desktop Customization You can generally leave these options unchecked as they relate only to configurations used for presentations, which is not normally your office desktop, so just click NEXT Step 7 of 10
Extended Desktop Customization Here you can change the desktop background (making it different for your office than when the computer is undocked) and, if you want, select a file to automatically open when docked Click NEXT when done Step 8 of 10
Extended Desktop Customization Next uniquely name your custom configuration Review your settings Click FINISH when done Step 9 of 10
Extended Desktop Customization LASTLY, check the box to apply this scheme when your computer is docked, then … Select your new custom scheme from the drop down list Click OK when done Step 10 of 10 And you are finished!