Download
1 / 19
190 likes | 311 Views
OBJECTIVE. This is a MOVEMENT TO CONTACT (MTC) that develops into a KNOCK OUT BUNKERS (KOB) battle drill. During the MTC the SL determines (METT-TC) that his/her squad can suppress the enemy with one (1) fire team (SUPPORT). He/she also determines that the fire team (ASSAULT) not

E N D
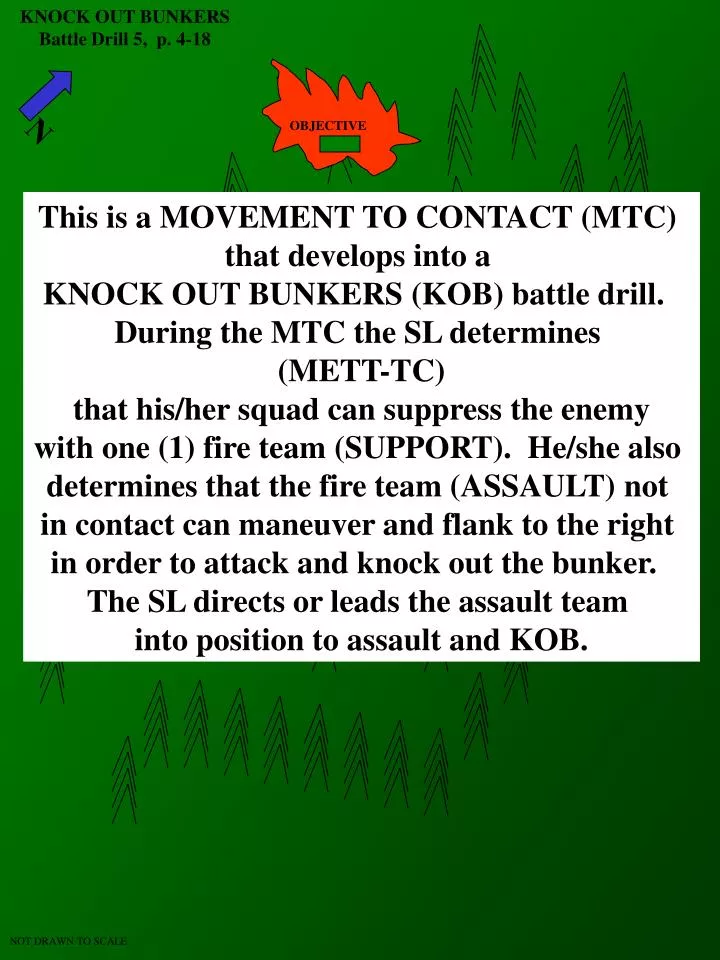
OBJECTIVE This is a MOVEMENT TO CONTACT (MTC) that develops into a KNOCK OUT BUNKERS (KOB) battle drill. During the MTC the SL determines (METT-TC) that his/her squad can suppress the enemy with one (1) fire team (SUPPORT). He/she also determines that the fire team (ASSAULT) not in contact can maneuver and flank to the right in order to attack and knock out the bunker. The SL directs or leads the assault team into position to assault and KOB. NOT DRAWN TO SCALE
OBJECTIVE REQUIRED ACTIONS 1. The squad initiates contact (if not engaged first by the enemy). 2. The SL determines if the squad/team can maneuver (METT-TC). 3. The PL determines which bunker is to be assaulted first and directs one squad (not in contact) to knock it out. 4. The SL repositions the squad or fire team to isolate the bunker as well as to continue suppressive fires. 5. The assaulting team, with the SL move along the covered and concealed route and take action to knock out the bunker. NOTE: This is a technique and is METT-TC dependent. Guidance and direction from higher MUST also be considered during execution. NOT DRAWN TO SCALE
OBJECTIVE RALLY POINT TL LD LD LD AR G R SECURITY SL AA SECURITY SECURITY TL G SECURITY AR R NOT DRAWN TO SCALE
OBJECTIVE TL G AR R SL TL AR G R 1. Seek Cover and Return Fire 2. Locate the Enemy 3. Suppress the Enemy RALLY POINT - Squad Column Formation - Traveling Overwatch Mvt. Technique NOT DRAWN TO SCALE
OBJECTIVE Suppress w/ one Fire team? YES Can we maneuver and flank? TL G AR R YES SL TL AR R G 1. Seek Cover and Return Fire 2. Locate the Enemy 3. Suppress the Enemy RALLY POINT NOT DRAWN TO SCALE
OBJECTIVE TL G AR R TL AR SL R G 1. Seek Cover and Return Fire 2. Locate the Enemy 3. Suppress the Enemy 4. Attack RALLY POINT NOT DRAWN TO SCALE
OBJECTIVE TL G AR R TL AR SL R G 1. Seek Cover and Return Fire 2. Locate the Enemy 3. Suppress the Enemy 4. Attack RALLY POINT NOT DRAWN TO SCALE
OBJECTIVE TL AR SL TL G AR R R G 1. Seek Cover and Return Fire 2. Locate the Enemy 3. Suppress the Enemy 4. Attack RALLY POINT NOT DRAWN TO SCALE
G OBJECTIVE SL TL AR R TL G AR R NOTE: Battle handover is key. The signal(s) for SHIFT FIRE and LIFT/ CEASE fire are critical in order to maintain the initiative and element of surprise. 1. Seek Cover and Return Fire 2. Locate the Enemy 3. Suppress the Enemy 4. Attack RALLY POINT NOT DRAWN TO SCALE
G OBJECTIVE SL TL AR R TL G AR R SL positions him/herself where he/she can best control his/her teams. NOTE: Battle handover is key. The signal(s) for SHIFT FIRE and LIFT/ CEASE fire are critical in order to maintain the initiative and element of surprise. 1. Seek Cover and Return Fire 2. Locate the Enemy 3. Suppress the Enemy 4. Attack RALLY POINT NOT DRAWN TO SCALE
G OBJECTIVE SL R TL G AR R SL positions him/herself where he/she can best control his/her teams. TL AR 1. Seek Cover and Return Fire 2. Locate the Enemy 3. Suppress the Enemy 4. Attack RALLY POINT NOT DRAWN TO SCALE
G OBJECTIVE SL R TL G AR R Once the grenade explodes, The person covering the bunker exit enters the bunker, firing short bursts, to destroy the enemy. SL positions him/herself where he/she can best control his/her teams. TL AR Person w/ the grenade cooks it off for 2 sec. MAX and shouts FRAG OUT – while throwing it into the bunker or laying it near the front hole (aperture) of the bunker . 1. Seek Cover and Return Fire 2. Locate the Enemy 3. Suppress the Enemy 4. Attack RALLY POINT NOT DRAWN TO SCALE
G OBJECTIVE SL R TL G AR R SL INSPECTS the bunker to ensure that it has been destroyed. TL AR 1. Seek Cover and Return Fire 2. Locate the Enemy 3. Suppress the Enemy 4. Attack RALLY POINT NOT DRAWN TO SCALE
G TL OBJECTIVE SL AR R TL G AR R LOA 1. Seek Cover and Return Fire 2. Locate the Enemy 3. Suppress the Enemy 4. Attack Once the assaulting team has seized the enemy position, the SL establishes local security. What occurs next is METT-TC dependent. At the conclusion of the assault, the squad is most vulnerable. The SL signals for the supporting team to move up into designated positions. The SL calls for SPECIALTY TEAMS (EPW, AID & LITER, AND DEMO) as required. RALLY POINT NOT DRAWN TO SCALE
G R TL AR OBJECTIVE SL AR TL R G • 1. Consolidate and reorganize • -ACE • -SALUTE • -SITREP • 2. Report to higher Once the assaulting team has seized the enemy position, the SL establishes local security. What occurs next is METT-TC dependent. At the conclusion of the assault, the squad is most vulnerable. The SL signals for the supporting team to move up into designated positions. The SL calls for SPECIALTY TEAMS (EPW, AID & LITER, AND DEMO) as required. RALLY POINT NOT DRAWN TO SCALE
R AR OBJECTIVE TL G SL G TL AR R SECURITY ORP SECURITY SECURITY SECURITY Execute withdrawal plan -Fire in the hole 1 (Aslt Team leaves) -Fire in the hole 2 (Spt Team and others leave) -Fire in the hole 3 (Demo Team leaves) RALLY POINT NOT DRAWN TO SCALE
OBJECTIVE SECURITY ORP SECURITY SECURITY SECURITY • 1. Consolidate and reorganize • -ACE • -SALUTE • -SITREP • 2. Report to higher If the squad has to quickly move off of the enemy position (METT-TC) and/or as directed, then consolidation and reorganization will occur at the established ORP. RALLY POINT NOT DRAWN TO SCALE
OBJECTIVE This is a MOVEMENT TO CONTACT (MTC) that develops into a KNOCK OUT BUNKERS (KOB) battle drill. During the MTC the SL determines (METT-TC) that his/her squad can suppress the enemy with one (1) fire team (SUPPORT). He/she also determines that the fire team (ASSAULT) not in contact can maneuver and flank to the right in order to attack and knock out the bunker. The SL directs or leads the assault team into position to assault and KOB. NOT DRAWN TO SCALE
OBJECTIVE REQUIRED ACTIONS 1. The squad initiates contact (if not engaged first by the enemy). 2. The SL determines if the squad/team can maneuver (METT-TC). 3. The PL determines which bunker is to be assaulted first and directs one squad (not in contact) to knock it out. 4. The SL repositions the squad or fire team to isolate the bunker as well as to continue suppressive fires. 5. The assaulting team, with the SL move along the covered and concealed route and take action to knock out the bunker. NOTE: This is a technique and is METT-TC dependent. Guidance and direction from higher MUST also be considered during execution. NOT DRAWN TO SCALE