Download
1 / 22
220 likes | 383 Views
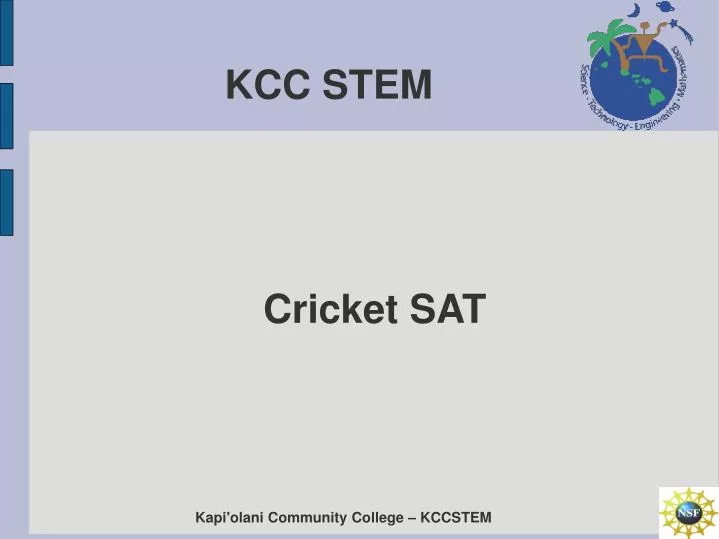
KCC STEM. Cricket SAT. Kapi'olani Community College – KCCSTEM. KCC STEM. Transmitter building. Kapi'olani Community College – KCCSTEM. Transmitter. The receiver is the device transmitting Information to the receiver. The transmitter is sent to the atmosphere.

E N D
KCC STEM Cricket SAT Kapi'olani Community College – KCCSTEM
KCC STEM • Transmitter building Kapi'olani Community College – KCCSTEM
Transmitter The receiver is the device transmitting Information to the receiver. The transmitter is sent to the atmosphere. Kapi'olani Community College – KCCSTEM
Transmitter R2, 2.2M Ohm (red, red, green, gold) R3, 330k Ohm (orange, orange, yellow, gold) R4, 18k Ohm (brown, gray, orange, gold) R5, 33.2k Ohm (orange, orange, red, red, brown) R6, value depends on channel number. It will be the last blue resistor in your kit. R7, 33 Ohm (orange, orange, black, gold) R8, 680 Ohm (blue, gray, brown, gold) D2 and D3 Diodes, both are the same C5, C6, and C7 capacitors, all three are 0.1 micro Farad Switch 14 pin Timer IC Socket Red LED C1, C3, and C4, capacitors, are all 47 micro Farad 5 volt Regulator 2-pin Speaker Pins Transmitter Module 9 volt Battery Clip Wire 6.25 inch Antenna Wires (2) C2, 0.01 micro Farad capacitor R1, Thermistor 556 IC Timer Transmitter PC Board Parts List: Kapi'olani Community College – KCCSTEM
Transmitter Parts List: Kapi'olani Community College – KCCSTEM
Transmitter • Board: • The board is the base on which all the electronic parts will be soldered on. Kapi'olani Community College – KCCSTEM
Transmitter • Resistors: • Install resistors R2, R3, & R4. Solder and clip leads. • Resistors are not polarized so orientation is not important. • Resistors: • R2, 2.2M Ohm (red, red, green, gold) • R3, 330k Ohm (orange, orange, yellow, gold) • R4, 18k Ohm (brown, gray, orange, gold) Kapi'olani Community College – KCCSTEM
Transmitter • Resistors: • Install resistors R5, & R6. Solder and clip leads. • Resistors are not polarized so orientation is not important. • Resistors: • R5, 33.2k Ohm (orange, orange, red, red, brown) • R6, variable (the other “blue-looking”) Kapi'olani Community College – KCCSTEM
Transmitter • Resistors: • Install resistors R7, & R8. Solder and clip leads. • Resistors are not polarized so orientation is not important. • Resistors: • R7, 33 Ohm (orange, orange, black, gold) • R8, 680 Ohm (blue, gray, brown, gold) Kapi'olani Community College – KCCSTEM
Transmitter • Diode: • Insert diode D2 & D3. • Diode is polarized. Install with white band oriented as shown. • Diode: • Look at the PC board to see the direction of the white band. • Solder and clip leads. Kapi'olani Community College – KCCSTEM
Transmitter • Capacitors: • Install capacitors C5, C6, & C7. • The capacitors are not polarized. • Orientation is not important. • Capacitors: • Solder and clip leads. • All of these capacitors are all 47 micro Farad. Kapi'olani Community College – KCCSTEM
Transmitter • Switch: • Install switch as shown. • IC Timer: • Solder all eight leads. • Do not clip leads. • Insert all 14 pins of the socket, notch is pointing up. • Make sure all pins on the socket & switch go through the board before soldering • Socket will snap in to place. • Do not clip wires. Kapi'olani Community College – KCCSTEM
Transmitter • LED: • Install red LED in D1. • The LED is polarized, the long lead wire is positive. Look at the PC board for correct alignment. • LED: • Insert flush to board. • Solder and clip leads. Kapi'olani Community College – KCCSTEM
Transmitter • Capacitors: • Install capacitors C1, C3, & C4. • The capacitors are polarized. The side with the white band is negative. The positive lead is longer. Look at the board for +/- signs. C1 fits inside the drawn circle. • Capacitors: • Solder and clip leads. • All of these capacitors are all 47 micro Farad. Kapi'olani Community College – KCCSTEM
Transmitter • Regulator: • Install the 5 volt regulator into U2. • The regulator is polarized and should be installed with the flat side facing away from the switch. • Do not push flat to the board, allow the regulator to stand up on the board. • Solder and clip leads. Kapi'olani Community College – KCCSTEM
Transmitter • Speaker Jack: • Install 2 pin speaker jack in J2. • Insert with longer leads on top of the PC board and solder shorter leads on bottom of board. • Speaker Jack: • Do not clip any of these leads. Kapi'olani Community College – KCCSTEM
Transmitter • Transmitter: • Install transmitter module in U3 with the metal can facing the outside. • Solder and clip leads. Kapi'olani Community College – KCCSTEM
Transmitter • Battery Clip: • Push 2” of battery clip wires down through the inner strain relief holes. • The red lead goes through the hole near the B+ hole and the black lead goes through the inner hole near the B- hole. • Battery Clip: • Push the bare ends of the wires back up and through the B+ & B- holes. • Leave small loops and solder the bare ends on top of the PC board. • Pull the wires tight to remove the loops. Kapi'olani Community College – KCCSTEM
Transmitter • Antenna: • Insert bare end of the antenna wire into smaller hole from under side. • Solder on top of the PC board and clip lead. • Antenna: • Push free end of the wire up through inner hole and pull tight. • Bend the wires to form 90 degrees for best results. Kapi'olani Community College – KCCSTEM
Transmitter • Capacitor: • Install capacitor C2 flush to the PC board. • This capacitor is not polarized, so orientation is not important. • Insert in outer holes, leaving the inner holes unused. • Solder and clip leads. C2, 0.01 micro Farad capacitor. Kapi'olani Community College – KCCSTEM
Transmitter • Thermistor: • Install thermistor, R1. • Solder and clip heads. • The thermistor is not polarized, orientation is not important. Kapi'olani Community College – KCCSTEM
Transmitter • 556 Timer Chip: • Install the 556 timer chip. • The pins are flared out, so you may need to bend them slightly inward. Make sure all pins enter properly into socket. It should sit flush.. • Make sure the notch is facing up with the notch in the socket. Kapi'olani Community College – KCCSTEM