Download
1 / 5
50 likes | 221 Views
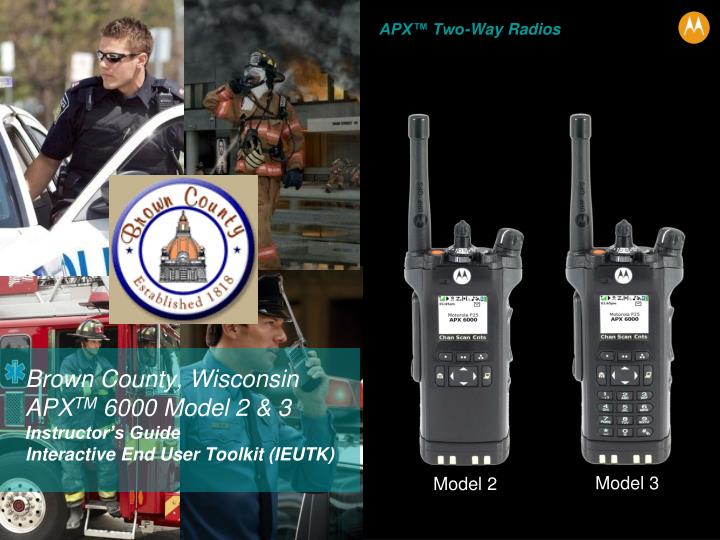
Brown County, Wisconsin APX TM 6000 Model 2 & 3 Instructor’s Guide Interactive End User Toolkit (IEUTK). Model 3. Model 2. Advanced Features.

E N D
Brown County, WisconsinAPXTM 6000 Model 2 & 3Instructor’s GuideInteractive End User Toolkit (IEUTK) Model 3 Model 2
Advanced Features Scan lists are created and assigned to individual channels/ groups. Your radio scans for voice activity by cycling through the channel/group sequence specified in the scan list for the current channel/group. Your radio supports different types of Scan Lists: • Trunking Priority Monitor Scan List • Conventional Scan List • Talkgroup Scan List Multi System Scan List (Scans both trunking and conventional systems) A maximum of 200 Scan Lists can be programmed in your radio. These lists must be preprogrammed by a qualified radio technician. Scan Lists Model 2 Model 3 Zone A Chan 1 Zone A Chan 1 Chan Scan Dir Chan Scan Dir
Advanced Features Changing the Scan List Status Procedure: 1 Long press the preprogrammed Scan List Programming button (side button). 2 to the zone and move the channel select knob to the item you want to edit. 3 Press the Select button once to add the currently displayed channel to the scan list. OR Press the Select button one or more times to change the scan list status icon of the currently displayed channel. 4 to select more list members whose scan status you want to change. Scan Lists • Editing the Scan List OR Use the 16-Position Select knob to select additional channels to be added or deleted. OR Use the keypad to go directly to additional channels to be added or deleted. 5 Press the PTT button to exit out of Scan List Programming menu or turn the radio off and on. OR Press to exit scan list programming and return to the Home screen (Model 2.5 or 3.5 radios only). See Viewing and Changing the Priority Status for more information on how to add and/or change the priority of the currently displayed channel in the scan list. Model 3
Advanced Features Viewing and Changing the Priority Status Procedure: 1 Below the Sel, Del, and Rcl screen, press the Menu Select button directly below Sel to view and/or change the priority status of the currently displayed channel. OR Below the Sel, Del, and Rcl screen, press the Select buttonone or more times to view and/or change the scan list status icon of the currently displayed channel. 2 A Scan icon indicates that the current channel is in the scan list as a non-priority channel. The LED lights up solid green. OR A Priority-Two Channel Scan icon indicates that the current channel is in the scan list as the Priority-Two channel. (NOTE: Priority-Two Scan applicable when scan list type is Trunking Priority Monitor) The LED blinks green. Scan Lists • Editing the Scan List (Model 2.5 and 3.5 radios only) OR A Priority-One Channel Scan icon indicates that the current channel is in the scan list as the Priority-One channel (NOTE: Priority-One Scan applicable when scan list type is Trunking Priority Monitor) The LED rapidly blinks green. You hear all traffic on the Priority-One channel, regardless of traffic on non-priority channels. OR No icon indicates that the current channel is deleted from the scan list.
Advanced Features Procedure: Press the preprogrammed Scan button, OR turn the preprogrammed Scan switch to the Scan on or Scan off position, to start or stop scan. OR Follow the procedure below. 1 to Scan. 2 Press the Menu Select button directly below Scan. 3 The display shows Scan off if scan is disabled. Press the Menu Select button directly below Scan to enable scan. OR The display shows Scan on and the scan status icon if scan is enabled. Press the Menu Select button directly below Scan to disable scan. 4 The radio returns to the Home screen. Scan • Turning Scan On or Off Zone A Chan 1 Scan on Chan Scan Dir Menu Select Buttons