Download
1 / 3
30 likes | 33 Views
Disabling filesystem quotas might become necessary in certain situations. Hence, it is important to have all the necessary information regarding how to disable filesystem quotas.

E N D
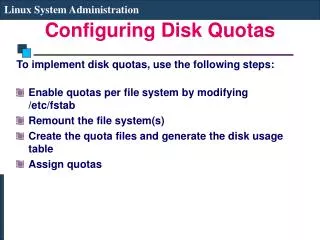
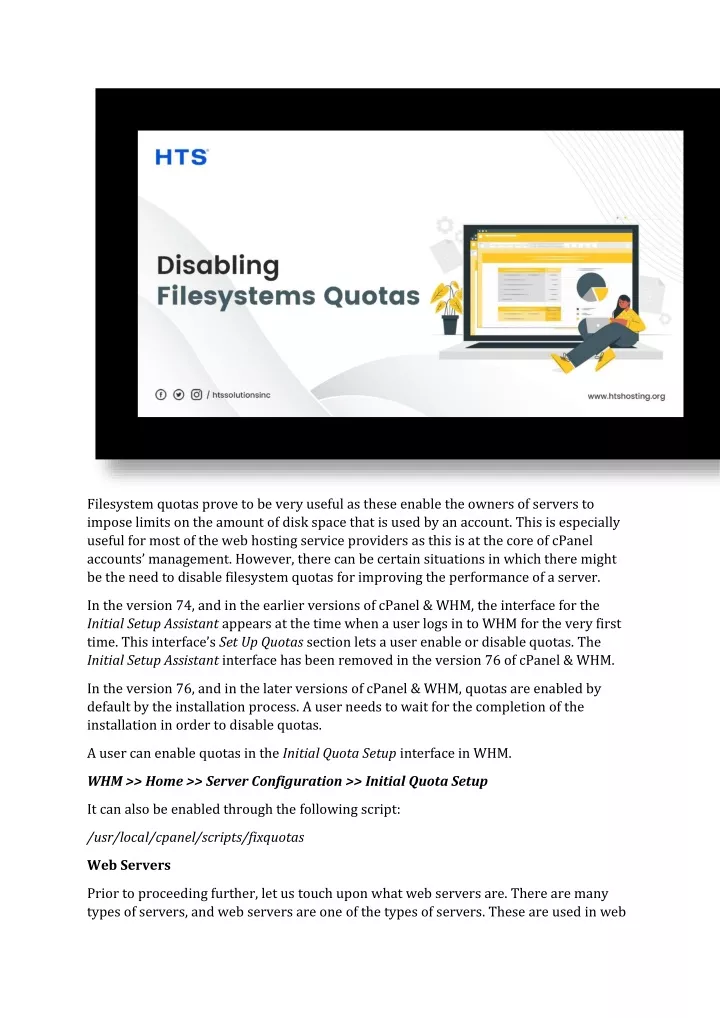
Filesystem quotas prove to be very useful as these enable the owners of servers to impose limits on the amount of disk space that is used by an account. This is especially useful for most of the web hosting service providers as this is at the core of cPanel accounts’ management. However, there can be certain situations in which there might be the need to disable filesystem quotas for improving the performance of a server. In the version 74, and in the earlier versions of cPanel & WHM, the interface for the Initial Setup Assistant appears at the time when a user logs in to WHM for the very first time. This interface’s Set Up Quotas section lets a user enable or disable quotas. The Initial Setup Assistant interface has been removed in the version 76 of cPanel & WHM. In the version 76, and in the later versions of cPanel & WHM, quotas are enabled by default by the installation process. A user needs to wait for the completion of the installation in order to disable quotas. A user can enable quotas in the Initial Quota Setup interface in WHM. WHM >> Home >> Server Configuration >> Initial Quota Setup It can also be enabled through the following script: /usr/local/cpanel/scripts/fixquotas Web Servers Prior to proceeding further, let us touch upon what web servers are. There are many types of servers, and web servers are one of the types of servers. These are used in web
hosting, which is a professional service provided by web hosting companies. The files (content) of websites are stored on web servers. When these files are delivered over the Internet to the devices of Internet users, then the websites become accessible. Hence, web servers play the most crucial part in web hosting. Web hosting ensures that websites remain up and running at all times without any interruption. All the services and the technologies that are needed for this purpose are provided by web hosting companies through their various web hosting plans. Web hosting, through which web servers are provided, can be of many types. Shared, dedicated, reseller, cloud, VPS, and WordPress are the main types of web hosting services. Usually the best service providers are known as the “Best Website Hosting Company “, the “Best Cloud Hosting Company”, the “Best Windows Hosting Company”, etc. Now, what is the main function of a web server? A web server accepts and fulfils clients’ (browsers and mobile applications) requests for the content of websites. These requests are in the form of Hypertext Transfer Protocol (HTTP) messages. The Process to Disable Filesystem Quotas You need to follow the below-mentioned steps to disable it from the root XFS filesystem: 1.Remove the GRUB_CMDLINE_LINUX entry You should carry out the following steps for removing the GRUB_CMDLINE_LINUX entry. •SSH in to your server. This needs to be done as the root user. •Use your preferred text editor for opening the file that is mentioned below. /etc/default/grub •Now you need to remove the following line from that file: rootflags=uquota •Save it, and then close the file. 2.Update GRUB You need to run the following command to update the GRUB bootloader. grub2-mkconfig –output=/boot/grub2/grub.cfg 3.Disable Quotas on the Server You should run the following command for disabling quotas on the server. xfs_quota -x -c ‘off’ -c ‘remove’ / 4.Reboot the Server Now you need to use your preferred method for rebooting your server. This lets the changes take effect. 5.Confirm the Changes
The following command needs to be run for confirming the changes: mount | grep ‘ / ‘ More on the Process to Disable FilesystemQuotas You need to follow the below-mentioned steps to disable it from the non-root XFS filesystem: 1.Remove Entries in the /etc/fstab File You need to carry out the below-mentioned steps for removing the quota-related entry. •SSH in to your server. This needs to be done as the root user. •Use your preferred text editor for opening the /etc/fstab file. •Now you need to find the line for your mount or filesystem. •Remove the uquota entry from that line. •Now, save, and then close the file. 2.Disable Quotas on the Server You have to run the following command for disabling quotas: xfs_quota -x -c 'off' -c 'remove' path_to_mount In it, “path_to_mount” represents the absolute path to your mount point. 3.Remount the Filesystem You need to run the following command, in order to remount the filesystem: mount -o remount path_to_mount In it, “path_to_mount” represents the absolute path to your mount point. Here, it needs to be mentioned that rebooting the server isn’t necessary when quotas are being disabled for non-root filesystems. However, the server can be rebooted as an alternative to this step. Now that you know everything about how to disable filesystem quotas, you can easily carry out this process.