Download
1 / 15
150 likes | 151 Views
Click here to know how to fix a leaky bathtub faucet with a complete guide that you must see. Below we have mentioned the 10 steps that you can do it easily.

E N D
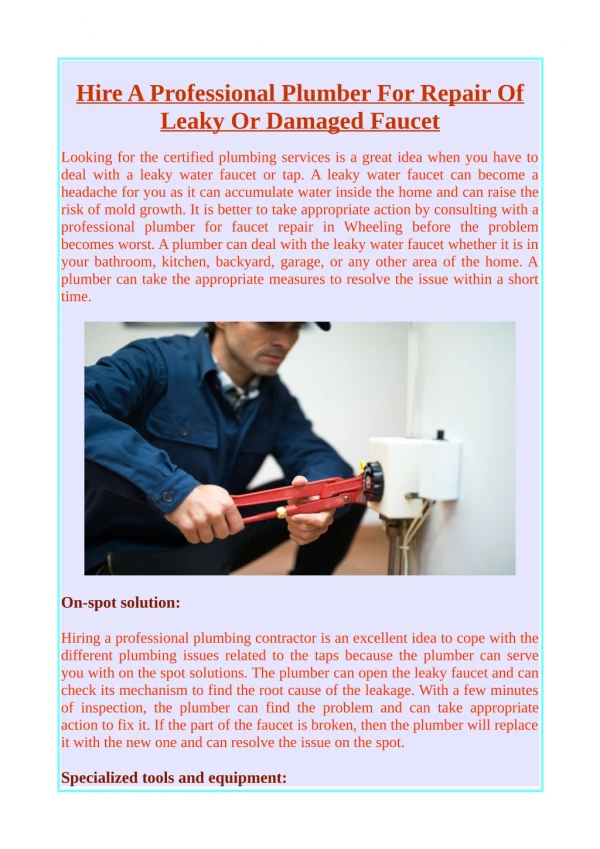
10 Step Process: How to Fix A Leaky Bathtub Faucet One of the most important components in a bathroom is the bathtub faucet. These can either minimize or maximize the total water expense for your household. In order to have control over the daily water usage in your household, incorporating well-functioning faucets is the key. A bathtub faucet leaking is a vexing problem for many homeowners. Sadly, most of the individuals fail to recognize a leaking bathtub faucet in time, and the problem keeps growing, which eventually causes the entire showering system to collapse. Over time, dripping bathtub faucets may cost extra money with additional water bills, and the water continually trickling into the tub can form an unattractive stain. The dripping water, as a result, will cause the internal components of the spout to deteriorate. In this article, we will cover all the details on How to fix a leaky bathtub faucet with simple steps.
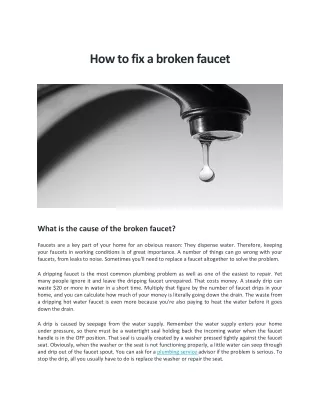
Reason Behind A Leaking Bathtub Faucet Source: vox-cdn.com Problem identification is the first step to dig for the solutions of the cause. Knowing what is causing the tub faucet to leak will aid in the bathtub faucet repair appropriately. Dripping bathtub faucets can be caused by a variety of factors. The sealing and the ‘O’ are the portions that are damaged by whatever the leakage source is. When these two components are damaged, they lose their ability to keep water in pipes.
The most common problems causing your bathtub faucet leaking are below: Minerals Formation If the locality receives hard water, minerals start forming inside the valves, pipes, and other operating components. Over time, the faucet may eventually start leaking resulting in a leaky bathtub faucet. Old Parts As time passes by, the components start becoming obsolete. The ‘o’ rings start wearing out with which the chemicals in running water react and they eventually fail. As a result of this, the strength of tub components weakens, loosens, and makes it drip. Unfit Handles The knobs on the tub faucet leaking loosen with time. The twisting causes the bolts and studs that are binding it together to loosen. After that, the bathtub faucet starts leaking water because the stronghold is already screwed up. Tool Kit for Bathtub Faucet Repair Though employing a plumber can be pricey and time-consuming, fixing a leak yourself is relatively simple. Fixing a leaking bathtub faucet is not a tricky problem, and with a few simple tools, anyone can do the task on their own. The tools required for a bathtub faucet repair are: 1. Screwdriver 2. Adjustable wrench 3. Bath socket wrench 4. Handle puller
5. Seat wrench 6. Utility knife How to Fix A Leaky Tub Faucet? It’s a relief that fixing a leaking bathtub faucet is an easy task that takes a few hours of your time, but in the end, saves you a lot of money wandering off from your wallet. Here is the ultimate step-by-step guide on how to fix a leaky bathtub faucet with minimal effort and some bathroom ideas for you. Repairing Leaky Bathtub Faucet- Single Handle Putting Screwdriver At the base of the grip is a decorative cover. Remove the lid with a flathead screwdriver, leaving the screw underneath revealed. Taking the Handle Off With the help of a screwdriver, extract the revealed screw. The handle may now be easily removed. If it still won’t come off, use a hairdryer to warm it up. Alternatively, you may make it loose by pouring hot water on it. If you don’t want things to shatter, don’t use force. Unscrewing On the bolted section of the faucet, a collar may have been installed. If this is the case, dismantle them. Make sure the screws are stored safely, perhaps in a container. It’s important not to lose track of the screws and studs because they’ll
be used for the substitutions. Keep track of the sequence in which you’re disconnecting them to make reconnecting easier when you’ve finished your job. Removing Packing Nut or Stem Bonnet Remove the remaining bonnet with a bath socket wrench or vice grip. To remove them, turn the counters sideways. Removing Stem The stem of the faucet may be removed with pliers and a little tugging. To quickly loosen it, turn it clockwise. Inspecting and Removing Minerals Check the removed pieces for mineral deposits and clean them up. Examine the stem and pack nuts for rust, hard water residues, or damages. If you’re not sure which pieces are broken, replace them altogether. Mineral deposits can be eliminated by saturating them with white vinegar. Allow them to dry for a few minutes before brushing them away with a scourer. Damage on Seat The washer is a little tubular sewn element within the faucet on the stem’s bottom. When the washer fades out, it becomes ruined. Remove it using a seat wrench. Replacement of Parts 1. Reattach the stem to the bonnet by greasing the threads. After installing the replacement washer, lubricate the packing nut screws and tighten them. 2. Lubricate the newly installed seat washer and the old screw before installing them. 3. Reinstall the replacement bonnet washer after greasing it.
4. Connect the bonnet threads to the faucet body using a pipe junction. 5. Change the escutcheon and lever after oiling the handle joints. Repairing Leaky Bathtub Faucet – Double Handle? The double handle bathtub faucet has the same functioning as a single tub faucet. The main distinction is that double employs two independent handles to do its purpose, whereas single simply uses a single handle to regulate the flow and temperature of the water. As a result, you’ll utilize the same approach with the double handle faucet as done on the single handle faucet. Replacing Washer Source: kitcheninfinity.com
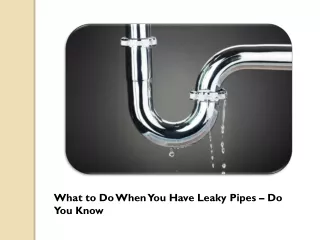
An outdated washer that has to be changed is the most typical cause of a leaking faucet. The steps are listed below for this bathtub faucet repair, which applies to most types of tubs, including walk-in bathtubs, corner baths, and others. 1. Turn the Water Supply Off Source: bazaarvoice.com
Shutting off the supply of water is the first step in repairing a leaking bathtub faucet or else, you’ll wind up splashing water all over the place when you attempt to eliminate the faucet from its attachment. 2. Remove Cap Source: cloud.grohe.com The cover that conceals the faucet handle screw must be pried off next. A tiny pocket knife or a slotted screwdriver can be used for this.
To remove the cap, initially open the faucet to discharge any residual water, and then pull it off with your selected tool. Put it in a secure place where you’ll be able to locate it later. 3. Unscrew Screws from the Handle After removing the cover, look inside the faucet handle for the screw that keeps the faucet in position. You’ll need to use a screwdriver to remove it immediately. To avoid losing the screw, unscrew it and put it along with the cap. 4. Dismantle Handle Source: thdstatic.com The handle may then be removed when the screw has been removed. This stage might be a bit hard depending on the age of your faucet since rust and water residues can cause the handle to bond to the stem.
If it won’t come off on its own, don’t push it; you could break it. Warming it with a hairdryer or spraying boiling water over it are two alternatives that may assist. If it still won’t move, you may use a handle puller, which is a specific tool intended for this task. 5. Remove Escutcheon The escutcheon, or panel that conceals the wall hole, must be removed next. Depending on the type of faucet, you may have to detach it by unscrewing or just spin it. 6. Take Away the Stem Assembly Source: thumbtack.com
When the escutcheon has been taken out of the way, you can get to the stem assembly. This is the area where the leak must be repaired. To remove the stem assembly, use an adjustable wrench. 7. Examine Washer The most common cause of leaky bathtub faucets is that the washer needs to be changed. The first thing you should do while removing the stem assembly has inspected the washer at the end. If it has to be changed, it should be evident – an aged washer would have stiffened and distorted, which is what allows the water to leak through.
8. Replace Source: sunrisespecialty.com
If the old washer is to blame, it must be replaced. Replace the washer with a new one if you have any on hand. It’s a simple job: simply remove the washer screw, extract the washer, change it, and reinstall the screw. 9. Seat Damage Check Another reason you could have a leak is if your seat has been destroyed. The seat is the portion of the washer that comes into contact with it, and it can be damaged either by abrasion or corrosion. A leaking seat can produce a leak in and of itself, as well as fast damaging the replacement washer you just installed, causing the leak to reoccur. You should inspect the seat for any visible defects before replacing the stem assembly with a fresh washer. 10. Assembly Source: toshack.ca
Put everything back together once you’ve repaired the washer and examined and replaced the seat as needed. Restore the stem assembly and fix it with the adjusting wrench, then reattach the escutcheon as necessary, followed by the handle. You may reinstall the cap that covers it once the handle is properly connected and put back into place. The very next important part is to turn on the water and inspect the faucet to check whether it is working properly. You can also get ideas of ensuite bathroom. DIY Solution Source: saigonnhonews.com How to fix a leaky bathtub faucet is not a question anymore as it is one of the easiest plumbing chores, and if you’re feeling brave and up for a challenge, you
should be able to handle it yourself without too many issues if you obey step-by-step instructions. For more architectural guidance and home improvement ideas, keep coming to Interiorcraze. Contact Us : Website: https://interiorcraze.com Email Id: interiorcrazeofficial@gmail.com To Connect With Us Visit