Download
1 / 55
610 likes | 1.01k Views
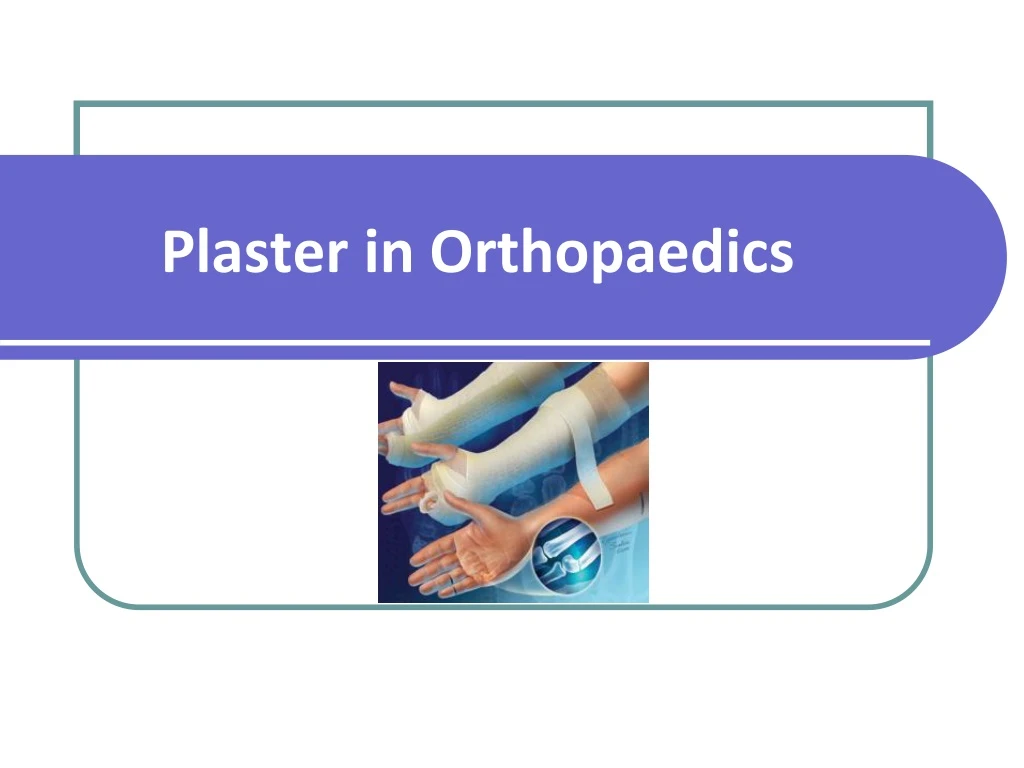
Plaster in Orthopaedics. Principles of Casting and Splinting. The ability to properly apply casts and splints is a technical skill easily mastered with practice and an understanding of basic principles

E N D
Principles of Casting and Splinting • The ability to properly apply casts and splints is a technical skill easily mastered with practice and an understanding of basic principles • The initial approach to casting and splinting requires a thorough assessment of the skin, neurovascular status, soft tissues, and bony structures to accurately assess and diagnose the injury • Once the need for immobilization has been determined, the physician must decide whether to apply a splint or a cast
Immobilization techniques • Casts and splints serve to immobilize orthopedic injuries • They promote healing, • Maintain bone alignment, • Diminish pain, • Protect the injury, and • Help compensate for surrounding muscular weakness • Improper or prolonged application can increase the risk of complications from immobilization
Splinting Versus Casting • When considering whether to apply a splint or a cast, the physician must assess • The stage and severity of the injury, • The potential for instability, • The risk of complications, and • The patient’s functional requirements • Splinting is more widely used in primary care for acute as well as definitive management (management following the acute phase of an injury) of orthopedic injuries • Splints are often used for simple or stable fractures, sprains, tendon injuries, reduced joint dislocations, sprains, severe soft tissue injuries, and post-laceration repairs • Casting is usually reserved for definitive and/or complex fracture management
Clinical Recommendation • Splinting is the preferred method of fracture immobilization in the acute care setting. • Casting is the mainstay of treatment for most fractures. • Plaster should be used for most routine splinting applications. • However, when weight or bulk of the cast or the time to bearing weight is important, a synthetic material chosen principally on the basis of cost is indicated.
Advantages of Splinting • Splint use offers many advantages over casting • Splints are faster and easier to apply. • May be static (i.e., prevent motion) or dynamic (i.e., functional; assist with controlled motion). • Splints being non-circumferential, allow for the natural swelling that occurs during the initial inflammatory phase of the injury • Pressure related complications increase with severe soft-tissue swelling, particularly in a contained space such as a circumferential cast • Therefore, splinting is the preferred method of immobilization in the acute care setting • Furthermore, a splint may be removed more easily than a cast, allowing for regular inspection of the injury site. • Both custom-made and standard “offthe- shelf” splints are effective
Disadvantages of splinting • Disadvantages of splinting include • Lack of patient compliance and excessive motion at the injury site. • Splints also have limitations in their usage. • Fractures that are unstable or potentially unstable (e.g., fractures requiring reduction, segmental or spiral fractures, dislocation fractures) may be splinted acutely to allow for swelling or to provide stability while awaiting definitive care. • However, splints themselves are inappropriate for definitive care of these types of injuries. • Such fractures are likely to require casting and orthopedic referral
Advantages and Disadvantages of Casting • Casting is the mainstay of treatment for most fractures • Casts generally provide more effective immobilization, but, • Require more skill and time to apply, and, • Have a higher risk of complications if not applied properly
Materials and Equipment • Plaster has traditionally been the preferred material for splints • Plaster is more pliable and has a slower setting time than fiberglass, allowing more time to apply and mold the material before it sets. • Materials with slower setting times also produce less heat, thus reducing patient discomfort and the risk of burns. • Fiberglass is a reasonable alternative because the cost has declined since it was first introduced • It produces less mess, and it is lighter than plaster • Fiberglass is commonly used for nondisplaced fractures and severe soft-tissue injuries. • Previous literature has demonstrated the benefits of using plaster rather than fiberglass following fracture reduction
Plaster of Paris • Plaster of Paris is a hemi hydrated calcium phosphate. • To make plaster of paris, gypsum is heated to drive off water. • When water is added to the resulting powder original mineral forms and is set hard. 2(Caso4 2H2O) +Heat 2(Caso4 1/2 H2O) + 3H2O
Historical background POP • The name Plaster of paris originated from an accident to a house built on deposit of gypsum near the city of paris • The house was accidentally burnt down. • When it rained on the next day, it was noted that the foot prints of the people in the mud had set rock hard. • Plaster of paris was first used in orthopedics by Mathysen, a Dutch surgeon, in 1852 • It is made from gypsum which is a naturally occurring mineral • It is commercially available since 1931.
Types of POP • Indigenous • Prepared from ordinary cotton bandage role smeared with POP powder. • Commercial • Plaster of paris rolls commercially prepared consists of rolls of muslin stiffened by starch POP powder and an accelerator substance like alum. • This commercial preparation sets very fast and gives a neat finish unlike the indigenous ones.
Plaster • Plaster bandages and splints are made by impregnating crinoline with plaster of paris [CaSO4)2H2O]. • When this material is dipped into water, the powdery plaster of paris is transformed into a solid crystalline form of gypsum. • The amount of heat given off is determined by the amount of plaster applied and the temperature of the water. • The more plaster and the hotter the water, the more heat is generated. • The interlocking of the crystals formed is essential to the strength and rigidity of the cast.
Motion during the critical setting period interferes with this interlocking process and reduces the ultimate strength by as much as 77%. • The interlocking of crystals (the critical setting period) begins when the plaster reaches the thick creamy stage, becomes a little rubbery, and starts losing its wet, shiny appearance. • Cast drying occurs by the evaporation of the water not required for crystallization. • The evaporation from the cast surface is influenced by air temperature, humidity, and circulation about the cast. • Thick casts take longer to dry than thin ones. • Strength increases as drying occurs.
Plaster is available as bandage rolls in widths of 8, 6, 3, and 2 inches and splints in 5- × 45-inch, 5- × 30-inch, and 3- × 15-inch sizes. • Additives are used to alter the setting time. • Three variations are available. • Extra-fast setting takes 2 to 4 minutes, • Fast setting takes 5 to 6 minutes, and • Slow setting takes 10 to 18 minutes.
Advantages Plaster of Paris • It is cheap • It is easily available • It is comfortable • It is easy to mould • It is strong and light • It is easy to remove • It is permeable to radiography • It is permeable to air and hence underlying skin can breathe. • It is non inflammable
Various forms of POP • Plaster of Paris is used in four forms as • Slab, • Cast, • Spica and • Functional cast brace
Slab • It is a temporary splint used in the initial stages of fracture treatment and also during first aid, it is useful to immobilize the limbs postoperatively and in infections. • It is made up of half by POP and half by bandage roll hence can accommodate the swelling in the initial stages of fractures. • Is prepared according to the required length.
Slab • There are three methods of applying slab. • Dry method: • Here the slab is prepared first and then dipped in water (commonly employed) • Wet method: • Here the slab is prepared after dipping the POP roll in water. This is rare and requires experience. • Pattern Method: • Here the slabs are fashioned in the desired way before dipping in water.
Cast • Here the POP completely encircles the limb. • It is used as a definitive form of fracture treatment and also to correct deformities. • There are three methods of applying a POP cast. • Skin tight cast: • Here the cast is directly applied over the skin. Dangerous as it may cause pressure sores. It is difficult to remove as the hairs may be incorporated into the cast and hence it is not recommended. • Bologna cast: • How generous amount of cotton padding is applied to the limb before putting the cast. This is the commonly employed method. • Three tier cast: • Here stockinette is used first, over which cotton padding is done before applying the POP cast. It is an ideal method, but it is expensive.
Spica • Spica encircles a part of the body, • e.g., hip spica for fracture around the hip, • thumb spica for fracture scaphoid
Functional cast brace • Functional cast brace is used for fracture tibia after initial immobilization of 3 to 4 weeks.
Fiberglass cast • In recent years, a number of companies have developed materials to replace plaster of paris as a cast. • Most of these are a fiberglass fabric impregnated with polyurethane resin. • The prepolymer is methylenebisphenyldiisolynate, which converts to a nontoxic polymeric urea substitute. • The exothermic reaction does not place the patient's skin at risk for thermal injury • These materials are preferred for most orthopaedic applications except in acute fractures in which reduction maintenance is critical • Fiberglass casts do not provide higher skin pressure when compared to plaster casts when properly applied .
Important issues relating to a plaster • Factors influencing plastering • Preparation of the patients. • Plaster application principles. • Care of the cast. • Instructions to patients. • Complications. • Removal of plaster casts.
Advantages and Disadvantages of fiberglass cast • Advantages • These materials are strong, lightweight, and resist breakdown in water; they are also available in multiple colors and patterns • Disadvantages. • They are harder to contour than plaster of paris • The polyurethane may irritate the skin • Fiberglass is harder to apply, although the newer bias stretch material is an improvement. • Patients are commonly under the impression that fiberglass casts can be gotten wet. This is incorrect; if submerged, they need to be changed to avoid significant skin maceration.
Factors influencing plastering • Temperature • Strength • Padding • Incorporation • Absorption • Time
Application-Cast • Casting and splinting both begin by placing the injured extremity in its position of function. • Casting continues with application of stockinette, then circumferential application of two or three layers of cotton padding, and finally circumferential application of plaster or fiberglass. • In general, 2-inch padding is used for the hands, 2- to 4-inch padding for the upper extremities, 3-inch padding for the feet, and 4- to 6-inch padding for the lower extremities.
Splint • Splinting may be accomplished in a variety of ways. • One option is to begin as if creating a cast and, with the extremity in its position of function, apply stockinette, then a layer of overlapping circumferential cotton padding. • The wet splint is then placed over the padding and molded to the contours of the extremity, and the stockinette and padding are folded back to create a smooth edge • The dried splint is secured in place by wrapping an elastic bandage in a distal to proximal direction. • For an average-size adult, upper extremities should be splinted with six to 10 sheets of casting material, whereas lower extremities may require 12 to 15 sheets.
Ulnar gutter splint with underlying stockinette and circumferential padding.
Splint • An acceptable alternative is • To create a splint without the use of stockinette or circumferential padding. • Several layers of padding that are slightly wider and longer than the splint are applied directly to the smoothed, wet splint. • Together they are molded to the extremity and secured with an elastic bandage • Prepackaged splints consisting of fiberglass and padding wrapped in a mesh layer also exist. • These are easily cut and molded to the injured extremity; however, they are more expensive and are not always available. • Prefabricated and over the counter splints are the simplest option, although they are less “custom fit,” and their use may be limited by cost or availability.
Rules of application of pop casts • Choose the correct size • A joint above and a joint below should ideally be included. • This is done to eliminate movements of the joints on either side of the fractures. • It should be moulded with the palm and not with the fingers for the fear of indentation. • The joints should be immobilized in functional position. • The plaster should be snugly fit and should not be too tight or too loose. • Uniform thickness of the plaster is preferred.
Common casting errors • The most common casting errors are: • Poor choice of cast type: failure to immobilize a joint above and below injury • Redundancy and bunching in cast liner or padding secondary to careless, uneven application or extremity repositioning after application with resultant “pressure point” formation and skin breakdown (antecubitalfossa) • Excessively tight padding or cast material application • Inadequate padding at pressure points (olecranon and ulnar border) • Failure to extend cast to appropriate proximal and distal levels • Poor molding technique with subsequent cast displacement or loss of reduction • Acceptance of a suboptimal cast
Stages of plaster application • First Stage • The first stage involves the application of POP slab or cast. • Second stage or cast –setting stage • Change of pop to gypsum • Defined as the time taken to form rigid dressing after contact with water. • Third stage or Green stage • The just set wet cast. • Fourth Stage or cast Drying • By evaporation of excess of water when the cast dries. • This results in a mature cast with multiple air pockets through which the skin breathes.
General Application Procedures • Preparing the Injured Area • Stockinette is measured and applied to cover the area and extend about 10 cm beyond each end of the intended splint site • Excess stockinette is folded back over the edges of the splint to form a smooth, padded edge. • Stockinette should not be too tight • Wrinkling over flexion points and bony prominences should be minimized by smoothing or trimming the stockinette. • Generally, 2 to 3 inches wide stockinette is used for the upper extremities and 4 inches wide for the lower extremities.
Once a physician is proficient in splinting, a splint can be created without the use of a stockinette. • This technique may be particularly useful if dramatic swelling is anticipated and care is being taken to avoid using any circumferential materials that are not essential. • Padding that is slightly wider and longer than the splinting material should be applied in several layers directly to the smoothed, wet splint. • Together, the padding and splinting material are molded to the extremity.
Next, layers of padding are placed over the stockinette • To prevent maceration of the underlying skin and to accommodate for swelling. • Padding is wrapped circumferentially around the extremity, rolling the material from one end of the extremity to the other, each new layer overlapping the previous layer by 50 percent. • This technique will automatically provide two layers of padding. • Extra layers may be added over the initial layers, if necessary. • The padding should be at least two to three layers thick without being constrictive, and should extend 2 to 3 cm beyond the intended edges of the splint
Extra padding is placed at each end of the intended splint border, between digits, and over areas of bony prominence. • Prominences at highest risk are the • Ulnar styloid, • Heel, • Olecranon, and • Malleoli. • If significant swelling is anticipated, more padding may be used • Care must be taken not to compromise the support provided by the splint by using too many layers. • Both too much and too little padding are associated with potential complications and poor fit of the splint or cast
Joints should be placed in their proper position of function before, during, and after padding is applied to avoid areas of excess wrinkling and subsequent pressure. • In general, • The wrist is placed in slight extension and ulnar deviation, and, • The ankle is placed at 90 degrees of flexion. • Padding comes in several widths • In general, padding 2 inches wide is used for the hands, • 2 to 4 inches for upper extremities, • 3 inches for feet, and, • 4 to 6 inches for lower extremities.