Download
1 / 3
30 likes | 34 Views
t in a Ziploc bag and sent on their way. You've put your whole heart and soul into these little works of art. The way you wrap your beautiful cookies should show how special they are and show your customer (or the happy person getting cookies as

E N D
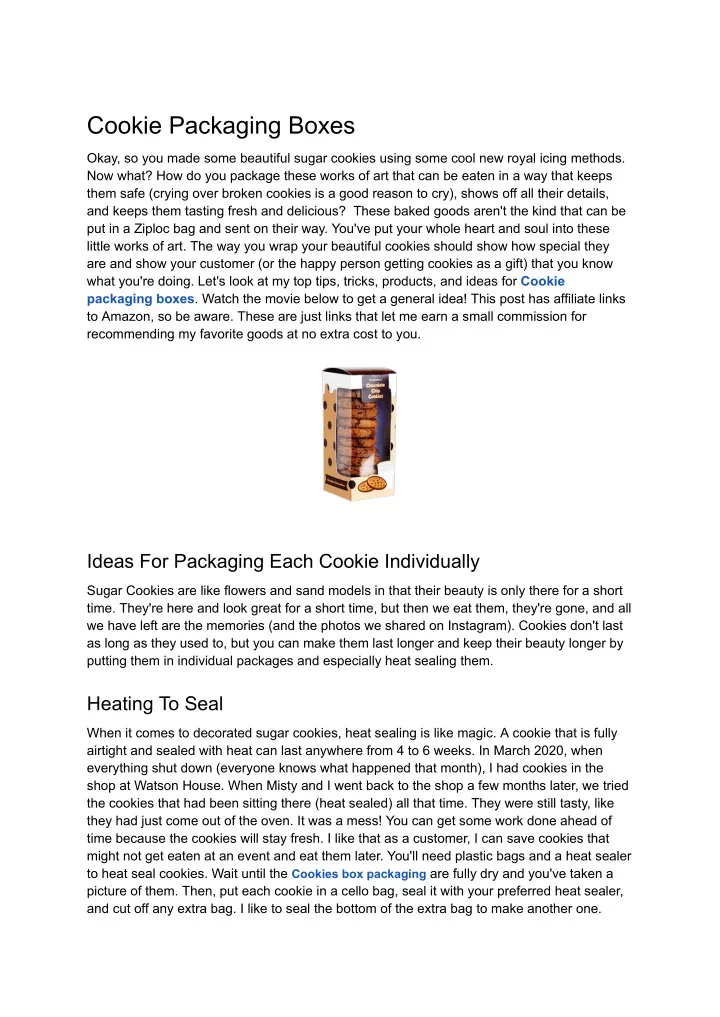
Cookie Packaging Boxes Okay, so you made some beautiful sugar cookies using some cool new royal icing methods. Now what? How do you package these works of art that can be eaten in a way that keeps them safe (crying over broken cookies is a good reason to cry), shows off all their details, and keeps them tasting fresh and delicious? These baked goods aren't the kind that can be put in a Ziploc bag and sent on their way. You've put your whole heart and soul into these little works of art. The way you wrap your beautiful cookies should show how special they are and show your customer (or the happy person getting cookies as a gift) that you know what you're doing. Let's look at my top tips, tricks, products, and ideas for Cookie packaging boxes. Watch the movie below to get a general idea! This post has affiliate links to Amazon, so be aware. These are just links that let me earn a small commission for recommending my favorite goods at no extra cost to you. Ideas For Packaging Each Cookie Individually Sugar Cookies are like flowers and sand models in that their beauty is only there for a short time. They're here and look great for a short time, but then we eat them, they're gone, and all we have left are the memories (and the photos we shared on Instagram). Cookies don't last as long as they used to, but you can make them last longer and keep their beauty longer by putting them in individual packages and especially heat sealing them. Heating To Seal When it comes to decorated sugar cookies, heat sealing is like magic. A cookie that is fully airtight and sealed with heat can last anywhere from 4 to 6 weeks. In March 2020, when everything shut down (everyone knows what happened that month), I had cookies in the shop at Watson House. When Misty and I went back to the shop a few months later, we tried the cookies that had been sitting there (heat sealed) all that time. They were still tasty, like they had just come out of the oven. It was a mess! You can get some work done ahead of time because the cookies will stay fresh. I like that as a customer, I can save cookies that might not get eaten at an event and eat them later. You'll need plastic bags and a heat sealer to heat seal cookies. Wait until the Cookies box packaging are fully dry and you've taken a picture of them. Then, put each cookie in a cello bag, seal it with your preferred heat sealer, and cut off any extra bag. I like to seal the bottom of the extra bag to make another one.
Some Heat Sealers To Think About When I started decorating, I already had a vacuum sealer, so I just used the heat seal setting and really like it. It's very helpful that I can close the bags inside to seal them while I fill other bags. I haven't tried this one myself, but I've heard good things! This one is on the more expensive side, but the top of the sealer has a knife built right in. So, when you're done closing, just move the cutter and you're done! I can see how that would be so useful! Cello Bags I like to look for plastic bags that lay flat when I'm shopping. Some bags are made to hold loose treats like candy, and a cookie inside can make the bag look like it's full of wads of paper. Flat lay bags like the ones below look nice and organized. You can choose the size you want from the 200 bags below. I like the 4x9 because the cookies I usually make are about 3 to 4 inches across. But if you need bigger or smaller ones, you can get them. I love these little bags for small cookies. Bags that can seal themselves If you don't have a heat sealer right now, you could use self-sealing bags. They have a strip of glue and still keep cookies fresher for longer. It won't be as airtight as a heat seal, so I'd say these should stay fresh for about a week. Check out these choices: Twist Ties Twist ties are a great way to make cookies that can be given as gifts or as party treats. This type of cookie packaging boxes looks so pretty and ready to give as soon as you leave the top of the cello bag on after twisting it and give it a quick fluff. You can also use these to put a bow on top of a single cookie. I tie a bow with the ribbon around a twist tie. You can do this ahead of time and keep a stack of ready-to-go twisty bows. I then tie the whole thing to the top of the cello bag with the cookie inside. If you want that cookie to last a little longer and be heat sealed, just twist the top of the bag and put that part in the heat sealer before you add the tie and bow. Boxes For Each Type Of Cookie When I did special orders, one of my favorite things was when a friend asked me to make a cookie pregnancy announcement that she could give to her husband. We put a cookie with tiny baby feet made on it into one of these cookie packaging boxes. It was such a sweet story, and I bet he hasn't had a treat like that since then!