Download

1 / 1
10 likes | 12 Views
This page will show the HP office jet pro 5740 printer installation settings for getting a better printing experience. Click to view more printer settings.<br><br>https://eprinthelp.com/hp-office-jet-pro-5740/

E N D
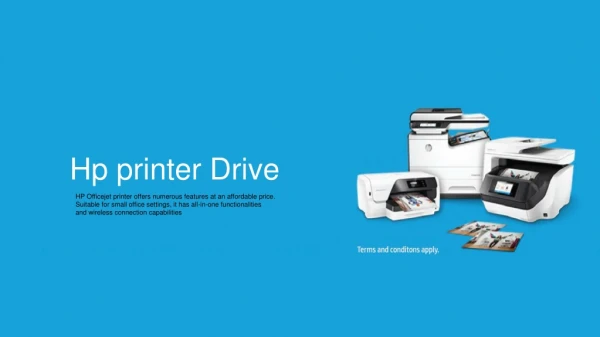
HP Office Jet Pro 5740 Settings HP OfficeJet Pro 5740 is a compact, all-in-one, wireless printer ideal for the home use. It can perform the print, scan, copy, and fax operations and also supports mobile printing. Read the below steps to set up the HP OfficeJet Pro 5740 printer. Step-1: Unpacking Unbox the printer and place it on a stable surface. Now, look for the other printer accessories such as power cord, ink cartridges, user manuals, and installation CD in the box. Remove all the packaging tapes and protective materials from the printer. Open the scanner lid, remove the protective cover, and close it. Lift the ink cartridge access lid and remove the protective tapes and materials. Close the cartridge access lid and then draw the input tray outwards. Step-2: Connecting the power cord Use the power cord supplied during the purchase to connect the printer to the wall outlet. Power on the printer and then set the language, country, and date & time on the control panel. Step-3: Feeding paper in the input tray Draw out the input tray, insert the photo tray as much as possible, and push the paper guides outwards. Neatly, place the paper in the input tray such that the print side is facing down. Shift the paper guides to touch the paper edges, but do not make it too tight. Slowly push the input tray inside until it gets locked. If the paper tray is not closed properly, you could face the paper jam issue later while printing. Modify the paper settings on the printer’s control panel. Click the below read more button to know more settings about this printer. Read More