Download
1 / 25

E N D
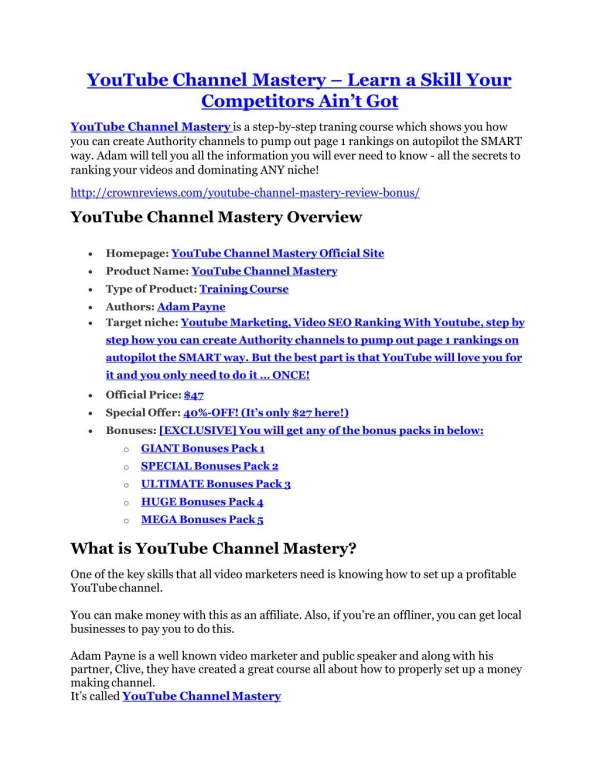
How to Set up a YouTube Channel Tools for Instructional Designers (press START to begin lesson)
Help - Navigation System START: Start presentation, return to beginning of presentation Menu: Go to Table of Contents Help: Return to Navigation System End: Exit presentation Go to the next slide Go to previous slide
Menu Please click the module below that you want to learn about Module 1 : Access and login to YouTube Module 2 : Upload an instructional video from your local PC Module 3 : Add a title, description, tags, and category to the video Module 4 : Choose the privacy of your video Module 5 : Share URL links with end learners Module 6: Completion of learning, final testing
Module 1 : Accessing YouTube In your web browser, enter the URL http://www.youtube.com. Click on the Sign In button in the upper right hand corner.
Module 1 : Sign in to Account If you do not have an account, click the CREATE AN ACCOUNT button in the top right corner. Already have an account? Input your email and password, then click the Sign In button. Click here toSKIPthe Create Account instructions to go to the “Create a Channel” section. Otherwise click the forward arrow to learn how to make an account.
Module 1 : Create an Account Enter the applicable information into the form. When you are done, click the “Next Step” button at the bottom of the form. You will simultaneously be creating a Google account as well.
Module 1 : Verify Email Address You will be prompted to verify your email address. Login to your email account and look for a message from Google. After you read the information in the message, you will be provided a link to return to YouTube.
Module 1 : Account Created After successful email verification, you are now registered with YouTube.
Module 1 : Create a Channel Click in the top right corner to access the Utility Navigation. Select “My Channel”
Module 1 : Set up your Channel Profile Type your information in the fields. Upload a profile photo by clicking “Add Photo”. Select “Continue” when you are finished. You will be brought back to your profile page afterward.
Module 2 : Uploading a video to YouTube • Click on the video above to watch a tutorial on how to upload a video to YouTube. • If you wish to skip and see a step by step process just click the forward arrow below • You may PAUSE, FAST FORWARD, REWIND, or STOP during video • Click the forward arrow below when you are ready to go to the next step.
Module 2 : Uploading a video to YouTube • Make sure that you are logged in. To start the upload process click on the upload button shown above. • Click the forward arrow when you are ready to go to the next step.
Module 2 : Uploading a video to YouTube • You will be taken to the Upload page. • Once there click the “Select files to upload” icon to pull up the files from your local computer. • Click the forward arrow when you are ready to go to the next step.
Module 2 : Uploading a video to YouTube • You will now be prompted to select the video you wish to upload. • Select the video. Click the “Upload” button. • Click the forward arrow when you are ready to go to the next step.
Module 2 : Uploading a video to YouTube • If you have selected an appropriate file format (tips on next page), you will notice the upload process bar above begin to raise to 100%. Once at 100% the video has been uploaded. • Please visit Module 4 for to learn how to add basic settings to your video. • Click the forward arrow below when you are ready to go to the next step.
Module 2 : Uploading a video to YouTube • Videos must be 15 minutes or shorter. • See the list above for the format of video files supported by YouTube. • Please make sure you own the copyright to your video. YouTube may reject your video if you infringe copyright. • Please click the forward arrow to move on to Module 4 and learn how to upload basic settings to your video.
Module 3 : Add information to Video 1. You MUST add a title to your video. Your video will not save without one. 2. You can add a description, but it is not necessary. However it can provide viewers with further information about your video. 3. Tags can be added, but are not necessary. However, they are helpful so viewers can find your video in a search. 4. A category can be added, but is not necessary. If added, use the drop down menu of choices. Refer to next slide for field locations.
Module 4 : Setting the privacy • Click on the video above to watch a tutorial video about the privacy settings • If you wish to skip and see a step by step process just click the forward arrow below • You may PAUSE, FAST FORWARD, REWIND, or STOP during video • Click the forward arrow below when you are ready to go to the next step.
Module 4 : Setting the privacy • There are three levels of privacy settings for your YouTube video. • Click on the icon above of the Privacy Setting you would like to learn more about
Module 4 : Setting the privacy • When you upload a video, by default it’s set as a “Public” video • Anybody can view it • You can easily change the privacy settings while you’re uploading the video in the “Privacy Settings” section • Click on one of the Privacy settings below to learn about the other privacy settings
Module 4 : Setting the privacy • Making a video unlisted means that only people who have the link to the video can view it. • To share an unlisted video, just share the link with the people who you’d like to have access to it, and they’ll then be able to see it. • The people you share the video with do not need to have a Google account to see the video, and they can share with more people simply by forwarding the link to them.
Module 4 : Setting the privacy • A private video can only be seen by you and the users you select. • The video won’t appear on your channel or search results and will be invisible to other users.
Module 5 : Share the Video To share the URL simply copy the video link from the Video URL field on the Basic Info page. You can then share the video using any medium you prefer; e-mail, blog, Facebook, etc.
Module 6 : Completion / Assessment Congratulations! You have successfully completed the tutorial on how to set up your own YouTube channel. We would like know what you think of this training. Please click the link below to take a two-minute survey about your learning experience. Note: Your browser will be directed to a survey “You and Your YouTube Channel” created at surveymonkey.com. https://www.surveymonkey.com/s/2DMWR9H