Download
1 / 19
190 likes | 197 Views
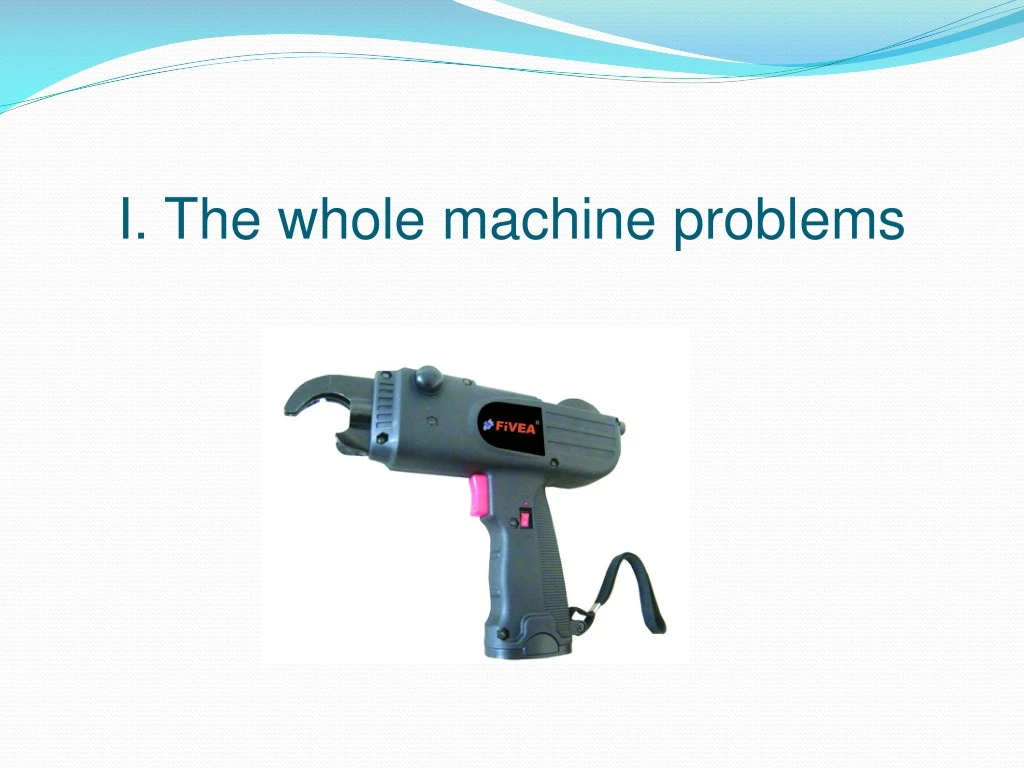
Learn how to diagnose and fix common issues with your machine, including low voltage, PCB or motor malfunctions, wire jams, unstable wire length, wire cutting problems, wire deviation, and more.

E N D
1.Machine does not work properly Possible causes : 1)How to test the voltage: transfer the millimeter to voltage range(20V), then put the red pen on the anode in the middle, put the black pen on the cathode in the middle. The battery is qualified if the voltage is between 9-13. Please see the pictures below. Solution Replace the defective battery pack (exploded number 32) with a good one normal Low voltage, abnormal
2)There is something wrong with PCBor motor • How to judge the problem: • a. Make sure the battery is charged. • b. Put the battery into the machine. • c. Turn on the main switch. • d. Watch if LED is on and whether there is a "beep" sound? If one or both are negative, then it is something wrong with PCB, if both are positive, we can conclude that something wrong with the motor. • solution: Replace the defective PCB(exploded number 14) with a good one or replace the defective motor (exploded number 19) with a good one. PCB, exploded number 14 Motor: exploded number 19
1.The machine works, but no wire comes out. possible causes : 1)Wire does not go through wire board channel and is embedded in gear due to improper operation. Please see Picture 1 solutions: Open the machine's casing, pull out the wire with pliers, then install the machine. After then, re-mount the tie wire spool according to the manual. 2)There is knot on the wire or the wire is bended. Please see picture 2. solutions: Cut off the knotted wire and bended wire Picture 1 Picture 2
3)Wire sending board is loose. The screw of the wire sending board may become loose because it often knocks against the rebar or other things during working.) Solutions: Tight the screw. Please see picture 3. 4) The spring of the wire cutting blade is broken off, which makes the knife block jams at exit of the wire Solutions: Replace the defective spring of the wire cutting blade with a good one (exploded number 05). Picture 3 Spring, exploded number 05
2、Wire length of a tie is unsteady. • Possible causes : • 1)The pressure of the compression spring of the wire sending board is not strong enough. • how to judge: when tying, the wraps of tie do not meet the requirement we set. • Solution : Replace the tool frame(exploded number 06). Then re-adjust the black length button to get a proper length. 2)PCB problem • How to judge: the length of the wire remain almost the same length when adjust the length dial to the maximum and minimum. • Solution : Replacement PCB (exploded number 14) Tool frame, exploded number 06 PCB, exploded number 14
3)The resistance of the damping fin on the wire-spool cover is too big, which causes that the wire goes un-freely and unsteady. • How to judge: the wire comes out for a tie is very short. At the same time, there are very obvious scratches on the wire spool. (Slight scratches are normal.) Solution : Replace the wire-spool cover. Scratches on wire spool wire-spool cover
The wire can not be cut off when a tie is finished. • 3、the wire can not be cut off how to judge: the wire can not be cut off after a tie is finished. • Possible causes • 1)the wire cutting blade is worn. • how to judge:the wire can not be totally cut off. • Solution: • Replace the wire sending board and wirecutting blade components (exploded number 04) • 2)One-way bearing is worn After the machine finishes the wire feeding, when the motor rotating, the wire twisting shaft does not rotate and can not drive the wire cutting blade to work because the one-way bearing is worn. This causes the wire cannot be cut off at all. How to judge: the wire cannot be cut off at all. Solutions: • Replace the tool framecomponents(exploded number 06) wirecutting blade components (exploded number 04) tool framecomponents (exploded number 06)
4、The wire deviates from its right path. • How to judge: the wire goes out of the head, and can not form a tie. Please see “Picture A” • Possible causes • (1)The wire feeding channel is blocked. The wire feeding channel(see picture B) between the exit of wire and the curl guide is blocked by the being-tied articles. • Solution : • Adjust the operating gesture. • (2)The wire circle is too big.(The dia. of the wire is bigger than the biggest dia. of the head of the machine.) • Solution : The standard diameter of wire feed block circle is 48cm. Adjust the wire feed block circle dia. to 48mm by adjusting the screw. Make the circle smaller by below 3 steps: a. Loosen the screw b. move the wire feed block upward. c. tight the screw Picture A Picture B Picture C
5、The machine cannot make a good tie. • 1)Wire cannot form a tie • Possible causes: • Wire circle is too small • Solution: • Adjust the screw The standard diameter of wire feed block circle is 48cm Make the circle smaller by below 3 steps: a. Loosen the screw b. move the wire feed block downward. c. tight the screw
2) is hard to pull off the machine from a tie Possible causes : Wire circle is too big Solution : Adjust the screw on wire feed block to make the circle smaller. The standard diameter of wire feed block circle is 48cm • Make the circle smaller by below 3 steps: a. Loosen the screw b. move the wire feed block upward. c. tight the screw
3)The tie is twisted off when tying, please see “picture D” possible causes: Torque is too large Solution: Reduce the torque by adjusting the blue torque dial. (See picture F) Turn it in clockwise ("+" direction )to increase the torque, turn it counterclockwise to decrease the torque("-" direction). P.S.: Please adjust the dial in opposite direction when reaching maximum or minimum torque to prevent the dial from being damaged. picture F: adjust blue torque dial picture D: the tie is twisted off picture E: normal tie
4)Tie is not tight, see picture H. Possible causes: Torque is not strong enough Solution: Increase torque by adjusting the torque dial • Turn it in clockwise ("+" direction )to increase the torque, turn it counterclockwise to decrease the torque("-" direction). • P.S.: Please adjust the dial in opposite direction when reaching maximum or minimum torque to prevent the dial from being damaged. adjust blue torque dial picture H: tie is not tight enough picture I: a normal tie
6. The wire comes out normally, but it can not form a tie. • possible causes : • 1) The hall block components (exploded number 11) does not connect well with PCB components (exploded number 14) . (See picture M) • solution: Open the casing of the machine, connect the hall block components (exploded number 11) well with PCB components(exploded number 11) , then close the casing. (see picture N) • 2) hall block components (exploded number 11) is damaged. Solution: • replace the hall Block Components. Picture M Picture N Hall block components (exploded number 11)
1. The problem of adapter and charger base How to judge the problem: 1. Connect the adapter with socket, there is something wrong with the adapter if the red indicating lamp is off. 2.If the red indicating lamp is on, the adapter is qualified. 3. Then connect the charger base with the adapter and see if the green indicating lamp of charger base is on, if the green lamp is on, the charger base is qualified, if the green lamp is off, there is something wrong with the charger base. Solution : Replace defective adapter (exploded number 48 ) or defective charger base (exploded number 49 ) into the good one.
2、The battery pack can not be recharged Possible causes : 1)The battery pack has no electric voltage. a.Battery pack is bulging,see “picture J” reason:the battery is charged for too long. The standard charging time is 3 hours) b.The battery pack is short-circuited,see “picture K” Reason:the anode and the cathode connect with the same conducting medium. When the battery pack is short-circuited, the its voltage is 0V) picture J picture K How to test the voltage: transfer the millimeter to voltage range(20V), then put the red pen on the anode in the middle, put the black pen on the cathode in the middle. If the voltage between 9-13, the battery is ok. Please see the picture L. picture L
2)The battery pack has a poor connection with the charger base. How to judge the problem: a. make sure the battery pack and the adapter is ok. b. connect the adapter to the socket, and connect the charger base with the adapter, if the green light is on, then insert the battery pack into the charger base. Check if the red indicating lamp is on. If the red lamp is off and the green lamp is on, that means the battery pack has a poor connection with the charger base. Solution : Replace the defective Battery pack (exploded number 32) or defective charger base (exploded number 49) with a good one If the red lamp is off, and the green lamp is on, normal. The red lamp is off, and the green lamp is on,abnormal.