Download
1 / 21
210 likes | 352 Views
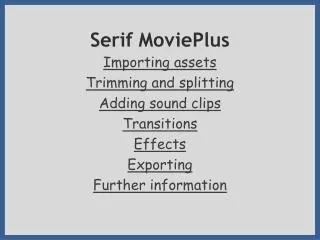
Serif Part 2. Adding text popups to pictures Adding a rollover image Adding a popup rollover Adding a Voki. How to add a text box that s hows when you put your mouse over it . Right click on the picture Choose – Export Options.

E N D
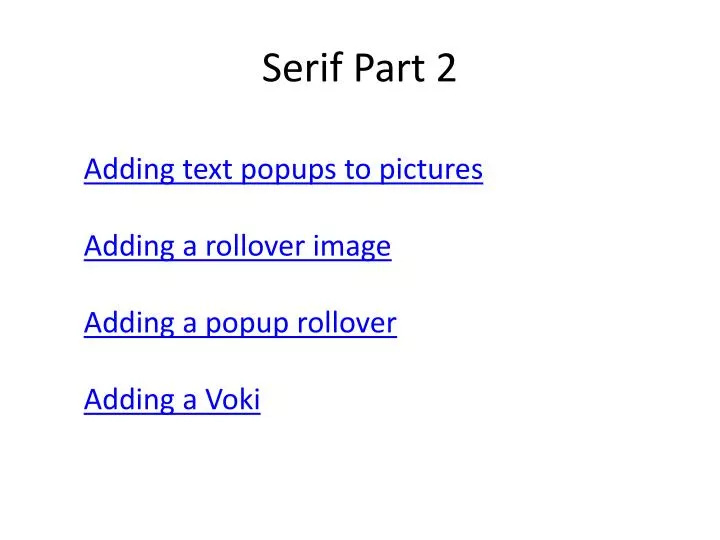
Serif Part 2 Adding text popups to pictures Adding a rollover image Adding a popup rollover Adding a Voki
How to add a text box that shows when you put your mouse over it
Right click on the picture Choose – Export Options
…then choose ALT and TITLE and add your words in the TITLE box
Add a rollover image A picture that changes when you put your mouse over it
You can then choose the normal image ..and the Over image Click Ok Then preview your website in Internet Explorer
Choose the original picture Choose the picture that it changes to You can add a caption here You need to set what position the popup picture will appear. Click here
Create your Voki by clicking on Customize Your Character. When you are done, record some words, then Publish
You now need to Publish your Voki so you can use it on your webpage. Click on ‘Publish your Voki’
For your 1stVoki you WON’Tneed to register with an email address Just click on the X
On the next screen click on Copy. This will copy the web address of the Voki you have just created
Now you need to add the link you just copied. In Serif Web Plus choose Insert – Web Object – HTML Then draw out where your Voki will go
To see your Voki working, Preview your website in Internet Explorer