Download
1 / 3
50 likes | 120 Views
Complex progressive die and tool designs automatically indicate that you need more stations. Similarly, you can reduce the stations if the design is simple.

E N D
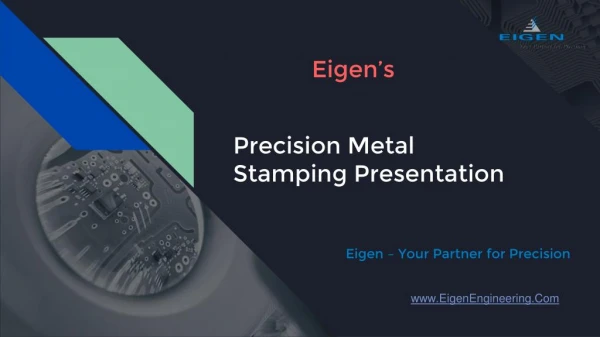
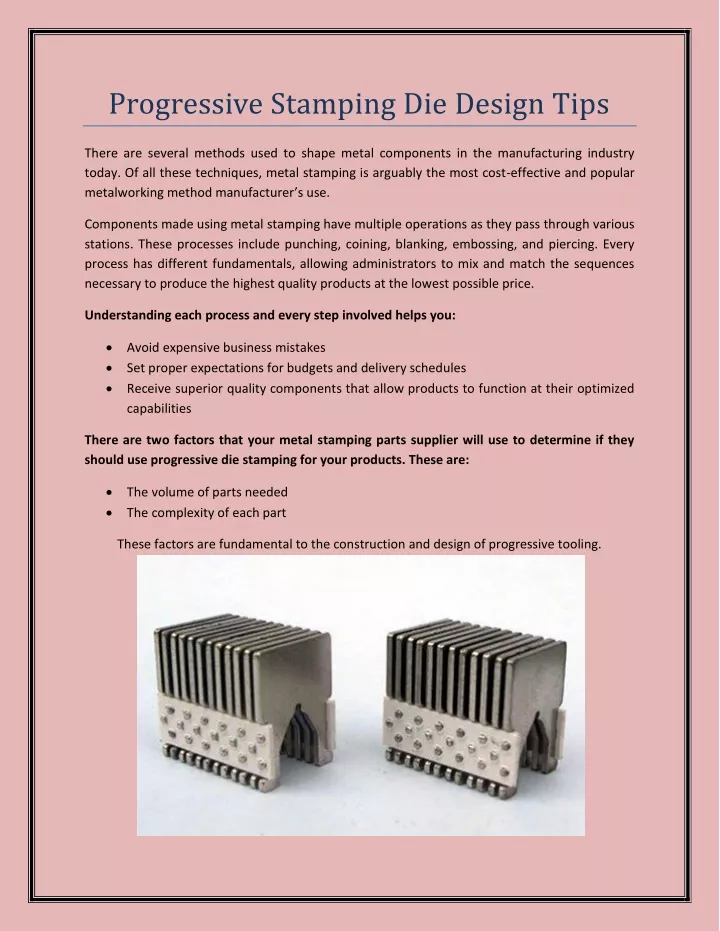
Progressive Stamping Die Design Tips There are several methods used to shape metal components in the manufacturing industry today. Of all these techniques, metal stamping is arguably the most cost-effective and popular metalworking method manufacturer’s use. Components made using metal stamping have multiple operations as they pass through various stations. These processes include punching, coining, blanking, embossing, and piercing. Every process has different fundamentals, allowing administrators to mix and match the sequences necessary to produce the highest quality products at the lowest possible price. Understanding each process and every step involved helps you: Avoid expensive business mistakes Set proper expectations for budgets and delivery schedules Receive superior quality components that allow products to function at their optimized capabilities There are two factors that your metal stamping parts supplier will use to determine if they should use progressive die stamping for your products. These are: The volume of parts needed The complexity of each part These factors are fundamental to the construction and design of progressive tooling.
Five Tips for Successful Progressive Die Design: Step 1 – Identify the product’s orientation: The design of your progressive die and tools is primarily decided by how the product or component will progress through them. One challenging stage of progressive tool and die design is to rotate a part along the metal strip. Rotating components to optimize materials is often the only option in most use cases. In other situations, you need to compromise between component rotation and cam angling. This impacts your progressive die and tool cost and design directly. Another factor to consider while shortening your material feed is a component’s rotation. If the feed is shorter, it has fewer issues and runs faster. Step 2 – Determine how the part will be carried: How every component is carried will directly impact how well you feel the raw material, whether you lift the strip during feeding and the output’s quality and consistency. Carrying components requires specific configurations. Your other option is to carry the part on one side of the strip. However, lifting the strip is harder in this case. You will need lifters at the centre of the strip.
Another option is using the ladder-style to carry the component. This works better for complex components or those that need more lift. Engineers work on the tool and die design and must ensure the appropriate carrier is used for this task. Step 3 – Piloting: To decide the pilots in this step, the engineers and die designers must consider the configuration and tolerance needs of the client and project. Step 4 – Ensuring an exit plan: An exit plan is a fundamental part of progressive tool design. Multiple factors must be included, such as the component’s weight, shedder pin and the type of carrier being used. Therefore, manufacturers must have an exit strategy in place from the beginning to ensure the progressive tool and die designing process is effective. Step 5 – Identifying the exact number of stations required: Once you have finalised the progressive tool and die design, you should confirm the number of stations your project will require. If this is not done at the start and the number doesn’t match, the resulting design could damage the progressive tooling you currently have in place. Complex progressive die and tool designs automatically indicate that you need more stations. Similarly, you can reduce the stations if the design is simple. If you need to add more stations later, it could compromise the integrity of your progressive tooling. Content Source: https://bit.ly/3MqrXh1 Contact Us – No.55-A, Hunachur Village, Jala Hobli, Yelahanka Taluk, Bangalore North, Near Kiadb Aerospace Park Bangalore, Karnataka Call Us – (+91) 80 68476500 Mail Us – info@eigenengineering.com