Download
1 / 10
100 likes | 228 Views
Introduction to Boardmaker. Resource Guide. brooslinj@sps.springfield.ma.us. Building a Board. You can customize your board based on your students individual needs: You can change the color, shape, and size of your buttons (boxes). Setting the Board Size.

E N D
Introduction to Boardmaker Resource Guide brooslinj@sps.springfield.ma.us
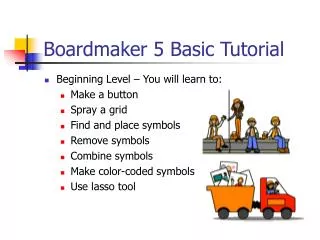
Building a Board • You can customize your board based on your students individual needs: • You can change the color, shape, and size of your buttons (boxes)
Setting the Board Size • Click on file and go to printer setup. • Change width and height to make it either portrait or landscape. • Change grid size, gap width, and gap height to 0 if you don’t want any spaces between your grid. • Click on print setup to make it either portrait or landscape. • You can save these settings so you don’t have to always go through this procedure by clicking on Remember print and board orientation on right hand side.
Creating a Grid of Buttons • Click on the button tool. (It is the 3rd button in on the tool bar.) • Click on the left side of the mouse and move your mouse to make a button. • Select the button sprayer button. Use your mouse to put arrow in middle of button. Left click the mouse and move your mouse to create a multiple of buttons.
Changing the Color of the Buttons Click on the button. Click on the color tool. Select a color. If you want to change all of the buttons to one color, you have to left click and drag your mouse over all the buttons. Select the color you want.
Changing the Button Board -thickness • If you would like to change the thickness of the button, select a button by left clicking on mouse. • You need to select thickness tool (9th button on toolbar) • You can pick from a series of options.
Changing the Button Shape Select a button. Select the corner tool (next to thickness tool) Select the button corner that you want.
Symbol Finder • Select the symbol finder (the first button on the toolbar) • Type a word in the search area • Click on the shape toolbar in the symbol finder to select the picture you want. • Click on the picture, bring arrow to button by using your mouse, and left click on mouse.
Searching for Symbols by Categories • Click on the symbol finder • Click on the button in the middle of the symbol finder (pic of apple, man, and house) • You can click on different categories to limit pictures selected. • You can also select tool in symbol finder to customize languages, color/black and white symbols, and labels.