Download
1 / 181
1.89k likes | 2.26k Views
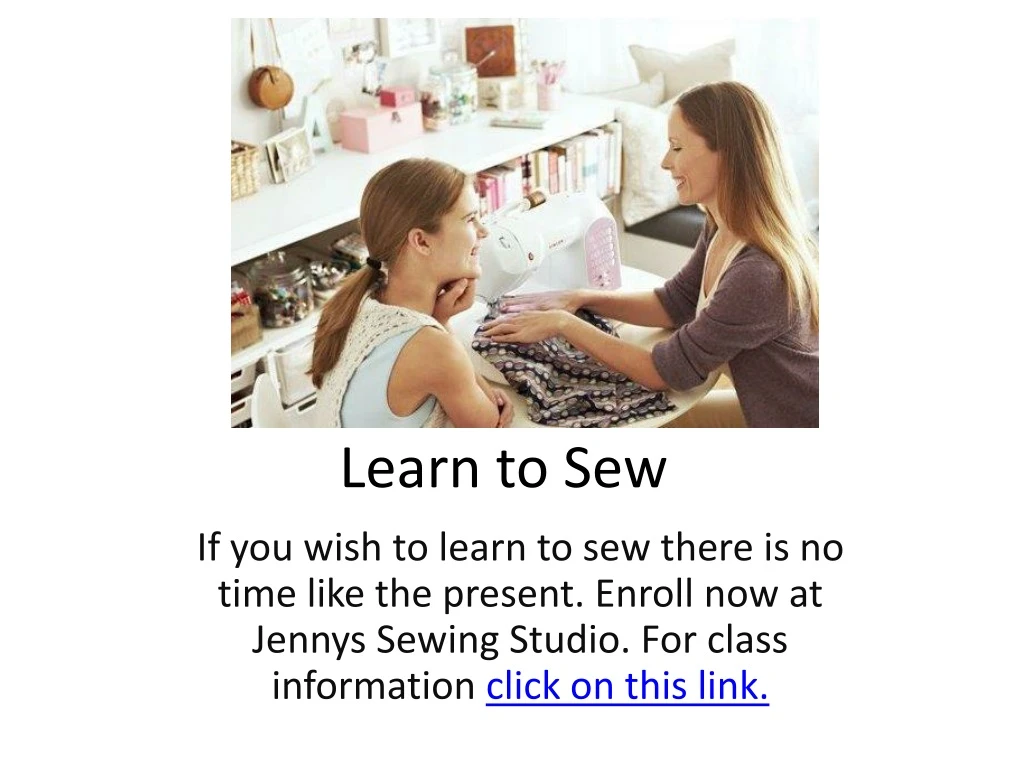
Learn to Sew. If you wish to learn to sew there is no time like the present. Enroll now at Jennys Sewing Studio. For class information click on this link. When you learn to sew, I show you sewing skills you use everyday whether you want to sew clothing, crafts, home décor, or quilting.

E N D
Learn to Sew If you wish to learn to sew there is no time like the present. Enroll now at Jennys Sewing Studio. For class information click on this link.
When you learn to sew, I show you sewing skills you use everyday whether you want to sew clothing, crafts, home décor, or quilting.
Each skill learned, builds on another skill. As you learn to sew a seam or pivot the corners you add the skill to sew things like pockets, pillows and collars. To become a good sewer you need to practice the basic skills.
Learn to use your sewing machine! In the beginner class you will learn to thread the machine and use straight stitch, change the feet and needle plus adjust stitch length and width.
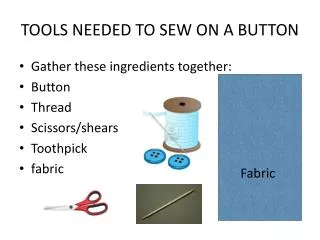
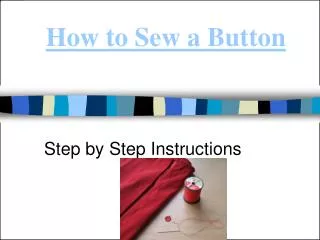
I teach a 2 hour class on machine skills. I cover changing feet, gathering, zig-zag use, applique, sewing on a button, making a buttonhole, mending, overedge and blindhem.
I can help you purchase your first machine by showing you the features that will benefit the most.
Learn to use your sewing machine. There are many tutorials on line to teach you how.
You can schedule a 2 or 3 hour session on sewing machine accessories and how to use them. The cording foot can be used to sew cord with decorative stitches or used as a gathering foot. The ruffler works wonders with ruffles for country curtains and pillows.
Over edge foot is used with the over edge stitch built in your sewing machine. You can finish seams and keep fabric from raveling . You can also use this foot to make a knit seam. The narrow rolled hemmer foot is great for hemming ruffles and lightweight garments where the hem needs to be small.
The gathering foot works best on lightweight fabrics and makes shirring easy. Use the circular stitcher to create decorative effects on your fabric.
The blind hem foot makes sewing a sporty hem in pants, shirts and drapery easy. The adjustable gauge keeps the foot close to the fold. As you sew using the blind hem stitch, it picks the fold every 5 stitches for a perfect hem. The button sew on foot positions and holds the button securely as your sewing machine sews it in place. I usually use the zig zag stitch for this task.
Pick the right needles for your machine. Consider the fabric, the most common fabric types are knits and wovens. Consider the weight of the fabric. The needle size should reflect the fabric. light size 11/70 , medium size 14/90, heavy size 16/100
Fabric markers like a wash away pen • Clover chalk in white for dark colors • Seam presser
Thread Buy a good quality all purpose all sew polyester thread! Spools are usually 250meters or 500meters I like Swiss Metrosene and Gutermann and you can use Coats and Clark.
Buy good Quality scissors. They will last a life time. Make sure the shears are heavy enough to cut through heavy and dense fabrics with ease. Bent handle Shears are created for cutting out your fabric and pattern, If you are sewing with a lot of jersey knits you will need serrated shears. You will need to purchase some 5” or 6” trimmers for notching and clipping seams and cutting threads. Pinking shears are great for seam finishes and notching outside curves.
Even if you do not iron your clothing anymore, you will need a good steam iron to sew with. It does not have to have a lot of bells and whistles but the iron has to give good steam. Buy a plug in iron. Cordless irons do not work for sewers.
I use a pressing mat. This one is great as I can turn it over to use the rotary cutting mat on the other side. If I need dimension for sleeves or darts I have a pressing ham and a sleeve roll. I use a paper towel as a pressing sheet and wet it when I need steam.
Here is a picture of the rotary cutter, ruler and mat. All are essential in using the cutting system. The rotary cutter is surgically sharp so it is important to follow all the safety rulers.
12” and 6” and 6 ½” plastic see through rulers come in handy. Most rulers are marked every 1”, ½” and ¼”. Ruler also have a 45 and 60 degree angle markings for triangles. 24” x 6” rulers are perfect for the rotary cutter. You will need a 24” X 18” mat if you want to learn strip piecing.
Here are some projects made using the rotary cutter to make strips.
The Singer Sewing Book is my favorite reference! You can find it on Amazon.com
Learn to do straight stitch and how to keep your sewing even and straight.
Placing the presser foot next to the fabric edge gives you a guide for a ¼” seam.
Adjust your needle position on straight stitch using the width setting. On my machine 4.5 gives me a perfect ¼” seam
To sew straight I always press the hem in place and then find a press foot position to maintain. Here the left fold is against the edge of the foot.
Once you invest in your sewing machine consider a ¾ spool serger. This machine is great for seam finishes and ¼” knit seams. You can even do decorative edges. Here are a few ideas how to use a serger.
A serger is perfect for seam finishes on a curtain or garment. A 3 thread serge keeps the fabric from raveling, can be decorative and is a work horse on ruffles.
Learn to Sew Step one is to learn the sewing machine and some basic sewing equipment. Step two is to learn basic seams. 5/8” is standard garment seam. ¼” is a standard craft and quilt piecing seam. Step three is to learn some technique like hemming, forming a casing, pivoting, trimming, gathering, hand sewing and putting in a zipper. Step four picking the appropriate pattern, sizing a pattern and purchasing fabric. Step five is reading a pattern , understanding the symbols, fabric layout, cutting the fabric once you lay it out and marking guide markings on the pattern. Step six is construction
A beginner project I start everyone on is a pin cushion. If you can make a pin cushion you can sew! Cut 2 squares about 6 or 7”. Place them right sides together. Use a ¼” seam and pivot at the corners. Leave an opening to turn the project. Stuff and hand sew the opening. You have just learned to make a pillow and a pocket.
Try some easy projects from Jenny’s Sewing Studio. Projects are free! Learn to make a placemat set for each season!
Make a purse from a placemat. They are really cute and easy to do.
Make a Back Pack from prequilted fabric. Here is a free pattern!
Inserting a Zipper is easy if you know the right steps! Consider the type of zipper application you will need before you start your project. For a dress or top you can do a center zipper application. A casual or sport garment will use a left or right lap application. If you are making slacks with a front opening you will need a fly application.
If you are making a purse or a pillow or a craft, the zipper is usually exposed and the insertion is a skill I teach as a basic skill builder in beginning sewing.