Download
1 / 3
30 likes | 37 Views
Start with ensuring that the RPM sensor is fitted to the correct vent plug of the slick magneto.

E N D
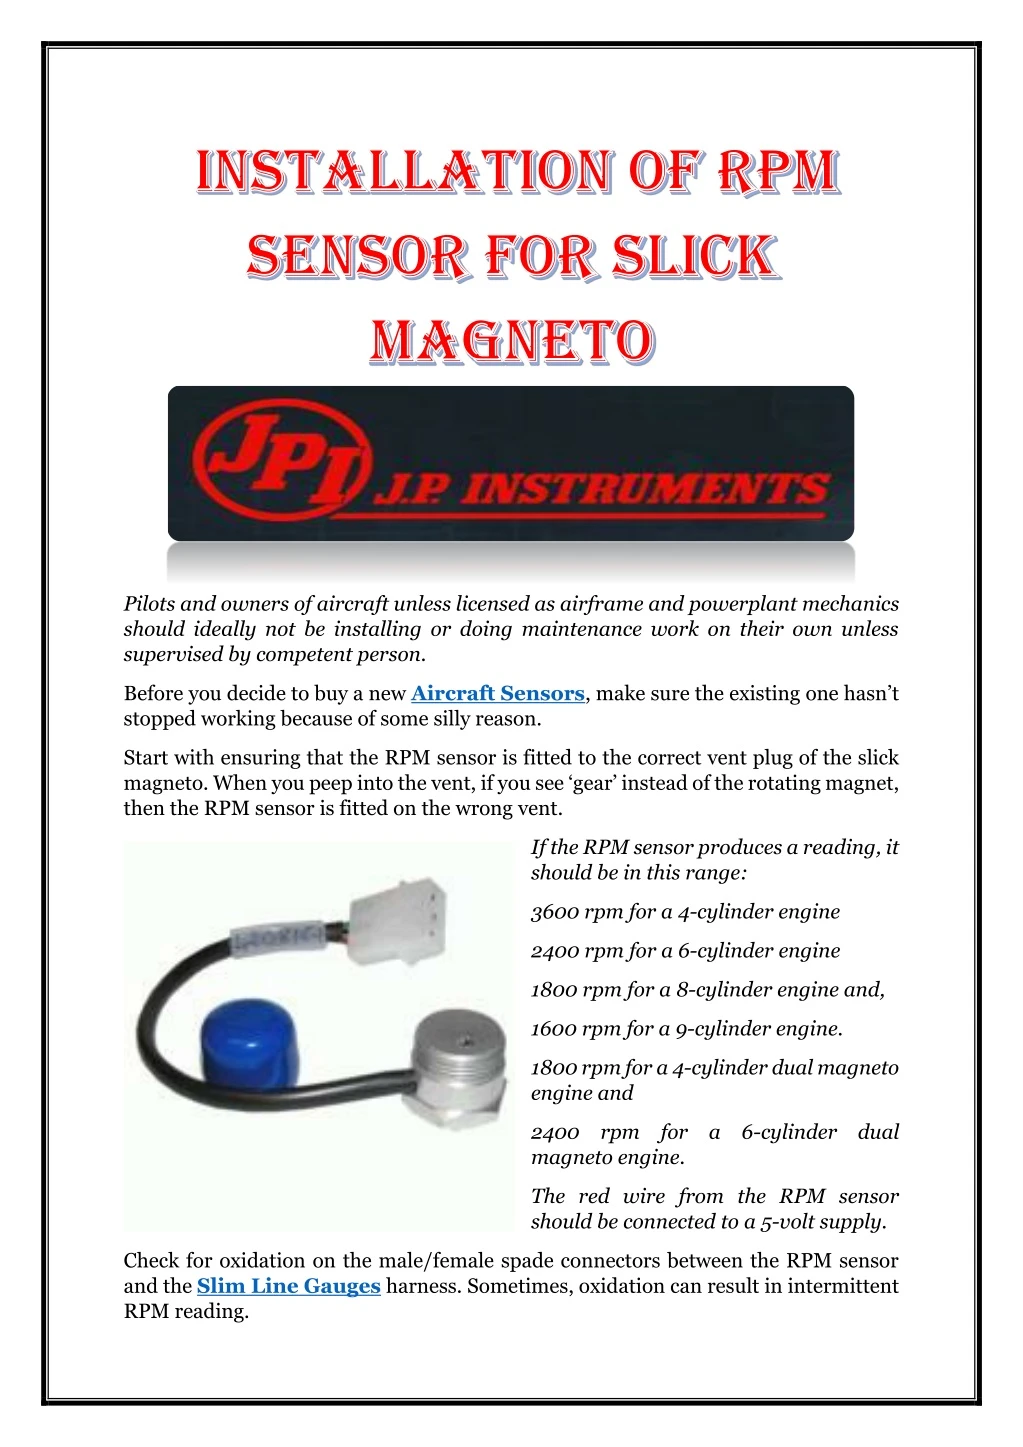
Pilots and owners of aircraft unless licensed as airframe and powerplant mechanics should ideally not be installing or doing maintenance work on their own unless supervised by competent person. Before you decide to buy a new Aircraft Sensors, make sure the existing one hasn’t stopped working because of some silly reason. Start with ensuring that the RPM sensor is fitted to the correct vent plug of the slick magneto. When you peep into the vent, if you see ‘gear’ instead of the rotating magnet, then the RPM sensor is fitted on the wrong vent. If the RPM sensor produces a reading, it should be in this range: 3600 rpm for a 4-cylinder engine 2400 rpm for a 6-cylinder engine 1800 rpm for a 8-cylinder engine and, 1600 rpm for a 9-cylinder engine. 1800 rpm for a 4-cylinder dual magneto engine and 2400 rpm for a 6-cylinder dual magneto engine. The red wire from the RPM sensor should be connected to a 5-volt supply. Check for oxidation on the male/female spade connectors between the RPM sensor and the Slim Line Gauges harness. Sometimes, oxidation can result in intermittent RPM reading.
Test the ignition wire boots and caps to check continuity. If you are convinced that you do need to install a new RPM sensor for your Slick magneto RPM Standard Sensor for vent plug for Slick magneto (JPI part # 10- 05652); start with: 1.The rotating magnet will have a vent plug – remove that. 2.Make sure you have removed the plug from the correct vent by: 3.Peeping into the vent and ensuring that you are not seeing the ‘gears’. You should only be seeing the rotating magnets. 4.Insert the speed sensor into the vent port and initially use your fingers to tighten then tighten 1/8 turn. 5.After installation, when you fire up the aircraft engine, the RPM Gauges in the cockpit should be in the ranges mentioned above in this article. 6.Route the wires back towards the firewall – avoid attaching the wires directly to the ignition. 7.Sufficient slack should be provided in the wire bundle to allow for engine movement between the engine and the engine mount. 8.Connect the wires to the corresponding coloured wires in the instrument harness. Once everything is installed, you need to test the engine prior to take off. Any malfunctioning in the ignition system can be identified by observing changes in rpm that occurs when the ignition switch is moved from “both” to “right” and then from “both” to “left”. A small variation (decrease) in engine rpm is normal during this test. The permissible decrease is listed in the AFM or POH. If the aircraft engine stops running when switched to single magneto or if the rpm drop exceeds the prescribed limits, do not fly the aircraft until the problem is resolved. It should also be noted that no variation in rpm is not normal and the aircraft should not be flown. To buy the latest RPM sensor for Slick Magneto, please visit: https://www.jpinstruments.com/shop/rpm-sensor-for-slick-mag/ JPI Sales: 1-800-345-4574 714-557-3805 FAX: 714-557-9840 sales@jpinstruments.com
JPI Technical Support: 1-800-345-4574 714-557-3805 support@jpinstruments.com J.P. Instruments Inc: 3185-B Airway Ave Costa Mesa, CA 92626