Download
1 / 24
240 likes | 383 Views
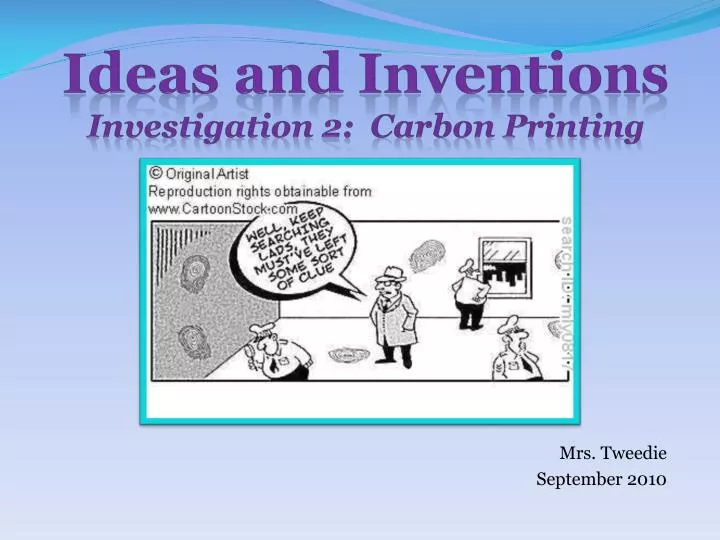
Ideas and Inventions Investigation 2: Carbon Printing. Mrs. Tweedie September 2010. Part 1A: Introducing Carbon Printing. Run your fingers across the palm of your hand. How does it feel?. Part 1A.

E N D
Ideas and InventionsInvestigation 2: Carbon Printing Mrs. Tweedie September 2010
Part 1A: Introducing Carbon Printing Run your fingers across the palm of your hand. How does it feel?
Part 1A Even though your hands feel smooth, they have texture. High and low places on a surface give it texture.
Part 1A The difference between the high and low places on the skin of the palm of the hand is very slight. Consequently we do not often see them. We need special techniques to help us see things such as skin texture.
Part 1A How can we look for patterns on finely textured objects like fingers?
Part 1A Carbon Printing Demonstration
Part 1A Your Turn: Materials: Tape Pencil 2 Small Post it Notes Magnifying Glass
Part 1 Carbon Printing Directions: Get a small piece of scratch paper. Scribble on it with a pencil. Rub (don’t roll) the scribble mark on your thumb. Make sure to cover the whole pad (center) of the thumb to the first bend. Stick a piece of tape onto the thumb the long way so the tape is running along the thumb rather than across it.
Part 1A Introducing the Three Basic Patterns Fingerprint investigators have discovered that there are three basic patterns for most fingerprints-arch, loop, and whorl.
Part 1 Arch fingerprints are characterized by lines that start on one side of the print, rise, fall, and exit on the opposite side of the print.
Part 1 Loop fingerprints are characterized by lines that start on one side of the print, rise, and then turn around and exit on the same side.
Part 1 Whorl fingerprints are characterized by lines that go in circles. All lines come back to the place where they started.
Part 1A Which one is your thumb print?
Part 1A Making a Bar Graph
Part 1B Today we are going to make a carbon printing of all of our fingers and thumb. You will need: Materials: Tape (5 pieces) Pencil 1 Large Post it Note Magnifying Glass Carbon Printing Student Sheet #5
Part 1B Make a carbon print of each of your fingers and thumb. Identify each finger/thumb as an arch, loop, or whorl.
Part 1 Vocabulary Basic fingerprint patterns are whorl, arch, and loop. The process of transferring ink from the high points of a textured surface to paper to produce an image is printing. A bar graph is a way of organizing the results of an investigation to compare different things.
Part 1B Content/Inquiry Entry How can the carbon-printing technique help us learn more about fingerprints? How are fingerprints the same and different? (Teacher Reads: Fingerprints)
Part 2: Mystery Prints Fingerprints are unique to each person, they are a clue to a person’s identity. How could you tell who was the last person to pick up an apple?
Part 2: Mystery Prints Someone has been bringing presents to the teacher. Last week a candy bar, this week an apple. In order to thank the gift giver, the teacher would like to find out who it is.
Part 2: Mystery Prints You will be the detectives on the case. The apple had a nice fingerprint on it. The print has been lifted from the apple and is stuck her to this card labeled “Mystery Person.” Your job is to compare the prints of four students in a group who were seen in the room and determine which student left the apple.
Part 2: Mystery Prints Materials: Pencils Roll of tape Hand lenses Large post-it note 5 index cards Moist paper towels Student Sheet #7: Solving a Mystery
Part 2: Mystery Prints Directions Get 5 index cards and a roll of tape. Each person uses the carbon technique to make a suspect card with two prints. One index finger One thumb print Stick the two prints on an index card. Write your name on the card. This is now a suspect card. Decide who in your group is the mystery person giving presents to the teacher. Keep it a secret from the other groups. Make a carbon print of the mystery person’s index finger or thumb print, but not both. Stick the mystery print on an index card and label it “Mystery Person.” Switch cards with another group. Solve the mystery.
Part 3: Carbon Printing Inventions You can now use imagination and creativity to make inventions with carbon printing. You could: Invent a fingerprint detective game. Invent a carbon-printing art project. Invent a toe-print project. Invent a different way to make fingerprints. (Teacher read Covering Up Her Mistakes and An Inventive Farmer?)