Download
1 / 25
250 likes | 254 Views
Learn how to use Student Data Grids in SDG, including creating and configuring data grids, styling columns, previewing data, sending reports, and scheduling deliveries. Only users with the role of "DataGridsUser" and access to the application can utilize this feature.

E N D
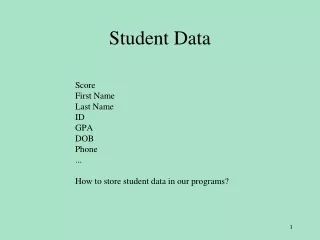
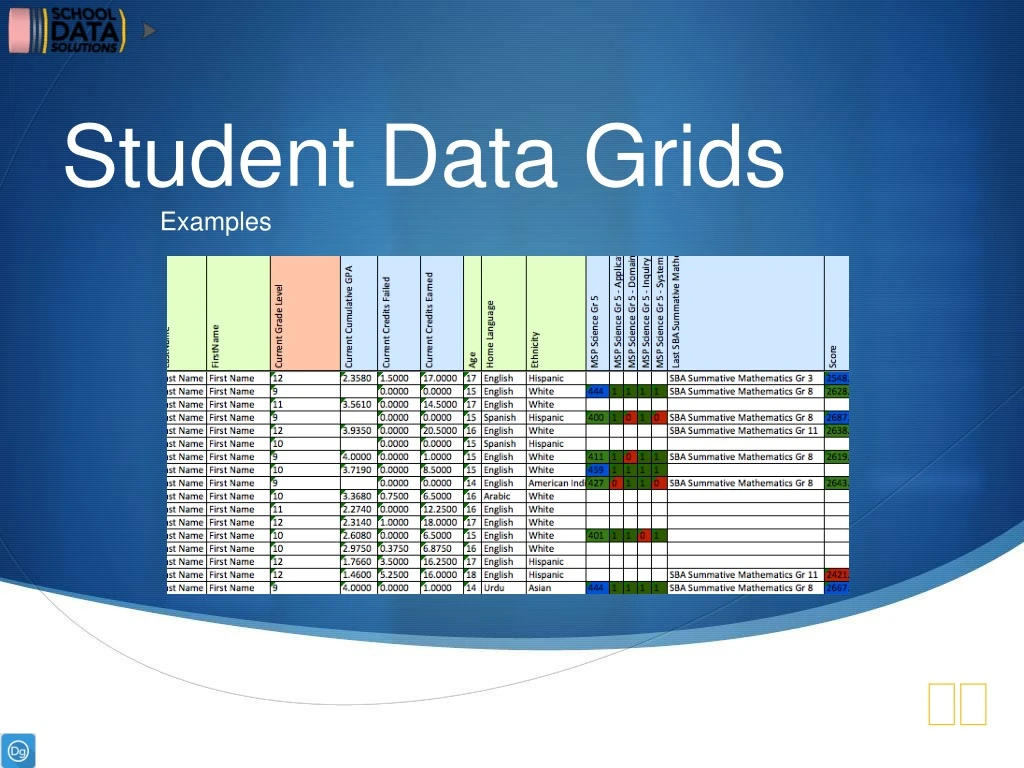
Student Data Grids Examples
Using SDG • Each user must have user role of “DataGridsUser” and the application must be turned on for your district (if you would like to see it in the app selector) • No user, other than SDS developers, will be able to schedule deliveries (at this time) or have access to the email override. • To login: Go to yourdistrict.schooldata.net/v2 or use the application selector in the top-right corner of Homeroom.
Actively being developed… • Data Columns continue to grow as we get access to more and more data. • Schedule Deliverer Role – Gives users ability to schedule deliveries themselves. • In the spreadsheet, create additional tabs for. • Data Access Permissions, incorporate "Identity Masking"
Student Data Grids – Basic Overview • Details Tab - • Define the Name of the Data Grid you are about to configure. • Columns Tab - • Ability to configure/define columns for the data grid. • Categories Tab - • Apply Styles to categories of columns. Example: All Service columns are blue, etc. • View Tab - • Render the configured “Preview” Data Grid inside the application. • Report Tab - • Send the Data Grid to yourself via email + download excel file • Schedule Deliveries Tab - • Send the Data Grid to: Teachers, School Admins, Selected User
Details Tab Not yet working… in the future it will create a workbook for each entitiy you select This is the name of your Data Grid This will put a common header between like columns (see below).
Columns Tab Delete the column. Sorting the columns. For example if I put a 1 in this box it will sort the data grid based off of SSID (since that is the column I am choosing to sort first). These are the columns we can add/configure. Note: this list is constantly changing due to the data we have access to. Configure and/or Style your already configured column of data. These are the columns that have been added/configured.
Categories Tab Ability to style the Category Style Ability to style the Column Heading Style
View Tab(I like to call this the preview tab) Select a Student Group to be used in the View tab. Clicking “Load Preview” will render the Data Grid Generated grid using top 25 students in selected student group & using columns of configured data points.
Report Tab For SDS developers, they will see the “Email Override”. Users will not have this field as the data grid will be sent to the email associated to their Homeroom user account. When you download the Data Grid, the File Name will be the same as what you enter. For example, above my excel file would be named “MyFileName would be this” Select a Student Group to be used in the View tab. Clicking “Send Spreadsheet Report” will email you a link to the Data Grid.
Schedule Deliveries Tab(only developers have access) • This whole user interface is going to change before users will be able to have access. • Provides the ability to send the configured Data Grid out to teachers, school admins, and manual user selections on a schedule.
Top 5 Column Configurations • 1. Assessments • 2. Attendance • 3. Services • 4. Class Enrollment • 5. Incident Counts The most used columns are the Non-Configurable columns which only require the user to click “add”.
Create New Data Grid • Name the Grid: • “My Workshop Data Grid” • Add Non-Configurable Columns: • Name, SSID, Grade, School, Advisor
1. Assessments Scenario 1: • A user wants to see the most recent SBA English/Language Arts assessment in the last 7 years: Assessment Name, Score, and Performance Level. • The user would also like the same columns for SBA Mathematics • Hint: This would require two different Assessment column configurations
1. Assessments Scenario 1 Answer: • Step 1: Configure & Add – Assessments • Step 2: In the Last 7 years • Step 3: All grades of Math/ELA • Step 4: Latest Score • Step 5: Include Columns • Name, Score, Performance Level
2. Attendance Scenario 2: • You’re in a meeting and your superintendent approaches you with a determined look: “These applications are awesome (like really really awesome) but I wish there was a way to see attendance data quicker than spotlighting every student.” • You: “What data do you need for attendance?” • Determined User: “I need Number of Unexcused Absence Periods in the last 30 days ANDthe Effective Yearly Attendance for the current school year.
2. Attendance Scenario 2 Answer: • Step 1: Configure & Add – Daily Attendance • Step 2: In the Last 30 School Days • Step 3: Include Columns • Number of Unexcused Absence Periods • Step 4: Configure & Add – Yearly Attendance • Step 5: Current School Year • Step 6: Include Columns • Effective Yearly Attendance
3. Services Scenario 3: • The user then would like a column to display the current Special Education status for the selected group of students. • The user would like the column header to display as “Current Special Education Status”
3. Services Scenario 3Answer: • Step 1: Configure & Add – Services • Step 2: Current Year • Step 3: Special Education • Step 4: Include Columns • Status • Step 5: Edit Column Heading • “Current Special Education Status”
4. Class Enrollment Scenario 4: • The user would love to to see the students’ prioryear, second semester Englishclass • Class Name, Year, Last Final Grade • They would also like to see data for the students’ current year Mathematics class • Class Name, Period Teacher Hint: This would be twodifferent column configurations =)
4. Class Enrollment Scenario 4 Answer English: • Step 1: Configure & Add – Class • Step 2: Last School Year • Step 3: Class Enrollment – Subject • English Language Arts • Step 4: Limit to the following Class Terms • S2, Semester 2 • Step 5: Include Columns • Last Final Grade, Class Name, School Year
4. Class Enrollment Scenario 4 Answer Mathematics: • Step 1: Configure & Add – Class • Step 2: Current School Year • Step 3: Class Enrollment – Subject • Mathematics • Step 4: Include Columns • Last Final Grade, Class Name, School Year
5. Incident Counts Scenario 5: • The user sends you an email “Wow, my day has been so crazy. I’m trying to find the number of offenses the students have for the last 5 school years. I wish there was a way to quickly do this!!!” • You: “Well, you can with Data Grids” =)
5. Incident Counts Scenario 5 Answer: • Step 1: Configure & Add – Incident Count • Step 2: In the Last 5 Years • Step 3: Limit to Incident Status’ – Offenses • Step 4: Include Columns • Number of Incidents
So… we have some columns.What’s next? • View Tab: • Select a Student Group & generate a view of the grid that you have just configured. • Report Tab: • Select a Student Group & generate a Report of the grid that you have just configured. In around 5 minutes you should get an email with a download link to the data grid • Schedule Delivery: • (We are not going to do this step due to the application changing in the short future)