Download
1 / 2
20 likes | 25 Views
Visualpath Institute is a leading and highly accredited D365 AX Technical Training Institute in Hyderabad. Which has been providing the best training by Mncu2019s experts. for more details contact 91 97044 55959.<br>

E N D
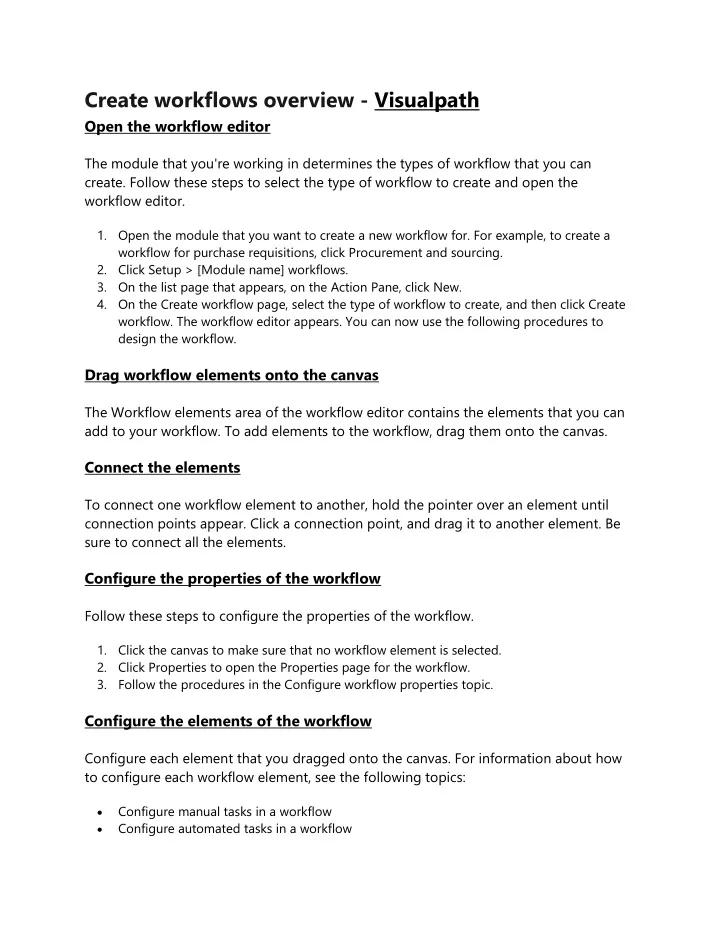
Create workflows overview - Visualpath Open the workflow editor The module that you're working in determines the types of workflow that you can create. Follow these steps to select the type of workflow to create and open the workflow editor. 1.Open the module that you want to create a new workflow for. For example, to create a workflow for purchase requisitions, click Procurement and sourcing. 2.Click Setup > [Module name] workflows. 3.On the list page that appears, on the Action Pane, click New. 4.On the Create workflow page, select the type of workflow to create, and then click Create workflow. The workflow editor appears. You can now use the following procedures to design the workflow. Drag workflow elements onto the canvas The Workflow elements area of the workflow editor contains the elements that you can add to your workflow. To add elements to the workflow, drag them onto the canvas. Connect the elements To connect one workflow element to another, hold the pointer over an element until connection points appear. Click a connection point, and drag it to another element. Be sure to connect all the elements. Configure the properties of the workflow Follow these steps to configure the properties of the workflow. 1.Click the canvas to make sure that no workflow element is selected. 2.Click Properties to open the Properties page for the workflow. 3.Follow the procedures in the Configure workflow properties topic. Configure the elements of the workflow Configure each element that you dragged onto the canvas. For information about how to configure each workflow element, see the following topics: Configure manual tasks in a workflow Configure automated tasks in a workflow
Configure approval processes in a workflow Configure approval steps in a workflow Configure manual decisions in a workflow Configure conditional decisions in a workflow Configure parallel branches in a workflow Configure a parallel branch Configure line-item workflows Resolve any errors or warnings The Errors and warnings pane at the bottom of the workflow editor shows messages that have been generated for the workflow. To find the element where an error or warning occurred, double-click the error or warning message. You must resolve all errors and warnings before you can make the workflow active. Save and activate the workflow When you're ready to save and activate the workflow, follow these steps. 1.Click Save and close to close the workflow editor and open the Save workflow page. 2.Enter comments about the changes that you've made to the workflow, and then click OK. 3.If all errors and warnings have been resolved, the Activate workflow page appears. Select one of the following options: oTo activate this version of the workflow, click Activate the new version. When a workflow is active, users can submit documents to it for processing. oIf you don't want to activate this version, click Do not activate the new version. You can activate the workflow later. For more information Click Here Contact us: 9989971070