Download
1 / 14
150 likes | 277 Views
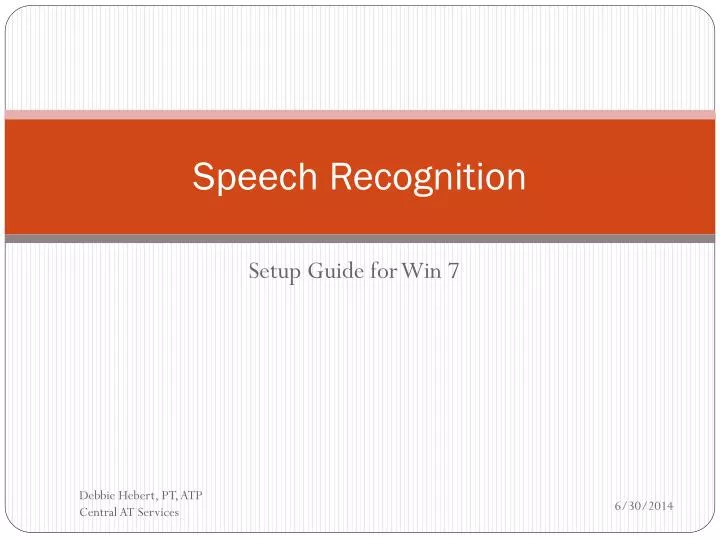
Speech Recognition . Setup Guide for Win 7. Speech Recognition…. ..it’s better than it used to be. Speech recognition is located in the Windows 7 Control Panel. 1. To set up Speech Recognition in Windows 7, open the control panel and click on “ Speech Recognition ”. .

E N D
Speech Recognition Setup Guide for Win 7 Debbie Hebert, PT, ATP Central AT Services
Speech Recognition…. ..it’s better than it used to be.
Speech recognition is located in the Windows 7 Control Panel. 1. To set up Speech Recognition in Windows 7, open the control panel and click on “ Speech Recognition”.
The advanced speech options panel allows creation of multiple user profiles on the same computer. Start Here Don’t Start Here 2. Select “Advanced Speech Options” to set up a voice file for one or more students.
Each user trains his own voice profile. 3. Click on “new” and add the name of one or more users. Select a user and then choose “train profile”. If checked, speech recognition will be available “open” each time the computer is started. (Speech Bar will appear at top of computer screen.) NO If checked, user can use voice commands to turn mic on/off instead of using mouse to click on mic.
Microphone Setup 4. The user setup wizard will ask you to identify the type of microphone the student will use. TIP: A headset works much better than desk mic or handheld.
Microphone Setup 5. Read sentences as they are presented in order to adjust the microphone volume.
User Voice Training Is Critical for Recognition Accuracy. 6. Assist the student to complete the voice training. EACH user must complete his own voice profile.
User Voice Training If the student has difficulty reading the text, quietly read it out loud to him in short phrases and allow him to repeat each phrase into the microphone so that he provides a fluent reading. Continue reading text until voice training is complete. Pause training if student needs a break, or environmental noise becomes excessive. You’ll be able to resume training when ready.
Additional Voice Training For improved speech recognition accuracy,complete additional training sessions. • Open advanced speech options. • Choose the user that needs additional voice training. • Select “train profile” to begin more voice training.
Turning Speech Recognition ON • If you chose the “run speech recognition at startup” in the user options, then the speech recognition tool will appear at the top of your computer screen (or in your taskbar when minimized). • If you chose to start speech recognition manually, start speech recognition through the control panel. Each student must use his/her own user voice profile. This is the only way to achieve speech recognition accuracy. See next slide for directions.
Turning Speech Recognition ON • ALWAYS check to be certain the Student who will be using speech recognition, is the user whose voice profile is activated. Speech recognition software updates the user’s voice file with each use in order to improve accuracy. With speech recognition ON, (bar is visible) right click on the speech recognition bar to get to the speech recognition control panel where you can select the user.
Learning to Use Speech Recognition Students need direct instruction to utilize voice recognition software effectively. • Demo speech recognition to the student, after you have set up your own voice file and developed an acceptable level of accuracy. • Work through the Windows speech recognition tutorial with your student. • Begin by giving the student short phrases and sentences that he/she can repeat. Turn the mic off and check each phrase for accurate recognition. Discuss how corrections should be made. Turn the mic back on and speak the commands to correct recognition errors. • Progress to dictating lines of memorized text, such as rhymes, poems, song lyrics, before having student use speech recognition software while composing. ALWAYS correct recognition errors or the student’s recognition accuracy will decrease. • When student does progress to use of speech recognition while composing, be certain he is well prepared and has a graphic organizer or outline to which he can refer. • Print a copy of the speech reference card and keep it handy while dictating.
For More Information about Speech Recognition in Windows 7 • Windows 7 Speech Recognition Step by Step GuideAdaptive Computing Technology Center Missouri University • Tech-Ease Windows 7 Speech Recognition Tutorial • Tech-Ease Windows 7 Speech Recognition Video • Microsoft Support for Windows 7 Speech Recognition Note: These resources do not address the creation of voice files for multiple users on the same computer. Remember this important step when setting up Speech Recognition in Windows 7 for student users. Debbie Hebert, PT, ATP