Download
1 / 5
50 likes | 177 Views
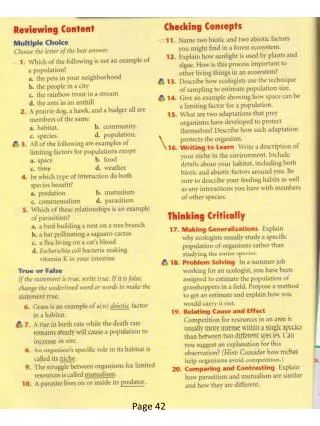
Written module activity, Page 42 1. Input: mouse, keyboard Processing : central processing unit Output: screen, speakers, printer Storage : hard drive, flash disk, CD, DVD

E N D
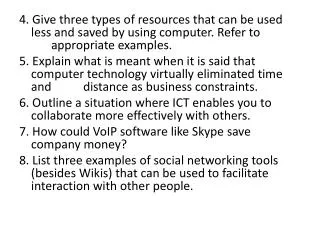
Written module activity, Page 42 • 1. Input: mouse, keyboard Processing: central processing unit Output: screen, speakers, printer Storage: hard drive, flash disk, CD, DVD • 2. a) Any ONE advantage: Less clutter on the desk as there are no wires, no cords to get tangled with anything and you have a wide range of movement. • Any ONE disadvantage: They require batteries (to produce the wireless signal), they are slightly more expensive than corded devices, there can sometimes be interference with the wireless signal, causing the device to stop working temporarily. • b) Ergonomics is the study of people in their work environments. • c) Repetitive strain injury (RSI) is the name given to injuries resulting from fast, repetitive work. • 3. The monitor is the device most commonly used to obtain output from the computer. • 4. No. An optical mouse works with a Light Emitting Diode (LED) that emits a red light underneath the mouse onto whatever surface the mouse is placed on. A wireless mouse does not connect to the computer with a cable. It uses short-range radio waves to communicate wirelessly over a short distance. A wireless mouse can also be an optical mouse. • 5. a) 21” refers to the size of the screen in inches measured diagonally
b) 1024 X 768 pixels is the maximum resolution of the screen, measured in pixels. • 6. Laser printers are cheaper to run than inkjet printers and more suited to printing large volumes, they generally print faster than inkjet printers. • 7. A colour laser printer, because you need 4 cartridges whereas with a black and white laser printer you only need one cartridge. • 8. If, for example, you plug a new printer in at the USB port, the printer is usually configured automatically, because USB ports are Plug-and-Play. This means that you can print immediately. • 9. Network ports allow you to connect your computer to a network whilst USB ports are used to plug in devices. • 10. This refers to the printer you normally want to use, unless you choose otherwise. • 11. Cancel the printing by cancelling the task in the printer queue. • 12. a) To access this printer queue, you can either access the printer via the Control Panel or by clicking the printer icon in the notification area (the bottom right-corner of the desktop). • b) Cancel, pause or restart the printing. • 13. Send your cartridges back to the manufacturer when you have finished with them. The manufacturer will then be able to re-use them or dispose of them in an environmentally friendly way. Investigate the possibility of refilling and reusing ink and toner cartridges.
Solutions: Written module activity, Page 166 • 1. To ensure that it is correct before you print to save paper. • 2. When you want to save a file in a different location.When you want to save a file with a different name.When you want to save a file as a different file type. • 3. The <Enter> key is only used to create a new paragraph. When Word reaches the end of a line the text automatically flows to the next line, known as wrapping the text that does not fit on the line to the next line. • 4. Use the Change Case command in the Font group on the Home tab. Select all the text and choose Sentence Case – it will change all the text simultaneously to lower case but still capitalize the first letter or a sentence, i.e. after a full stop. • 5. Serif fonts have short, decorative lines (serifs) at the beginnings and ends of the strokes that make up each character, e.g. Times New Roman.Sans Serif fonts are simpler, without any short lines at the beginnings and ends of the characters, e.g. Arial. • 6. 10 – 12 point for normal text. • 7. <Ctrl><A> – Select all the text, i.e. the whole document.<Ctrl><B> – Bold the word.
8. <Enter> key is used at the end of every line.Use the <Enter> key only once to create a new paragraph. Word will automatically wrap text to a new line when it reaches the end of a line. • There are empty paragraphs – the <Enter> key was pressed twice to create a new paragraph, so it created empty paragraphs between the paragraphs with text.Press the <Enter> key only once to create a new paragraph, Word will automatically apply paragraph spacing between paragraphs (when the <Enter> key is pressed). • The last paragraph is typed in capital letters.Long pieces of text in capitals are difficult to read. Keep to sentence case to improve readability. • The spacebar is used to create horizontal space between the words ‘Organise’ and the organiser’s name, etc. (to align the information).The spacebar should never be used to create horizontal space. Use the <Tab> key to create horizontal space and to align text neatly below each other. The spacebar should always only be pressed once, between words.
Solutions: Written module activity, Page 209 • 1. The default text wrapping when a picture is inserted is In line with text. Change the text wrapping option to Square or any other option. • 2. First group them – select one, hold in <Ctrl> key and select the others, then click the Group command on the Format tab. You will now be able to move them together as one picture by selecting the group. • 3. Use the Crop command on the Format tab. • 4. Ungroup them – select the shape, then use ungroup from the Group dropdown box on the Format tab.