Download
1 / 3
30 likes | 54 Views
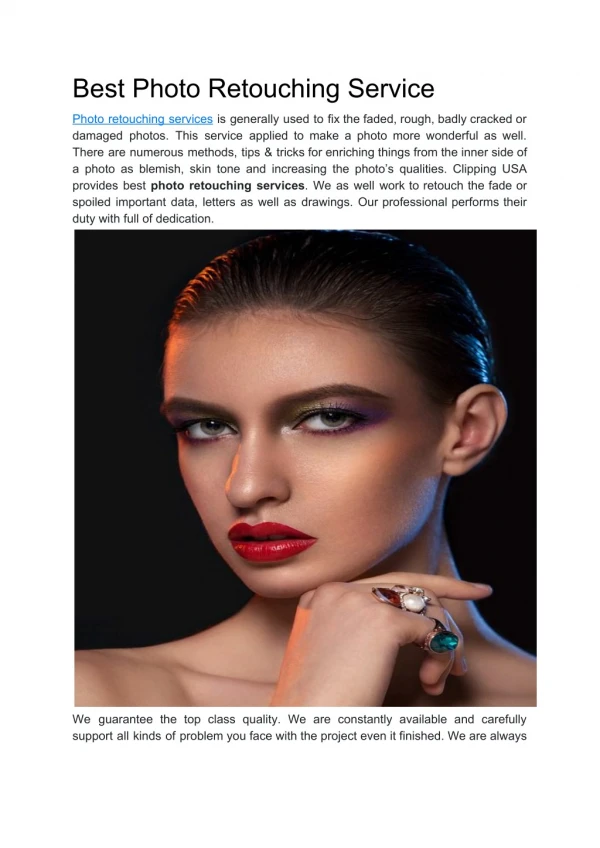
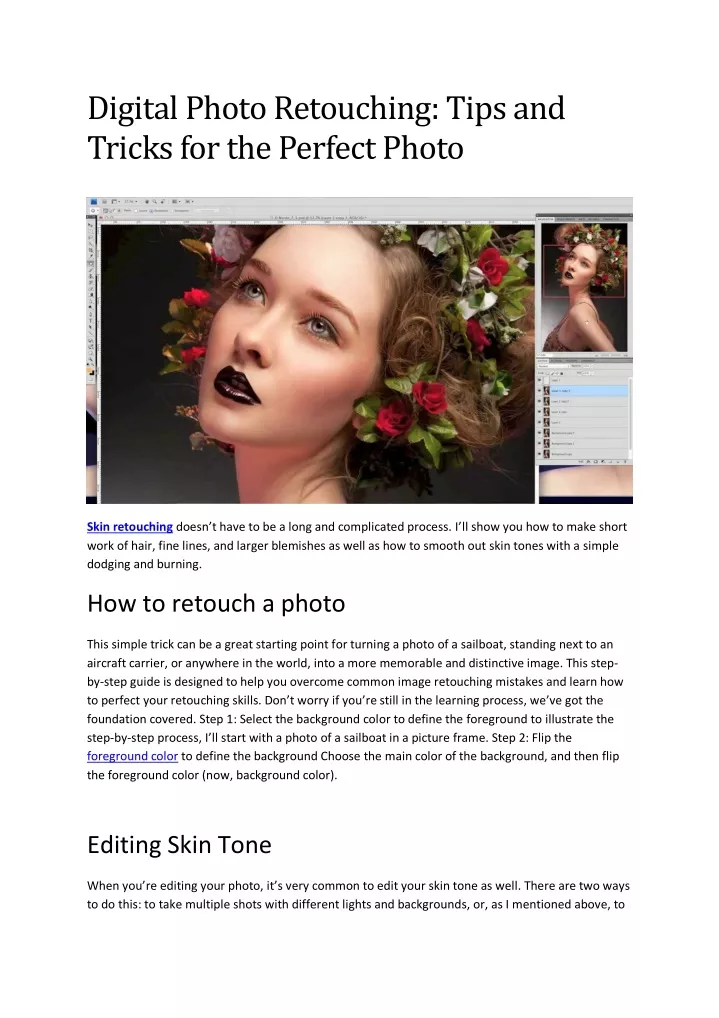
Skin retouching doesnu2019t have to be a long and complicated process. Iu2019ll show you how to make short work of hair, fine lines, and larger blemishes as well as how to smooth out skin tones with a simple dodging and burning.

E N D
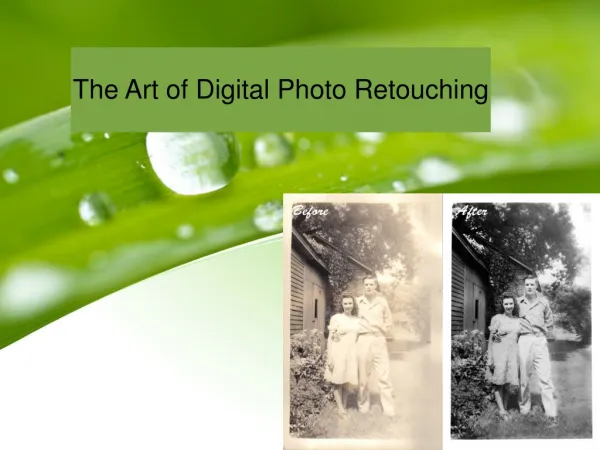
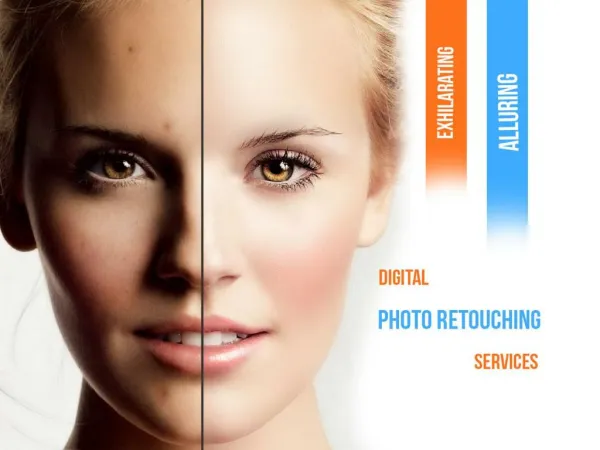
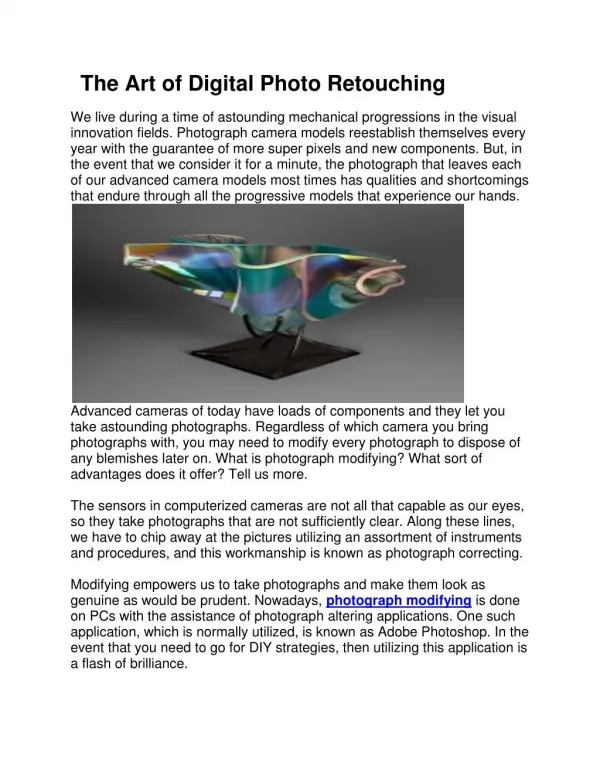
Digital Photo Retouching: Tips and Tricks for the Perfect Photo Skin retouchingdoesn’t have to be a long and complicated process. I’ll show you how to make short work of hair, fine lines, and larger blemishes as well as how to smooth out skin tones with a simple dodging and burning. How to retouch a photo This simple trick can be a great starting point for turning a photo of a sailboat, standing next to an aircraft carrier, or anywhere in the world, into a more memorable and distinctive image. This step- by-step guide is designed to help you overcome common image retouching mistakes and learn how to perfect your retouching skills. Don’t worry if you’re still in the learning process, we’ve got the foundation covered. Step 1: Select the background color to define the foreground to illustrate the step-by-step process, I’ll start with a photo of a sailboat in a picture frame. Step 2: Flip the foreground color to define the background Choose the main color of the background, and then flip the foreground color (now, background color). Editing Skin Tone When you’re editing your photo, it’s very common to edit your skin tone as well. There are two ways to do this: to take multiple shots with different lights and backgrounds, or, as I mentioned above, to
use the Lightness slider. You should notice that when you drag the slider upward to increase the lightness, the shadows become darker and the highlights become brighter. This is exactly what you want to have happen when you’re trying to lighten or darken the background. However, you should never drag the slider down too far; it will make your image appear too unnatural. Creating Bright Shadows and Light Highlights When using the sliders, be careful not to make the shadows too dark and the highlights too bright. When the lightness is reduced too much, the photo appears blurry. Retouching Hair Don’t be afraid of using the Clone Stamp tool to selectively erase a part of a blemish or coloring your hair in place. With the same Clone Stamp tool, you can also apply highlights and shadows to create the effect of thicker hair or thinner hair. Take the shape you want on the face with the Clone Stamp tool and edit it with the Adjust tool. To recreate the same shading and brightening effect, we need to use the soft brush tool. Use the Blending mode to bring it in closer to the shape you want. With the soft brush tool, you can easily hide all the other parts of the hair. Use the Alt/Option key to change the Blend mode from Multiply to Brighten. Now we can turn on the Selection mode, but you need to use a Mask to avoid ruining the rest of the hair. Removing Wrinkles Sometimes removing wrinkles is a bit tricky because it can depend on the position of the eyes. What you want to do is select the wrinkle and then click on the Eye tool, and then again select the background color, and so on until you get to the one you want to remove, and the selected wrinkle will be removed. In this example, I’ve replaced a wrinkle on the face with a star, which can create different effects. The default Eyedropper tool is much faster, and less noisy. If you want to change the color of the Wrinkles button, click on the "+" in the Eyedropper tool. Cropping and Resizing One of the key steps to taking a perfect photo is to get the subject in as few shots as possible, by cropping the frame and then resizing the image. Not only does this ensure you get the maximum possible amount of space for the subject, but it also ensures that all the borders of the shot are visible and easy to group. To crop, hold down the Alt/Option key, select the photo, and then select the image. Choose Insert Crop Corner and then resize to your desired dimensions. If you’re cropping the area in front of the subject, then you want to be sure that the camera is at the maximum magnification level. There are two ways of doing this.
Conclusion Digital Photo Retouching is a great way to tweak photos. It is just a matter of making it easy and intuitive enough so you get a lot of value for your effort. If you need deeper photo retouching or can’t apply any Photoshop technique naturally, you can try professional online photo editing service Clipping USA for help.