Download
1 / 4
40 likes | 51 Views
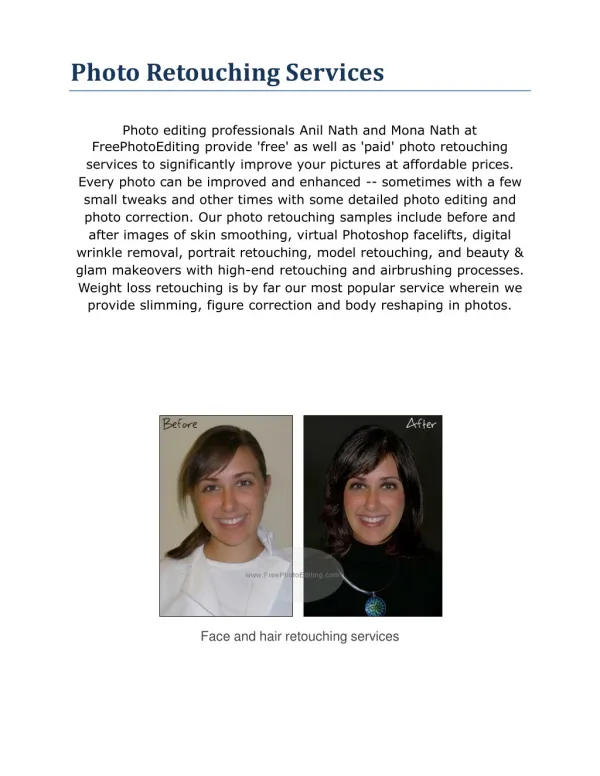
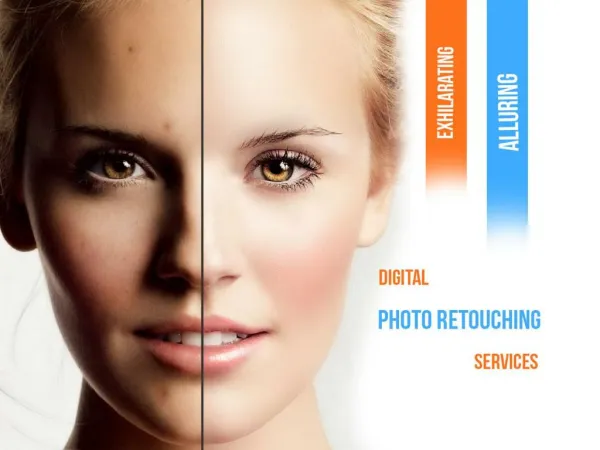
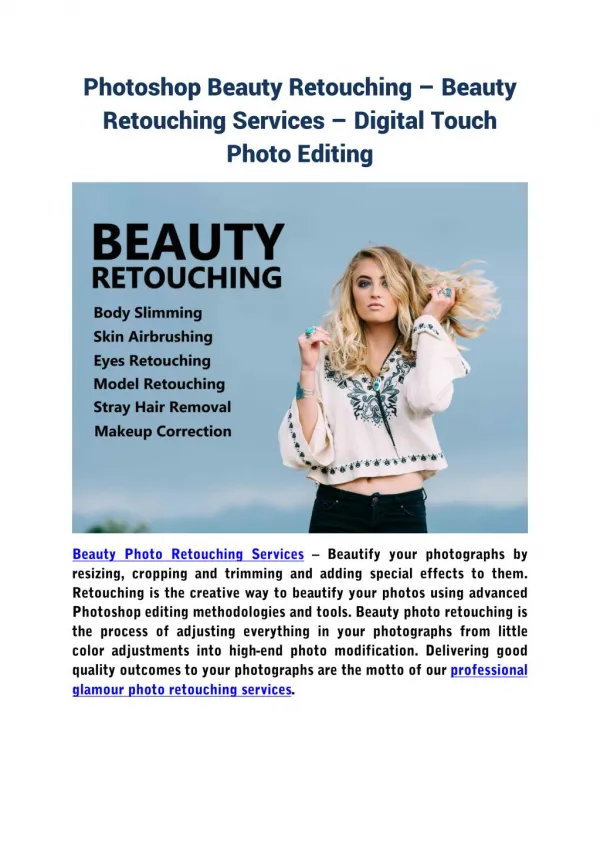
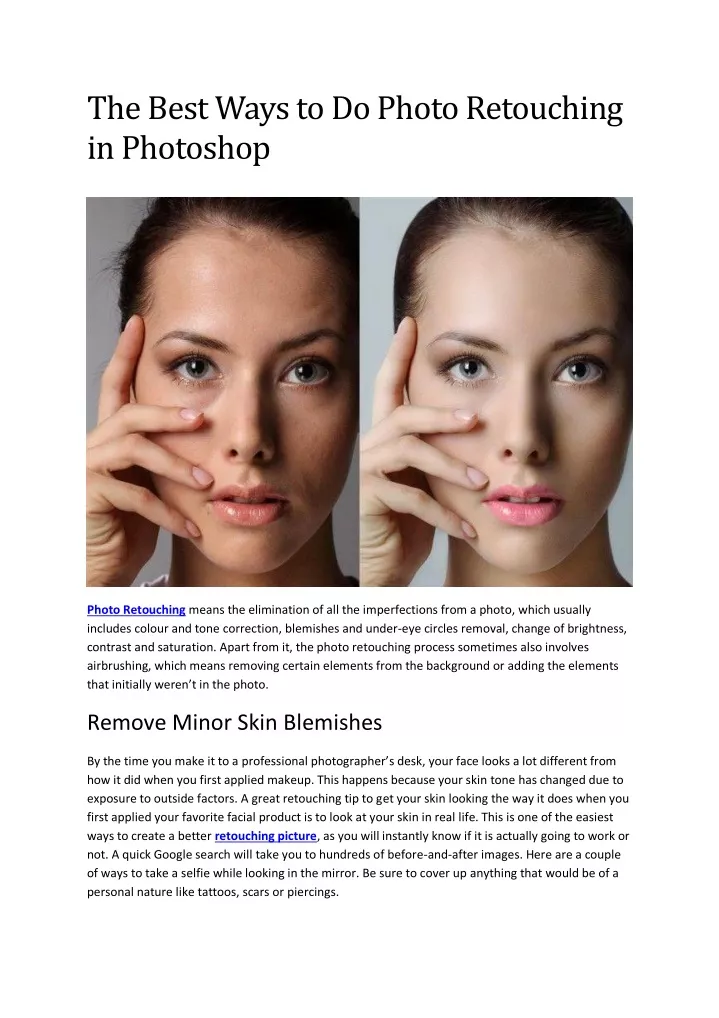
Photo Retouching means the elimination of all the imperfections from a photo, which usually includes colour and tone correction, blemishes and under-eye circles removal, change of brightness, contrast and saturation. Apart from it, the photo retouching

E N D
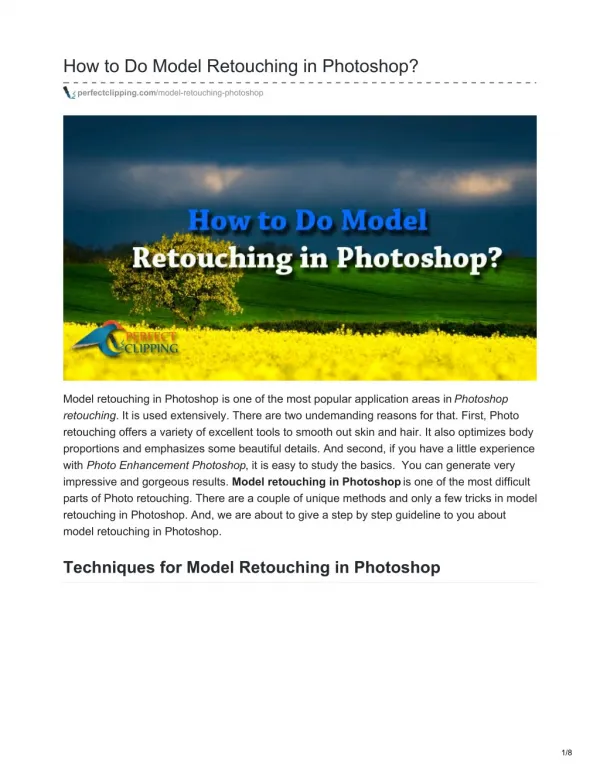
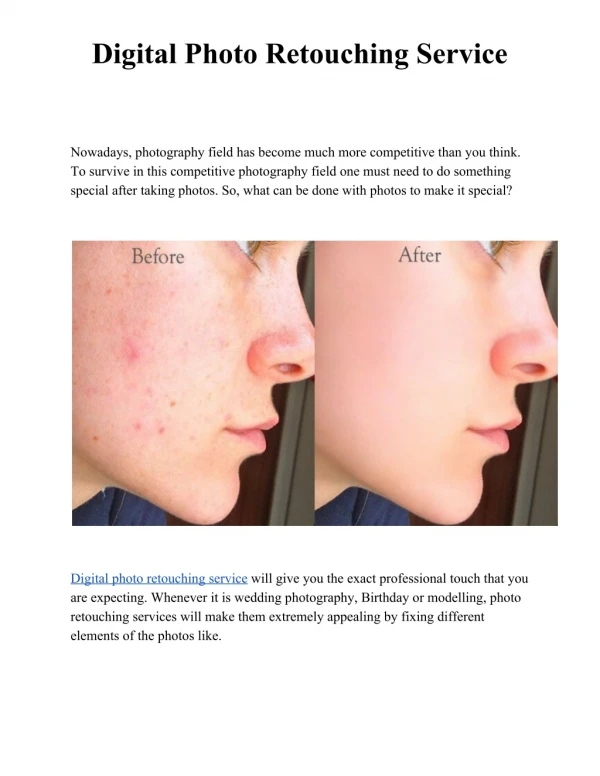
The Best Ways to Do Photo Retouching in Photoshop Photo Retouching means the elimination of all the imperfections from a photo, which usually includes colour and tone correction, blemishes and under-eye circles removal, change of brightness, contrast and saturation. Apart from it, the photo retouching process sometimes also involves airbrushing, which means removing certain elements from the background or adding the elements that initially weren’t in the photo. Remove Minor Skin Blemishes By the time you make it to a professional photographer’s desk, your face looks a lot different from how it did when you first applied makeup. This happens because your skin tone has changed due to exposure to outside factors. A great retouching tip to get your skin looking the way it does when you first applied your favorite facial product is to look at your skin in real life. This is one of the easiest ways to create a better retouching picture, as you will instantly know if it is actually going to work or not. A quick Google search will take you to hundreds of before-and-after images. Here are a couple of ways to take a selfie while looking in the mirror. Be sure to cover up anything that would be of a personal nature like tattoos, scars or piercings.
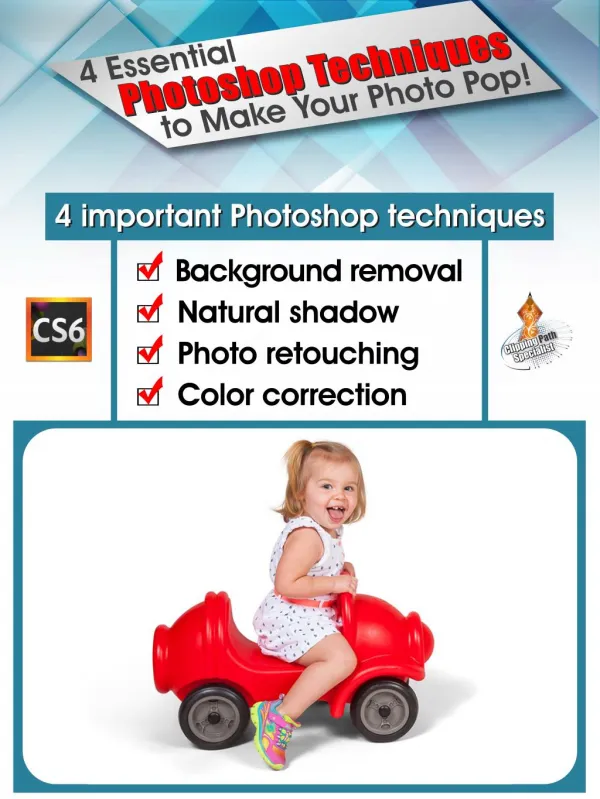
Smooth Out Skin Tones Trace Over A Photo Recall the technique of creating 3D effects in Photoshop with the help of Photoshop’s Clone Stamp tool. 2. Decrease the Brightness of Skin There are four factors that affect skin color: temperature, melanin saturation, and air temperature. 3. Adjust Temperature Ensure that your image does not become too dark by reducing the temperature of the skin. For best results, reduce your image’s skin tone by a factor of 2, then use a masking tool to change the skin color until it matches the general hue. 4. Check Your Tone Use the Color Picker to adjust the skin tone, eye color, and other attributes. Transform A Skirt Into A Top Add a simple crop and a new layer with a #1 key tag to transform an old skirt into a top. 2. Fix Distracting Backgrounds Adding a background to a photo can improve the general look of a photo, but it can also be a visual distraction to the eye. This tutorial shows you how to fix and take advantage of the background in your photo to enhance your subject’s features. Super-Enhance the Eyes You know a photo’s eyes are the most important feature of a portrait. This tutorial shows you how to make the eyes pop with careful lighting and shape and contrast. Ideal Editing for Portrait Shooters Even though portrait photos can be challenging, portrait photographers have the benefit of utilizing a unique photographic style – the sitter – to sell the shot. However, this tutorial shows you how to fix common photography mistakes to create a spectacular portrait. Clean Up and Shape Hair Attract a more flattering style and shape to hair with enhanced contrast and more life, using the best tool for the job: the brush. Use the smoothing tool to sculpt sleek lines or the delete tool to smooth fine hairs. Use your work-over tool to soften, shape, and straighten hairs that defy gravity. A natural glow to the face – or reduce the blemishes that have betrayed you. Adjust the contrast and lighting to get the picture you've been aiming for. Fast Speed Effects and Image Adjustments Fasten the final touches on the blemish removal process by creating a new layer and adding a radial gradient to your cursor. Color your brush a deep burgundy and create a gradient around your blemish, making it invisible to the camera. Dodge and Burn Whether you’re in front of a mirror or standing in front of a good-looking model, you can easily dodge and burn any blemishes, spots, or lines in your model’s skin. Start by selecting a point within the image (in the far left or right side of the photo), and use the radial gradient tool (Shift+Up/Down) to pick a color and intensity. After you make your selection, hit Ctrl+E to select both the shadow and
highlight and use the Transitions palette to blend them together. Try not to use too much Transitions, but if the skin tone is too dark, there’s no need to go too light either. Here’s what our favorite artist/photographer Kelsey Dickerson has to say about Dodge and Burn: “To dodge and burn in Photoshop, you're working with very specific tonal ranges. Nail The Perfect Exposure in Any Portrait No matter what your style of photography is, you must get the photo just right. Photography is an art, and it takes precise lighting and sharp focus to capture beautiful and vibrant images that you can hang on your wall or use as your portfolio. In this article, we’ll show you how to perfect your photo composition, light, and sharp focus for any portrait. While Photoshop provides tools for tweaking every part of the image, it doesn’t provide the precision you need for an image like this one. In the second section of the tutorial, you’ll learn how to do it manually in Photoshop – once you master this technique, you’ll never have to touch Photoshop again. Enhance the Subject’s Natural Features and Beauty The first thing you need to do is make sure the subject has clean skin. Change the White Balance to Fahrenheit Using a grey card, a pale blue wash, or a white card will make it much easier to get a good white balance. White is not as bright as you may think. In this case, I’m using a grey card. But a white or a pink card would be better. Set the White Balance to 32 °F to make the skin look a little cooler. If you try setting it to 22.5 °F, it’ll make it look very warm. This shot is cool because the subject is not sweating and because the shirt is a deep shade of purple. Note: a yellow or orange tone will give a more flattering tone to skin. Try setting the white balance to this color to make the skin appear more natural and bring out her eyes. Final Touches with Curves, Layers, and Color The In-Depth Portrait Tips Whether you’re working with an intimate portrait or a broad range of image sizes, we’ve put together a comprehensive guide that will help you achieve a professional finish to your portrait photography. Packed with essential tips for beginners, experienced photographers, and everyone in between, this free guide will take you from start to finish. From how to check your exposure to getting the lighting and composition just right, the guide has everything you need to know. There are also a couple of Photoshop specific items you should know, like how to create custom brushes in Photoshop CC and where to get the use of layer masks in Photoshop CC. Check out the full guide, download the PDF and start shooting. Conclusion
As a portrait photographer, you often have the opportunity to capture real-life portraits that can be submitted for awards and prizes. Each one of those portraits requires time, care, and consideration. I hope you will consider this guide to ensure that your next photo is more than just another pretty picture.