Download

1 / 19
190 likes | 254 Views
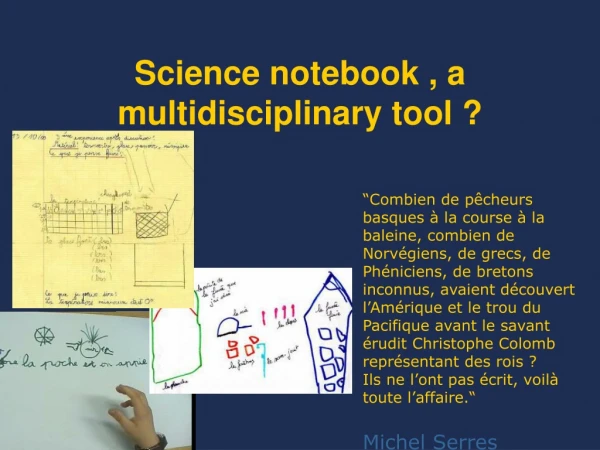
A Pedagogical Tool for Usability Science. Nickolas Potvin Advisors: Professors Hedrick, Cass, and Fernandes. What is Usability Science?. Motivation. Sophomore Research Seminar in Usability Science Students build mock appliances out of ad-hoc materials

E N D
A Pedagogical Tool for Usability Science Nickolas Potvin Advisors: Professors Hedrick, Cass, and Fernandes
Motivation • Sophomore Research Seminar in Usability Science • Students build mock appliances out of ad-hoc materials • Data collection and experimentation error-prone
Motivation • Want a system that performs these tasks automatically and interacts with user
Overarching Goal Create an easily modifiable board with various “widgets” (input and output devices) that can be added or removed
Overarching Goal Computer μcontroller widgets Widgets connected via 1-wire bus TINI μcontroller ALL devices addressable location independent (e.g. two previous stoves)
Design Appliance Behavior An Amazing Block Diagram Put Widgets on Board Perform User Study Experimenter does the following:
Design ApplianceBehavior • Experimenter decides widget interactions and appliance behavior • Scripting language • Code compiled for use on the μcontroller • Program is ready to go!
Put Widgets on Board • Before a user can simply plug in the desired widgets… • The widgets need to be designed and created 7-segment display widget Bus Widget slot 1-Wire chips Knob widget
Widget Design • 1-Wire Bus: • All widgets addressable • Location independent • All widgets communicate on same bus • Form factor: • All widgets same size (2” x 2”) • Same connector to bus • Same pin usage • Interchangeable
Widget Design • Solder reflow process
Widget Design • Solder, solder, solder… • Attach top and bottom boards together • Widget ready at last to be used…
Perform User Study • Now that the user has some widgets to use they can run their program on the μcontroller (TINI)
Results Profit! • Two widgets fully tested • Four widgets fully designed • Location independence • Working demonstration of design • Working prototype board • All elements tested • Scripting language
Future Work • User scripting language • Parser • Logger • Upgrade the “reflow oven” • Build a bigger board • More widgets! • Continuing next term…