Download

1 / 14
140 likes | 254 Views
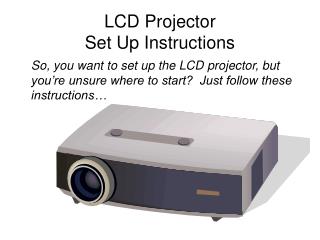
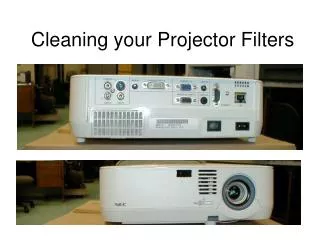
Using your LCD Projector. Getting Started. The cables and projector will come all together on a presentation cart Move the cart to a space where you can project it against the wall Find an outlet where you can plug in the power cord. Plugging everything in.

E N D
Getting Started • The cables and projector will come all together on a presentation cart • Move the cart to a space where you can project it against the wall • Find an outlet where you can plug in the power cord
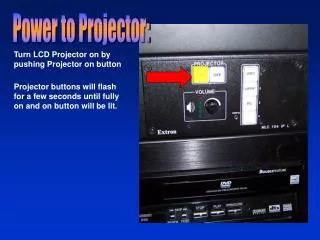
Plugging everything in Plug in the computer cable where it says Computer 1 Plug in the power cord here
Connect adapter to cable Look at the other end of the blue cable. Make sure that it’s connected to a white adapter so that it will fit your computer. The adapter is with the cart.
Connect adapter to computer • The adapter has this symbol on it. Look for the same symbol on the side of your computer (next to where your power cord plugs in) and plug it in there.
Getting the display up • Turn your computer on • Turn the projector on If everything is connected properly, you should see the computer screen projected on the wall.
Troubleshooting No display from the computer? Screen says “no signal”? • Make sure that both computer & projector are on, and that all cables are connected. • Press the F7 key
Troubleshooting step 2 2. Go to System Preferences 3. Click on “Displays” in the second row 4. Select “Color” 5. Make sure that “Color LCD” is selected
Still stuck? Ask for help! Your Zone Tech can help you, and others in your school may know how to do this as well. Consider testing this out on a day when your Zone Tech is at your school so that you can do it together.
Connecting the Document Camera • The document camera connects to your computer AND to the projector. We will be learning how to put it all together, but the following image shows what cables go where.
Connecting the Document Camera • Connect the document camera cable to Computer 2 • Make sure the other end is connected to the document camera
Selecting the display Do you want the computer or the document camera to be projecting onto the screen? To change the source of the image: Use the remote or the controls on the projector to select “Source Search” Scroll up or down and select Computer 1 (the laptop) or Computer 2 (the projector)
REMEMBER! Make sure that you try this by yourself BEFORE the first day you plan to use it with your kids!