Download
1 / 9
390 likes | 1.05k Views
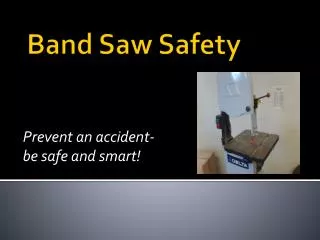
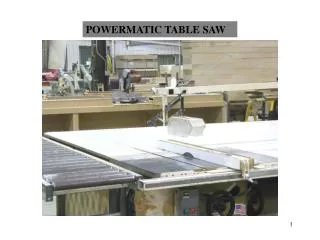
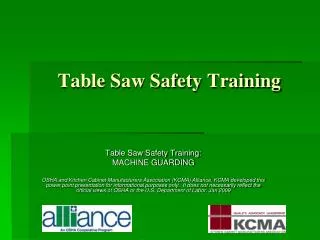
TABLE SAW SAFETY. The table saw is, by far, the highest risk piece of equipment in the woodshop – when you consider how much the table saw is used coupled with the potential for an accident. For these reasons, we have developed a pictorial set of DOs and DON’Ts about the Woodshop table saws.

E N D
TABLE SAW SAFETY The table saw is, by far, the highest risk piece of equipment in the woodshop – when you consider how much the table saw is used coupled with the potential for an accident. For these reasons, we have developed a pictorial set of DOs and DON’Ts about the Woodshop table saws. These pictures will help all of us remember to operate as safely as possible, plus they will serve as a reminder to the Monitors as to the safe ways to operate the table saws. There are 8 DOs and DON’Ts pictures. If a picture is really worth 1,000 words, then this is 16,000 words worth of information.
DO DO have the blade about 1/8” above wood. DON’T DON’T have it a lot higher above wood. TABLE SAW SAFETY [Guard removed for clarity. Guard should be on when cutting]
DO DO push wood all the way passed the blade. DON’T DON’T stop until wood clears the blade. TABLE SAW SAFETY [Guard removed for clarity. Guard should be on when cutting]
DO DO ripping cuts using the fence. DON’T DON’T do “cross cuts” with fence. TABLE SAW SAFETY [Guard removed for clarity. Guard should be on when cutting]
DO DO use pusher for narrow cuts. DON’T DON’T push on wrong side of blade. TABLE SAW SAFETY [Guard removed for clarity. Guard should be on when cutting]
DO DO use other hand to hold rips to fence. DON’T DON’T let hand get to edge of blade. TABLE SAW SAFETY [Guard removed for clarity. Guard should be on when cutting]
DO DO clear spacer before touching blade. DON’T DON’T touch blade and spacer at same time. TABLE SAW SAFETY [Guard removed for clarity. Guard should be on when cutting]
TABLE SAW SAFETY [Guard removed for clarity. Guard should be on when cutting] DO DO cross cuts w/sliding table (preferable). DON’T DON’T use table & fence at the same time.
DO DO cross cuts w/sliding table (preferable). DON’T DON’T do free hand cutting. TABLE SAW SAFETY [Guard removed for clarity. Guard should be on when cutting]