Download
1 / 3
30 likes | 144 Views
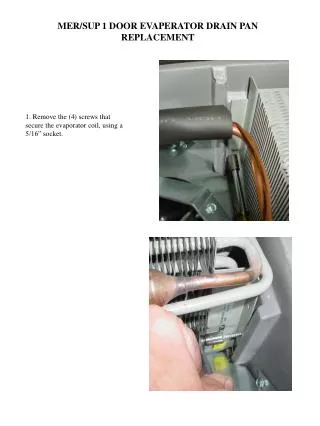
Mer/Sup. 2 & 3 Door Evaporator Coil Repositioning Procedure S. Starnes 7/11/03. 1. Remove the 2 screws holding one end of the evaporator coil. (view shows the left side, following views show the right).

E N D
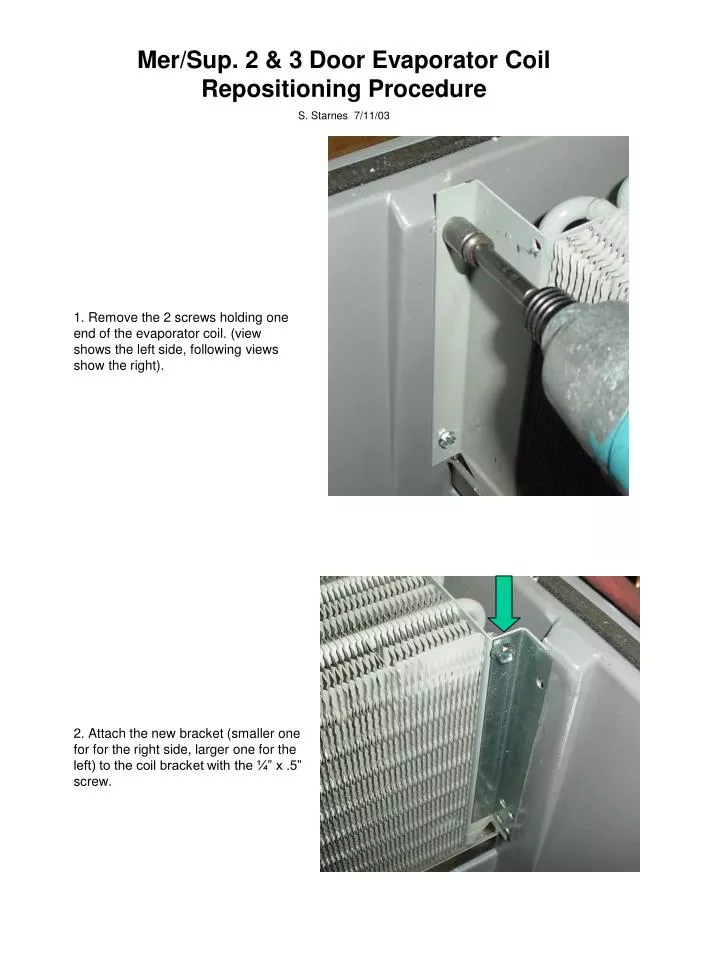
Mer/Sup. 2 & 3 Door Evaporator Coil Repositioning Procedure S. Starnes 7/11/03 1. Remove the 2 screws holding one end of the evaporator coil. (view shows the left side, following views show the right). 2. Attach the new bracket (smaller one for for the right side, larger one for the left) to the coil bracket with the ¼” x .5” screw.
3. Put top screw through new bracket and back into the original top hole in the side-wall. 4. Line-up hole at bottom of new bracket with hole in coil bracket. 5. Drive bottom screw though the 2 aligned holes and into side-wall, creating new hole.
Side completed 6. Perform steps 1 through 5 to the other end of the coil. NOTE: The coil should now be farther away from the front wall of the drain pan by 0.4”. The coil should also stay above the drain pan so that its bottom is not touching the pan; but it cannot be placed above the side walls of the evaporator box or there will be interference with the cover.