Download

1 / 8
80 likes | 133 Views
Microsoft Word 2010. Lesson 6 – Part 5. Students will be able to do the following on completion of this lesson. Learning Objectives. In the Controls Group, click “Plain Text Content Control” to add this feature to the 1 st cell in the 2 nd column. Your screen should look like this….

E N D
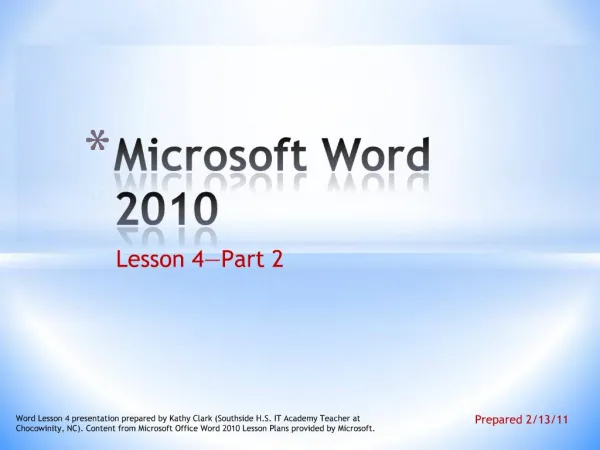
Microsoft Word 2010 Lesson 6 – Part 5 Word Lesson 6 presentation prepared by Michele Smith – North Buncombe High School, Weaverville, NC. Content from Microsoft Office Word 2010 Lesson Plans provided by Microsoft.
Students will be able to do the following on completion of this lesson. Learning Objectives Word Lesson 6 presentation prepared by Michele Smith – North Buncombe High School, Weaverville, NC. Content from Microsoft Office Word 2010 Lesson Plans provided by Microsoft.
In the Controls Group, click “Plain Text Content Control” to add this feature to the 1st cell in the 2nd column Word Lesson 6 presentation prepared by Michele Smith – North Buncombe High School, Weaverville, NC. Content from Microsoft Office Word 2010 Lesson Plans provided by Microsoft.
Your screen should look like this… Word Lesson 6 presentation prepared by Michele Smith – North Buncombe High School, Weaverville, NC. Content from Microsoft Office Word 2010 Lesson Plans provided by Microsoft.
Next, click the cell next to “Hire Date”. In the Controls group, click the Date Picker button to add a Date Picker to the second cell Your screen should look like this…
Click the third cell in the second column (next to Title). • In the Controls group, click the Combo Box button to add a ComboBoxContentControl to the third cell. • Click the third cell in the second column (next to Title). • In the Controls group, click the Combo Box button to add a Combo Box the third cell. Word Lesson 6 presentation prepared by Michele Smith – North Buncombe High School, Weaverville, NC. Content from Microsoft Office Word 2010 Lesson Plans provided by Microsoft.
Click the last cell in the second column (next to Picture). In tne Controls group, click the Picture Content Control button to add a Picture Content to the last cell. Your screen should look like this . . .
Protect Content Controls! Use “Word Help”….it is a valuable resource! Word Lesson 6 presentation prepared by Michele Smith – North Buncombe High School, Weaverville, NC. Content from Microsoft Office Word 2010 Lesson Plans provided by Microsoft.c