Download
1 / 16
160 likes | 340 Views
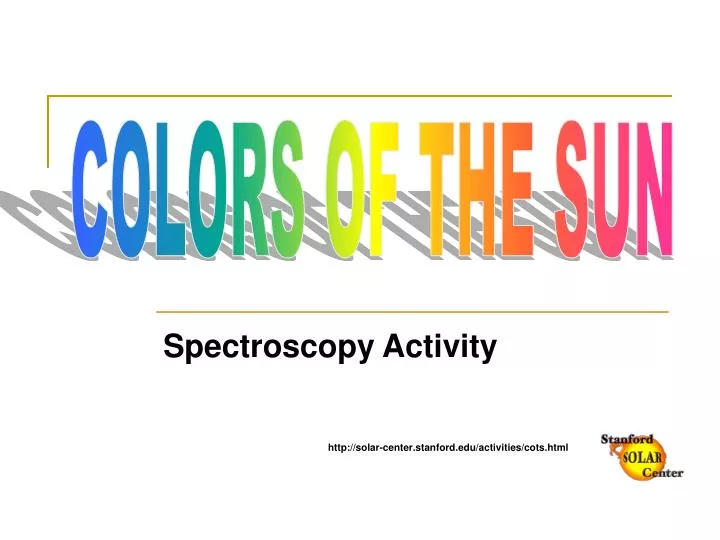
COLORS OF THE SUN. Spectroscopy Activity http://solar-center.stanford.edu/activities/cots.html. What is “Spectroscopy?”. Build a Spectroscope. 1. Cut out pieces & fold. Cut along all of the red lines to separate the pieces of the spectroscope. You should now have 8 pieces: Spectroscope body

E N D
COLORS OF THE SUN Spectroscopy Activity http://solar-center.stanford.edu/activities/cots.html
1. Cut out pieces & fold Cut along all of the red lines to separate the pieces of the spectroscope. You should now have 8 pieces: Spectroscope body Gap Edge Spacers(2) Diffraction Grating Eyepiece Numbered Scale Scale Cover Write your name on the colored side of the spectroscope body where it say “This spectroscope belongs to:”
2. Assemble Spectroscope Body With the black side up, use a straight edge to crease the spectroscope body along each of the grey dashed lines. Then fold the spectroscope body closed (with black side in). Put flap B over flap A so they overlap and tape edge as shown
3. Form wide scale side of Spectroscope On the wide, open side there are two long flaps labeled flap C and flap D. Fold down flap D; then fold down flap C over it. Tape flap C as shown. Then fold down the small end tab and tape corners as shown.
4. Finish end of spectroscope Fold down the end tabs, then fold Flap C down over the end tabs as shown. Tape the corners of the end as shown.
5. Make entrance slit Light must enter the spectroscope through a gap formed between flap C and the gap edge. The gap is called the entrance slit. READ CAREFULLY: it is important for the gap to be straight and narrow, so you will need to use the spacers. Stack both spacers and sandwich them between flap C and the gap edge as shown. Hold the gap edge tight against the spacers and tape on the spectroscope. Then remove the spacers from the gap. You should be able to see through the slit and it should be two thicknesses of the poster paper. Note: the slit will be a little off-center but this is O.K.
6. Align & attach grating and eyepiece At the narrow end of the spectroscope, fold the end tabs to form a square opening and tape as shown. Next, cover the square opening with the diffraction grating. Before taping, make sure your diffraction grating is aligned so that the word “Warning” is facing out and cover the “Warning” on the bottom end tab. Tape the correctly aligned grating securely in place. Tape the eyepiece over the grating with the “Warning” aligned.
7. Position scale Place the numbered scale so it covers the open side of the spectroscope. When viewed through the eyepiece, the 3000 end should be closest to the slit. DO NOT TAPE UNTIL STEP 8. Holding the scale in place while looking through the eyepiece, aim the spectroscope so you can see a fluorescent light through the slit. (It must be a fluorescent light, an incandescent light bulb will not work) You will se colored lines on the scale – these are spectral lines. If the spectral lines appear above the slit instead of over the scale, rotate the diffraction grating ¼ turn.
8. Calibrate spectroscope Slide scale back and forth until dashed line at 5450Å is aligned with green spectral line from fluorescent lamp. The tape scale in place. Finally place scale cover over the scale and tape it only along the top edge. That way you can lift the scale cover if it is too dark to read the scale.
Congratulations! Your spectroscope is fully operational. Look at various sources of light with your spectroscope. NEVER LOOK DIRECTLY AT THE SUN. (and if you do, don’t do it with your remaining eye)
Activities Look at various sources of light and draw the spectrum that you see on the provided worksheet. Some suggestions are: Fluorescent lamps Light bulbs TV’s or computers A white object in sunlight A colored object in sunlight The Moon
Appendix A: Sample Spectra • Solar • Hydrogen • Helium • Sodium • Calcium • Mercury • Neon • Argon • Water