Download
1 / 7
70 likes | 205 Views
How to Replace a Wii Case when you got a new pretty case? here BLMALL will give you suggestions as below:

E N D
How to Use Some Replacement to Repair a Wii Case? From blmall.com
Wii components square measure offered on our BLMALL. we tend to stock a a good vary of spare components for the Nintendo Wii, to induce you gambling again! you'll be able to save yourself a bundle with spare parts(such as Remote Controller, Nunchuk, Case, Cable, twin Charging Station, Batteries, Adapter, receiver with electro-acoustic transducer, sport Wheel Controller)from our search.How to Replace a Wii Case after you got a brand new pretty case? here BLMALL can provide you with suggestions as below:
Instructions 1.Turn the Wii the other way up and take away the battery receptacle mistreatment the Phillips head screwdriver.2.Remove the four Phillips head screws on very cheap of the console, and also the single Tri-Wing screw higher than the battery clip compartment. The screws have plastic covers over the highest, which might be simply removed employing a knife or nail.3.Turn the Wii on its aspect therefore the front of the console is on the left, and also the diagonally-shaped corner of the case is within the higher right. take away the four screws below the tiny plastic tabs. there's one screw in every corner of the casing.
4.Lift the drive plate off the front of the Wii rigorously. Disconnect the 2 wires hooked up to the drive plate by rigorously propulsion the connective off the motherboard. • 5.Open the 2 lids on high of the Wii that cowl the GameCube connective sockets and also the memory card slots. undo the covers at their hinges and take away them from the casing. take away the Tri-Wing screws therefore the connective socket cowl are often removed. • 6.Remove the four Phillips head screws beneath the connective socket cowl. the 2 sides of the Wii case will currently be faraway from the console’s contents. • 7.Reverse the steps to connect the replacement case to the Wii console.
Remote and Nunchuk Controller + Case for Wii/Wii U • HighlightsGreat price and ideal for Wii homeownersWorks and sounds like the first Nintendo Remote and Nunchuk except for the fraction of the valueExcellent build quality, batteries and battery cowl match cleanlyConnects to Associate in Nursing third party, OEM or original WiimoteWireless Bluetooth interfacePowered by two x NiMH/NiCd/Alkaline AA batteries (sold separately)Cable length: 97cm
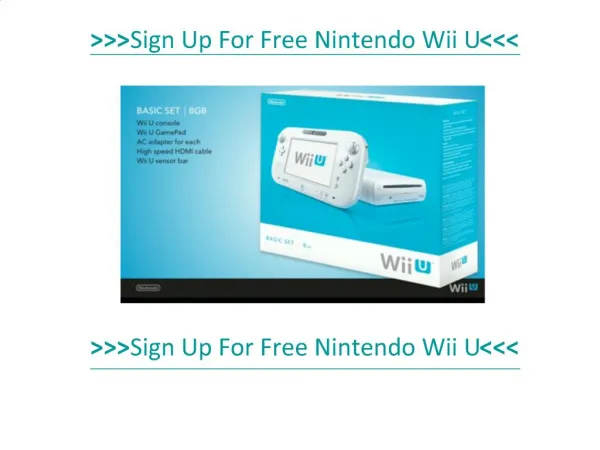
Specifications • For WiiU, Nintendo Wii • Accessory Type Controllers • Interface Wireless • Color Black • Dimensions (cm) 10 x 7 x 1.1 • Weight (kg) 0.182 • Package Contents 1 Remote, 1 Controller
Nintendo Wii U PRO Controller Free Shipping • Specifications • For WiiU • Accessory Type Controllers • Features Novelty • Color White, Black • Dimensions (cm) 16.0 x 10.0 x 6.0 • Weight (kg) 0.19 • Package Contents 1 Controller