Download
1 / 21
210 likes | 349 Views
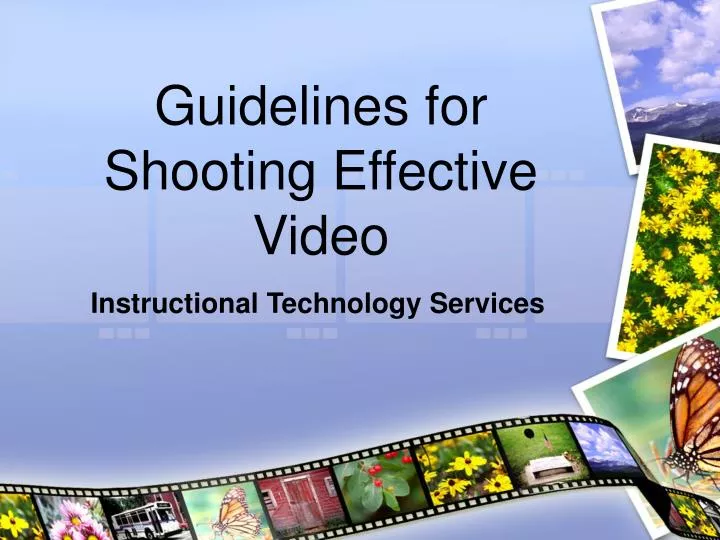
Guidelines for Shooting Effective Video. Instructional Technology Services. Keep it Steady. Use a tripod Brace yourself against something solid Use the human tripod technique Camera shake is annoying to viewers When publishing to the web, shaky movies translate to larger movie files .

E N D
Guidelines for Shooting Effective Video Instructional Technology Services
Keep it Steady • Use a tripod • Brace yourself against something solid • Use the human tripod technique • Camera shake is annoying to viewers • When publishing to the web, shaky movies translate to larger movie files
When to shake • Lose the tripod when: • You want to communicate a fluid or unstable situation • You want to impart a documentary style effect • You don’t have time to setup the tripod – news type situations
Lose the ZOOM • Use the zoom feature to frame your shots • Avoid zooming in and out during a shot • If you must, zoom in or out slowly • Zooms, pans and tilts take up valuable time, if they don’t enhance your movie it’s best to leave them out
Headroom Too much Just right
Lighting • This is one of the most important factors in taking good shots • Try and have the light at your back • Avoid having your subject standing in front of a white or bright background • If your camera has backlighting controls, use it if the light is in front of you
Establishing Shots • Use establishing shots to give the viewers an idea of where you are
Camera Angle • Hold the camera low and shoot up towards subject to make them appear large • Film down on your subject to make them appear small • Frame your subject in the corner of the screen they are facing to convey a sense of being trapped
Sound Check • Use an external microphone, especially when conducting an interview • Even a cheap external microphone will give you better results than the built in microphone • Use instrumental music as background for shots with narration
To the Point • Eliminate shots that don’t contribute to your project • Once the message is conveyed cut to another shot • Cuts are almost always better than zooms, pans and tilts • If in doubt, leave it out!
Lead Time • Try and leave about 5 – 10 seconds of lead time when taking shots • This will enable you to some leeway when editing your movie on the computer
Most Importantly… PLAN, PLAN, PLAN!
Video Activity • In your groups, shoot 1 – 2 minutes of video and employ 3-5 techniques covered today. • When you return, please cue your tape to the beginning of your footage. • Be ready to share your video with the rest of the class.
Rule of Thirds • Always placing your subject in the middle of the screen is BORING. • Always placing your horizon in the middle of the screen is BORING.
Video Activity • Shoot some video that effectively illustrates the rule of thirds. • When you return, please cue your tape to the beginning of your footage. • Be ready to share your video with the rest of the class.