Download
1 / 4
40 likes | 46 Views
Kubernetes has become a de-facto standard for #container orchestration and is becoming ubiquitous with #devops across organizations. I will be writing a series on getting started with #kubernetes that would include setting up a kubernetes cluster, running containerized applications on this cluster and operating various features of kubernetes for maintaining this #cluster..........#kubernetes #cluster #container #devops #Ubuntu

E N D
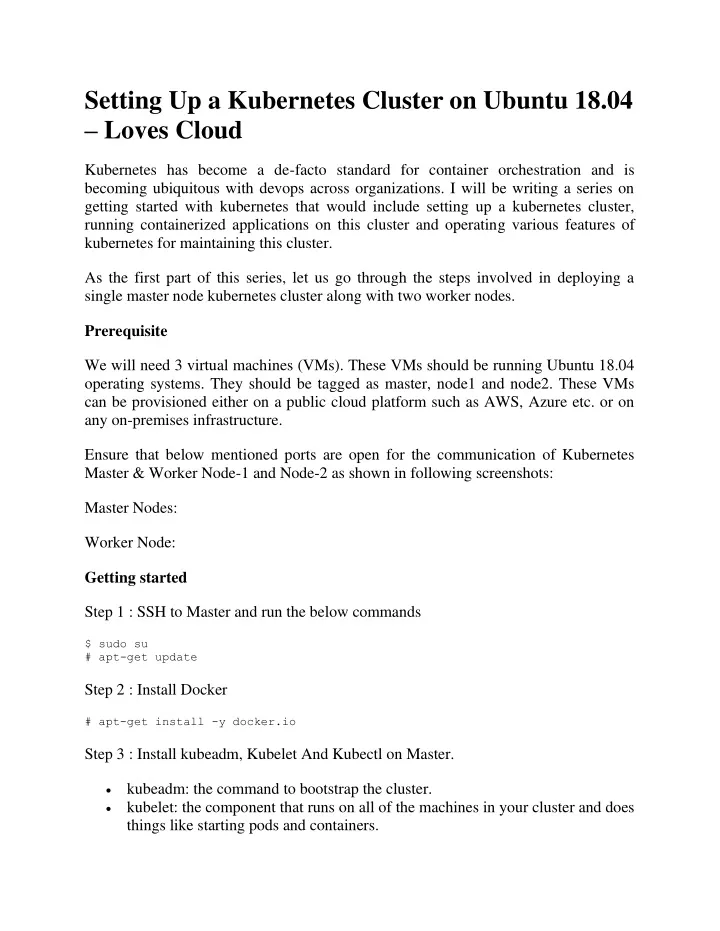
Setting Up a Kubernetes Cluster on Ubuntu 18.04 – Loves Cloud Kubernetes has become a de-facto standard for container orchestration and is becoming ubiquitous with devops across organizations. I will be writing a series on getting started with kubernetes that would include setting up a kubernetes cluster, running containerized applications on this cluster and operating various features of kubernetes for maintaining this cluster. As the first part of this series, let us go through the steps involved in deploying a single master node kubernetes cluster along with two worker nodes. Prerequisite We will need 3 virtual machines (VMs). These VMs should be running Ubuntu 18.04 operating systems. They should be tagged as master, node1 and node2. These VMs can be provisioned either on a public cloud platform such as AWS, Azure etc. or on any on-premises infrastructure. Ensure that below mentioned ports are open for the communication of Kubernetes Master & Worker Node-1 and Node-2 as shown in following screenshots: Master Nodes: Worker Node: Getting started Step 1 : SSH to Master and run the below commands $ sudo su # apt-get update Step 2 : Install Docker # apt-get install -y docker.io Step 3 : Install kubeadm, Kubelet And Kubectl on Master. kubeadm: the command to bootstrap the cluster. kubelet: the component that runs on all of the machines in your cluster and does things like starting pods and containers.
kubectl: the command line utility to communicate with your cluster. # apt-get update && apt-get install -y apt-transport-https curl # curl -s https://packages.cloud.google.com/apt/doc/apt-key.gpg | apt-key add - # cat <<EOF >/etc/apt/sources.list.d/kubernetes.list deb http://apt.kubernetes.io/ kubernetes-xenial main EOF # apt-get update # apt-get install -y kubelet kubeadm kubectl # apt-mark hold kubelet kubeadm kubectl Step 4 : SSH to your Worker Node-1 and Node-2 and repeat the steps 1-3 above. Master Initialization Step 5 : Let’s start Kubernetes cluster from the Master node. Before running the required command, note the private ip address of the master virtual machine. Step 6 : SSH to the Master Node and run the below commands. $ sudo su # kubeadm init --apiserver-advertise-address=<internal-ip-address-of-master- node> --pod-network-cidr=192.168.0.0/16 –apiserver-advertise-address is used to set the advertise address for this particular control-plane node’s API server. By default, Calico uses 192.168.0.0/16 as the Pod network CIDR, and Calico to work correctly, we need to pass this same CIDR to the kubeadm init command above. Example # kubeadm init --apiserver-advertise-address=172.31.41.115 --pod-network- cidr=192.168.0.0/16 You will get the below output if the master initialization is successful :- Copy and save the kubeadm join –token output on a notepad as it would be required later as shown in the above image. This token will be used to add worker nodes to the Cluster. Step 7 : To make kubectl work for your non-root user, run these commands. # exit $ mkdir -p $HOME/.kube $ sudo cp -i /etc/kubernetes/admin.conf $HOME/.kube/config
$ sudo chown $(id -u):$(id -g) $HOME/.kube/config Step 8 : Let us now verify if kubectl is as working as expected, run the below command. $ kubectl get pods -o wide --all-namespaces You will notice that all the pods are in running state except two: coredns pods. To resolve this, we will install a Pod network add-on in a later stage. You can install a Pod network add-on on the control-plane node or a node that has the kubeconfig credentials. Adding Worker Nodes to the Cluster Step 9 : Now let us add worker nodes to our Cluster. SSH to the Worker Node-1 and run the join token command generated during master initialization in step-6. $ sudo su Repeat step 9 on worker Node-2. Step 10 : Check if the Node-1 and Node-2 is successfully added to the cluster, run the following command. $ kubectl get nodes The master as well as the worker nodes will be in the <not ready> Status. Do not panic, this is just because we have not configured the CNI (Container network interface) yet. Deploying the CNI For this tutorial, we will be installing Calico as our CNI. Calico is an open source networking and network security solution for containers, virtual machines, and bare-metal workloads. Calico uses standard Linux networking tools to provide two major services for Cloud Native applications: Network connectivity between workloads. Network security policy enforcement between workloads. Step 11 : Let us run the following command to deploy the CNI.
$ kubectl apply -f https://docs.projectcalico.org/v3.11/manifests/calico.yaml Step 12 : Now, let us check the status of the coredns Pods again in the kube-system namespace, run these commands. $ kubectl get po -n kube-system Step 13 : Let us check if the state of our nodes (Master and worker) have changed to Ready. As you can observe that after the installation of CNI the state of our nodes have changed to Ready. $ kubectl get nodes Summary That’s all, folks! We have created a working single node Kubernetes cluster. In the next post we will show you how to deploy applications to the kubernetes clusters and use a service to expose your application.