Download
1 / 21
210 likes | 286 Views
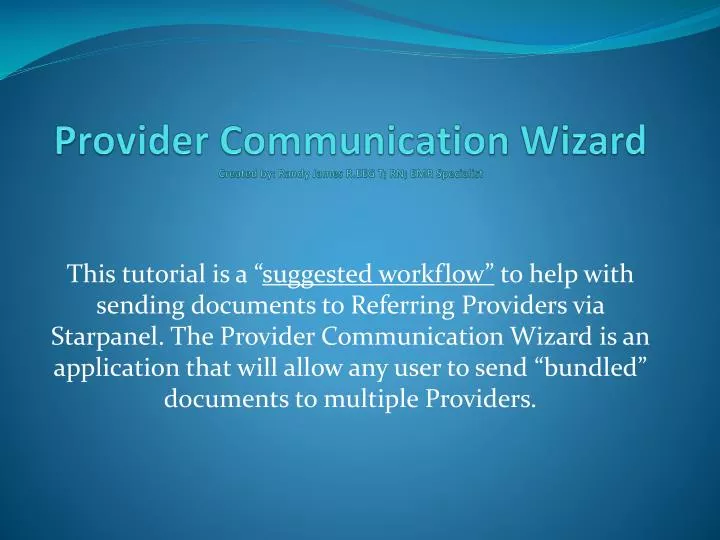
Provider Communication Wizard Created by: Randy James R.EEG T; RN; EMR Specialist.

E N D
Provider Communication WizardCreated by: Randy James R.EEG T; RN; EMR Specialist This tutorial is a “suggested workflow” to help with sending documents to Referring Providers via Starpanel. The Provider Communication Wizard is an application that will allow any user to send “bundled” documents to multiple Providers.
Please note: A Provider Communications should be started on the “actual day” of the patients visit to the clinic. This ensures information for that clinic visit is triaged most effectively. A patient may have more than one clinic visit in a day or in one week. (Click on “Actions” and then click on “ProviderCommWizard”)
Please note: “Start a new communication” is at the top of the “Active communications” to make navigation easier if the list is long.
You will now have the ability to start adding attachments to the Provider Communication Wizard. You will also be able to select and remember providers “for this patient” that the attachments will need to be sent to. You also have the option to change the communication you selected. The “Send to the list of providers” should only be clicked once all the documents have been attached and all providers added.
Please note: You will get the option to open a different “Active Communication” by clicking on “HERE” if you have opened the incorrect Communication. If you select “HERE” for another communication to attach documents, you will see the following screen.
Clicking on the Providers name will allow you to start the communication to a specific visit:
At any given time “anyone” can go into the patients chart (In the “ALL View”) and select the “Provider Communications” by clicking on it and add attachments and/or providers. “All” of the documents selected will be enabled to be sent to “all” of the providers selected with one click. The provider’s database will already have the preferences selected of how they wish to receive documents (Either fax, snail mail or new results in Starpanel). All you (as the user) need to do “once you are finished with all attachments”, is to simply click on “Send to the list of providers”.
To attach a documentClick on “Add attachments” blue link. Then check the box next to the documents in the patient’s chart you wish to attach. After you have selected all the documents then click on the “Attach all of the checked documents” tab.
Add to (or modify) the list of providersWhen you click on this option there will be a pop up that has multiple areas of information. At the top you will see the primary provider and anyone else you have selected for the patient to receive the attachments. In the middle there is the option to search for providers to send the documents to. At the bottom you will see the information “you” have sent for this patient to in the past and below that is the section that shows the information “others” have sent on this patient in the past.To select the providers you wish to send documents to, simply click on the blue link “Add to (or modify) the list of providers”. This will open the application to choose/add providers. You will then need to type in the “Last and/or First” name of the provider you wish to find and click “Search”.
“IF” this is the provider you are searching for…simply click the Providers “name” and they will appear at the top as a selected provider. If this “is not” the provider you want then click the top “Here” tab and it will take you back to the original view to type in the providers name again. If you are not able to find the provider you wish to send attachments to then you will need to click on the bottom “Here” tab and it will open a menu that you can fill in the information you have on the “non-found” provider and then you can submit it.
This is the view you will see if you click on the bottom “Here” tab.Please note: The information entered on the provider will be sent to a “behind the scene” area that will verify the information and send the attachments for you.
This is the pop-up you will get if you add a provider not found in the database:
This is the view you will see once all providers have been selected.Please note: The providers have a radio button beside of their name. By clicking on the button you can decide who will be the Primary Care Provider and who will receive the documents as a CC feature. The application knows how to address each provider by the button you select. Notice to the far right the information of how each provider wishes to be notified. You also have the option at this point to remove a selected provider or view more detailed information on that particular provider.
Please note: Anyone can click the links and add the attachments and/or providers at any time. All the information will be saved and remembered. This will allow for multiple users to add documents and providers to send information to about their patient. There is a new feature in Starpanel called “Provider Letter” that can be used to generate a letter to that can be sent to the Referring Providers. The functionality of the Provider letter is identical to the patient letter that is also in Starpanel.
This is the view of the Provider Letter once you open it. Common verbiage has already been added to the application; however “like the patient letter” you can customize your own phraseology.
Once all the documents have been selected and all of the providers have been added then you can select the “Send to the list of provides” tab. This will open a popup window and all of the documents will be sent after you click “OK” on the popup. You will get another pop-up confirming the selected providers:
In the event “Any” of the attached documents can’t be faxed through Starpanel; you are notified: If you select a document that needs to be mailed, you will get another view to allow you to print the bundle or you can choose a message basket to attach the bundle to. Please note: Medical Records is “only” to be used if the patient is hospitalized…not outpatient.
If all of the attached documents can be sent via Starpanel then you will see the following screen. Notice it lists the providers at the bottom the documents were queued for. If any of the documents are to be mailed, user must select one of the options. Please note: Once the “Provider Communication” has been sent “via Starpanel”, it will update in the “All View”. This will allow any user to see which communications have been sent and which ones have not been sent.
You also have the ability to attach a “finalized” Starnote to the bundle also:
Questions, problems with this application or just need help? Call the service desk at 3-HELP (343-4357) Or send need/request electronically to the help desk at http://helpdesk.mc.vanderbilt.edu Please note: During the initial pilot phase of this application to your clinic, your area will receive assistance from multiple resources to ensure your clinic fully understands the processes this application can offer.