Download
1 / 18
180 likes | 324 Views
Microscopes. Ben Holston, Justin Krier, Erica Czajka, Kelce Gerlits, Hannah Gordon. History of Microscope. 1000 A.D. – First visual aid was created that was a sphere that magnified by being set on objects.

E N D
Microscopes Ben Holston, Justin Krier, Erica Czajka, Kelce Gerlits, Hannah Gordon
History of Microscope 1000 A.D. – First visual aid was created that was a sphere that magnified by being set on objects. 1590 A.D. – Two Dutch eye glass makers tested using multiple lenses in a tube making the first compound microscope. 1665 – Robert Hooke looked at things through magnification lens and saw the smaller parts of cells. 1674 – Auton van Leevwenhoek built a simple microscope with improved curvature and got 270x zoom on a microscope.
History of Microscope 18th century – Technical innovations improved the microscope and microscopy got more popular. 1830 – Joseph Lister gave prototype to the first compound microscope 1872 – maximum resolution for microscopes achieved by setting lens apart mathematically. 1903 – Richard Zsigmondy developed ultra microscope that used wavelengths instead of light.
History of Microscope 1931 – Ernst Ruska Co-Invented the electron microscope that used electrons instead of light. 1981 – Gerard Binning and Heinrich Rohrer invented a scanning tunneling microscope that give 3-dimensional images of objects to an atomic level.
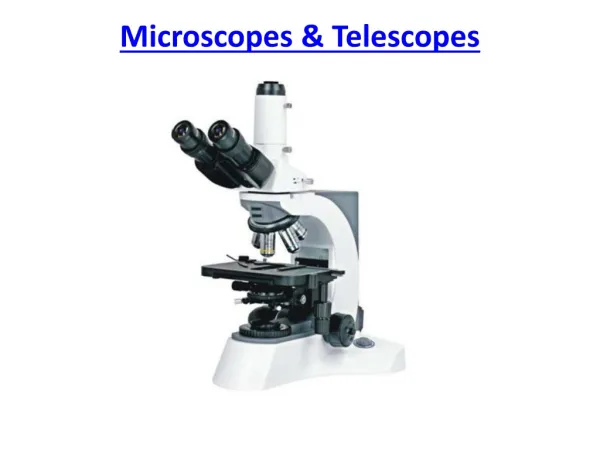
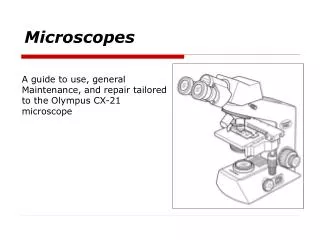
Light Microscopes • Basic Microscope • School microscopes usually magnify up to 40-100X • Best light microscopes to 1,000X
Light Microscopes • iPALM technology • Creates 3-D images of cells • Pinpoints location of proteins within a cell by reflecting light off them • Can measure the location to within 20 nanometers
Process of Cellular Staining Staining is when one takes a slide, dips it into a type of dye and rinses to see the cells and molecules more clearly under a microscope. Until the 1870s natural dyes were used for staining, then a German scientist decided it would be better to use synthetic dyes. Hormone Testosterone
There are many different types of dyes to stain cells with, all highlighting different parts of the cell such as fuchsin dye highlights the mitochondria, and carmine dye highlights glycogen. Early anaphase in an onion cell
Electron Microscopes! Valine Methionine Lysine
What Are They? • Electron Microscopes are scientific instruments that use a beam of highly energetic electrons to examine objects on a very fine scale. This examination can yield the following information: Topography The surface features of an object or "how it looks", its texture; direct relation between these features and materials properties (hardness, reflectivity...etc.) Morphology The shape and size of the particles making up the object; direct relation between these structures and materials properties (ductility, strength, reactivity...etc.) Composition The elements and compounds that the object is composed of and the relative amounts of them; direct relationship between composition and materials properties (melting point, reactivity, hardness...etc.) Crystallographic Information How the atoms are arranged in the object; direct relation between these arrangements and materials properties (conductivity, electrical properties, strength...etc.)
Essentially How it Works… • Electron Microscopes(EMs) function exactly as their optical counterparts except that they use a focused beam of electrons instead of light to "image" the specimen and gain information as to its structure and composition.The basic steps involved in all EMs: • 1.A stream of electrons is formed (by the electron source) and accelerated toward the specimen using a positive electrical potential • 2.This stream is confined and focused using metal apparatus and magnetic lenses into a thin, focused, monochromatic beam. • 3.This beam is focused onto the sample using a magnetic lens • 4.The Samples have to be prepared carefully to withstand the vacuum inside the microscope. Biological specimens are dried in a special manner that prevents them from shriveling. They also have to be made to conduct electricity; samples are coated with a very thin layer of gold by a machine called a sputter coater. • 5.Interactions occur inside the irradiated sample, affecting the electron beam These interactions and effects are detected and transformed into an image (appears 3D in black and white.)
The Electron Gun • A Thermionic Electron Gun functions in the following manner 1.An positive electrical potential is applied to the anode 2.The filament (cathode) is heated until a stream of electrons is produced 3.The electrons are then accelerated by the positive potential down the column 4.A negative electrical potential (~500 V) is applied to the Whenelt Cap 5.As the electrons move toward the anode any ones emitted from the filament's side are repelled by the Whenelt Cap toward the optic axis (horizontal center) 6.A collection of electrons occurs in the space between the filament tip and Whenelt Cap. This collection is called a space charge 7.Those electrons at the bottom of the space charge (nearest to the anode) can exit the gun area through the small (<1 mm) hole in the Whenelt Cap 8.These electrons then move down the column to be later used in imaging Polarized Electron Gun System
Fractionation • Cell fractionation is where a cell are broken up and its components and organelles are separated so that scientist can observe them in isolated form
Process • Homogenization • When the cells are broken up generally by sound waves or by being forced through tight spaces
Process • The second step is centrifugation • The part of the process where the organelles are isolated.
Animation • http://www.sinauer.com/cooper/4e/animations0101.html
Bibliography • http://serc.carleton.edu/microbelife/research_methods/microscopy/cellstain.htmlhttp://www.bookrags.com/research/cell-staining-wob/hhttp://www.microbiologyprocedure.com/microscopy-methods-in-microbiology/dyes-and-staining.htmhttp://micro.magnet.fsu.edu/micro/gallery.html http://www.biologyreference.com/images/biol_03_img0264.jpghttp://www.sptimes.com/2006/11/02/images/FRANCE_BORAT_ENA101.jpghttp://www.technologyreview.com/biomedicine/22081/http://science.howstuffworks.com/light-microscope1.htmhttp://office.microsoft.com/en-us/templates/TC010183731033.aspxhttp://inventors.about.com/od/mstartinventions/a/microscopes.htmhttp://www.fallingpixel.com/products/3876/mains/cells_0000.jpghttp://www.sinauer.com/cooper/4e/animations0101.htmlhttp://www.freewebs.com/ltaing/