Download
1 / 14
150 likes | 283 Views
Stephanie Irby Tech Span August 2010. Using Photo story 3 in the classroom. What is Photo Story 3?. A free program from Microsoft Can be downloaded from Microsoft Easy to use slide show importing photos and sounds with transitions and the ability to import slides from PowerPoint.

E N D
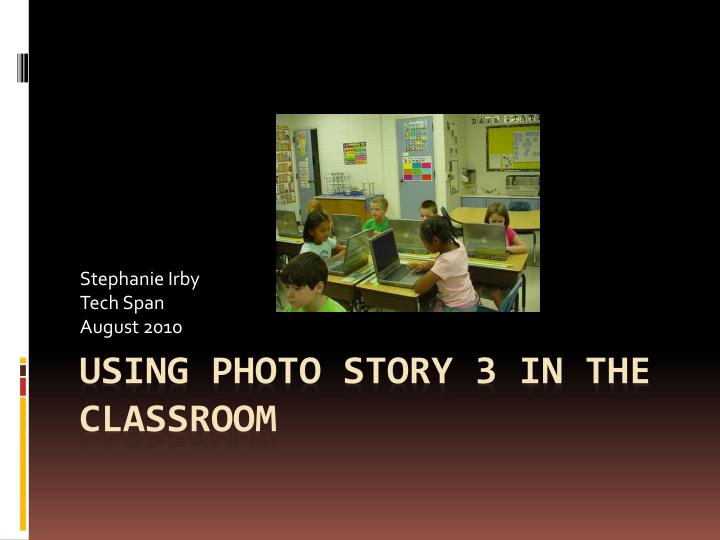
Stephanie Irby Tech Span August 2010 Using Photo story 3 in the classroom
What is Photo Story 3? • A free program from Microsoft • Can be downloaded from Microsoft • Easy to use slide show importing photos and sounds with transitions and the ability to import slides from PowerPoint.
Where can I use Photo Story 3 in my instruction? • Photo Story integrates very well into many different subjects. • Science • Social Studies • Math
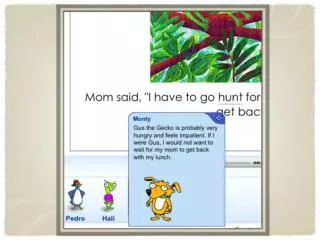
Here are some examples of Social Studies projects students have completed using Photo Story 3 • Ashlyn’s Project • Kim’s Project • Jayln’s Project
Let’s get started! • Download Photo Story 3 for free at • http://www.microsoft.com/windowsxp/using/digitalphotography/photostory/default.mspx • You also may want to download a photo editing software. One I suggest is Picasa, it is free and user friendly . • http://picasa.google.com/#utm_campaign=en&utm_source=en-ha-na-us-bk&utm_medium=ha&utm_term=picasa
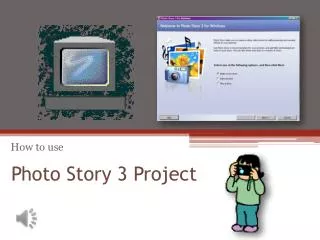
Once you have downloaded the software.. Select “Begin a new story”
Adding Pictures • Your selected pictures will show up on the tray at the bottom in the order in which they will be displayed . • You can manipulate and edit your pictures using this tab.
Adding Titles to your Photos • You can add your title here. • You can change the size and direction of your font here.
Customizing Motion • After clicking “customize motion” , you will get this menu. • On this tab you can change the duration and motion of the photo. • On this tab you can set what you would like the transition of the slide to look like.
Adding Recordings • You can record narrations to your slide show using an external or internal microphone. Click the red circle and it will begin recording your narration.
Adding Music • You can add background music in Photo Story. You can use music that is saved in your computer or you can create your own music within Photo Story.
Saving Your Project • You can save your project as an mpeg( Can no longer edit) or as a Photo Story project( Can be edited)
Useful Websites • http://cnx.org/content/m32299/latest/ • http://www.updatexp.com/microsoft-photo-story-3.html • http://www.slideshare.net/lisashusband/audacity-and-photo-story-in-the-classroom • http://www.teachertube.com/viewVideo.php?video_id=75267