Download
1 / 19

E N D
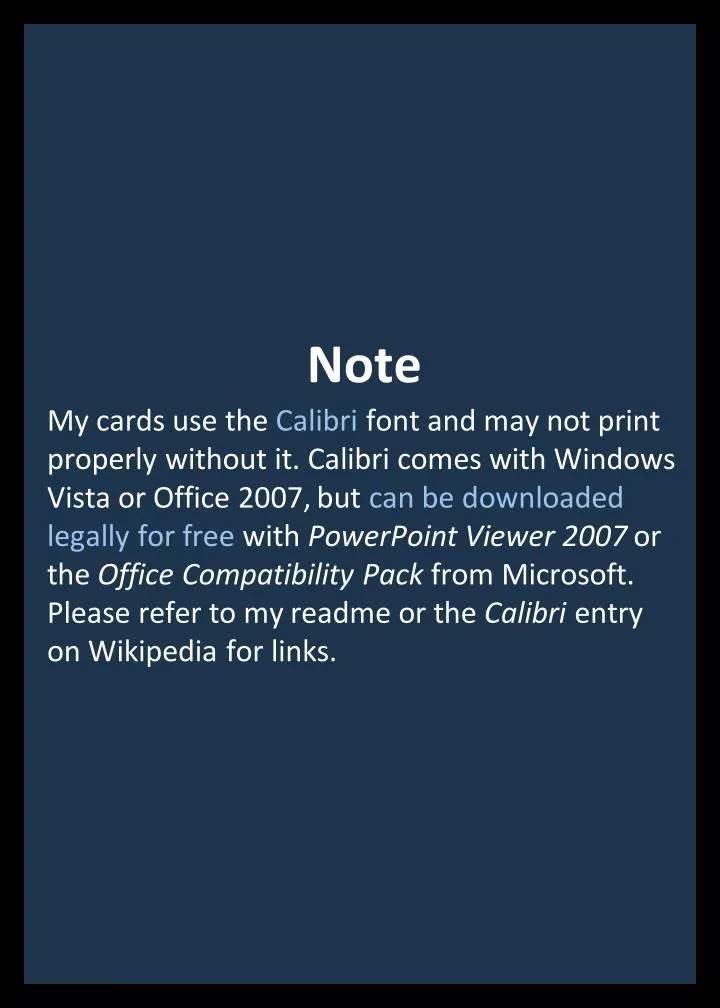
Note • My cards use the Calibri font and may not print properly without it. Calibri comes with Windows Vista or Office 2007, but can be downloaded legally for free with PowerPoint Viewer 2007 or the Office Compatibility Pack from Microsoft. Please refer to my readme or the Calibri entry on Wikipedia for links.
Template File • The template file included in the ZIP contains the following two slides that I copy and paste from.
Power NamePower Level • Flavor Text • Daily ♦ Keywords • Action Type Attack Type
Template Slides • I use the first to bookmark the PPT file (with icons deleted), as with the next slide. • The second is my power card format template.
Colors and Shapes • There are three ways to change card colors: • To apply a preset color template to any card, go to Format > Slide Design. Several templates will show up on the right under “Used in This Presentation”. Right-click one to apply the template to a card or cards. Try it now. • To change the colors in a current template, follow step one, and then select Color Schemes > Edit Color Schemes... [right-bottom] from the Slide Design panel. Try editing “Title text” and “Fills” colors under the custom tab. This is the fastest way to change the basic colors. • To edit the any other aspect of a template, go to View > Master > Slide Master. You can select any template and manipulate it. Note: Any changes you make to a master will be applied to every card that uses that template.
Power with Too-Long NameTemplate Attack 1 • If the power name or power level is too long, you have to adjust its font size manually.
Keywords • At-Will ♦ Keywords (If the keywords spill over, I indent them manually, per line, for readability. • Note: Though it’s possible to automatically indent everything within the text box using the ruler settings (click on this text and the indent settings will appear on the ruler at the top of the window), I don’t use this because to my knowledge, there is no way to adjust these settings per paragraph.
Labels • Action Type1 Attack Type2 • If the attack type is long, I indent the spillover
Labels • Action Type can be too long... • Attack Type is placed on the next line when this happens
Gradients • Gradients behind text (like the gradient behind this text) are placed and adjusted by hand. • Tip 1: Hold Alt while dragging the boundaries of the box to avoid the grid-snap. • Tip 2: After copy / pasting to create new gradients, you must Right-Click > Order > Send to Back to put them behind the text.
Description Text • The description text is easy to place, but will not go below an 8 pt font automatically. If you want to get your font smaller to make text fit, you have to select the text Placeholder border (select this text to see the border) and type in the < 8 pt font by hand. Avoid going below a 6 pt font. • Text boxes automatically adjust line spacing within a font setting and sometimes squeezes together lines when there is plenty of space available. Adjust line spacing by selecting the Placeholder border, then choosing Format > Line Spacing... from the menu. I don’t go above .8 on an 8 pt font (this is too much for my liking) or .9 on smaller fonts. This text is an example of 1.0 spacing.
Info Boxes • (See right) These boxes are not part of the master file. Put what you want here, but I recommend keeping it in one line... ...like so!
Icons 3 10 • I use the template slide to place icons: • Drag the icons where you want them. They should snap nicely to the grid. • If not, then View > Grid and Guides, select Snap Objects to Grid, and make the Spacing .083 inches. • Select the icons you want (hold Shift to select multiple objects). • Copy (Ctrl-C) them. • Undo (Ctrl-Z) to put the icons back. • Go to the card you want the icons placed and Paste (Ctrl-V) your copied icons. ? +5 STR
Background Image • It’s possible to set a different background image by going to View > Master > Slide Master and making a new autoshape that covers the card. • To give it a background image, right-click the autoshape > Format Autoshape > Color > Fill Effects... > Picture [tab] > Select Picture... • Note that gradients intended for the white background no longer work and need to be deleted. You may also want to change the info box colors and lines to “no fill.” • Note: a lot of PDF converters (like the one I recommend in this tutorial) have problems with semi-transparencies from Microsoft Office products. I avoid semi-transparency settings for this reason. No fill... ...or border!
Publishing PDFs • PowerPoint printing options suck. I convert to a PDF first. My steps: • Install doPDF: http://www.dopdf.com/ • In PowerPoint, go to File > Print... • Select doPDF as your printer • Select Properties, select Customize, and put in Width 2.5, and Height 3.5, and click OK. • Click OK again, as though printing. • doPDF will ask where you want to save the file.
Printing • To print 8 cards / sheet from Acrobat Reader: • Set your printer properties to print pages in landscape. • Change Page Scaling to Multiple pages per sheet. • Change Pages per sheet to Custom and set it to 4x2. • Print
Good Luck! • enworld@beeba.net.
Implement ExpertiseHeroic Tier Feat • Benefit: Choose a type of implement. You gain a +1 bonus to attack rolls with any implement power you use through that type of implement. The bonus increases to +2 at 15th level and +3 at 25th level. • Special: You can take this feat more than once. Each time you take this feat, choose a different type of implement.
Distant AdvantageHeroic Tier Feat • Benefit: You gain combat advantage for ranged or area attacks against any enemy flanked by your allies.