Download
1 / 13
130 likes | 365 Views
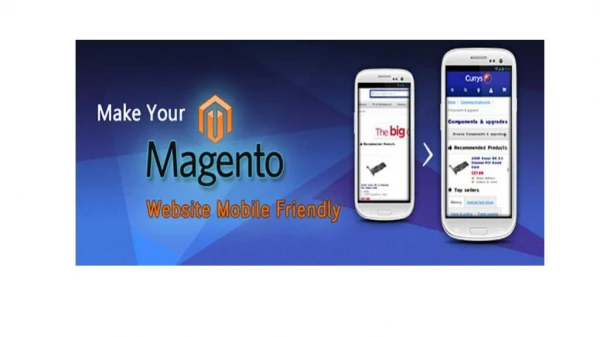
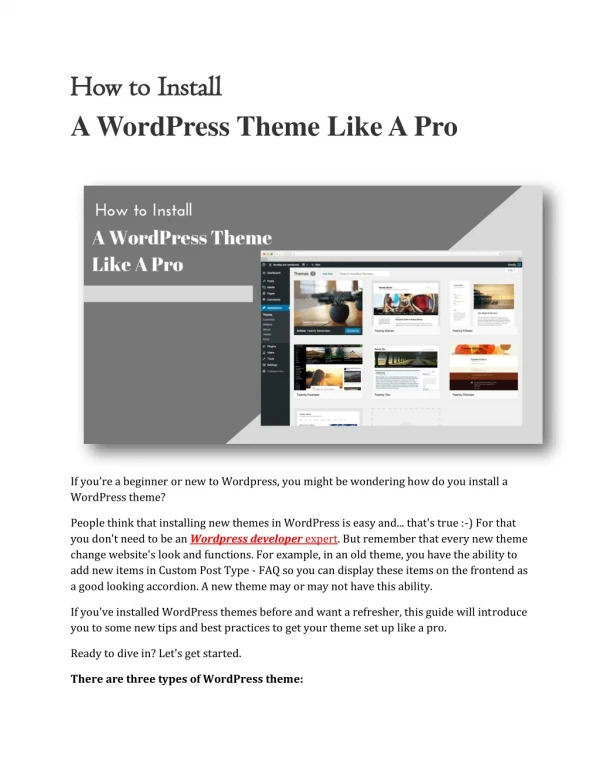
If you are about to set up an online store, we shall share with you easy steps on how to install a Magento theme. Once you have installed it, you would find hundreds of options to customize your online store.

E N D
Introduction While you may have worked with WordPress or other CMS in the past but you need to understand that Magento is a bit different from such single template themes. To put things into perspective the layout of a Magento powered online store depends on four elements i.e. • Layout – Present is (app/design/frontend/your_interface/new_theme/layout/) • Templates – Present in (app/design/frontend/your_interface/new_theme/template/) • Skins – Present in (skin/frontend/your_interface/new_theme/) • Locale – Present in (app/design/frontend/your_interface/new_theme/locale/) If you are about to set up an online store, we shall share with you easy steps on how to install a Magento theme. Once you have installed it, you would find hundreds of options to customize your online store.
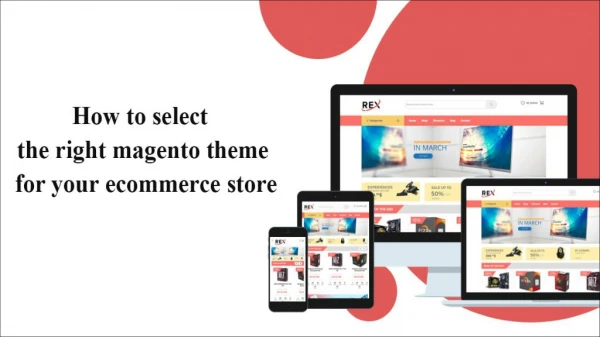
Choose a Theme • Before you get started with installing the theme, you would need to choose one. You have two options, choose a Magento theme for free or buy a premium theme. • While free themes are good enough to launch your online store, premium themes have better designs, customization options and most importantly come with the promise of technical support.
Unzip The Theme • Themes when downloaded come in zipped format and hence you would need to unzip it using WinRAR, WinZip or any other tool in Linux which you may be comfortable with.
Copying App Folder • In the next stage you have to copy app folder of your new theme under • Your_Magento_Installation/app/design/frontend/default/ (This will turn it into something like) • Your_Magento_Installation/app/design/frontend/default/new_theme
Copying Skin Folder • The next step is also quite similar and here you would need to copy the entire skin folder for your new theme • Your_Magento_Installation /skin/frontend/default/ (This will turn it into something like) • Your_Magento_Installation/ skin/frontend/default/new_theme
Login To Magento Store • With the above steps you would have added the newly downloaded theme to your Magento store. • In this step you will have to login to your Magento store admin, using your Magento account and choose the theme that would be used as the layout.
Test Magento Theme • There are some occasions when Magento Cache doesn’t offer you a preview of the changes and in such cases you need to do it manually. • In order to test the new theme disables cache for the time being. • You can do this by going to System>Cache Management and select ‘Disable’ then click ‘Save Cache’. Follow this up by choosing the ‘Enable’ option.
Design Option • In the next step go to System>Configuration and select the Design Tab. Here you will have to type a new name for your new theme that has been copied to your Magento installation in front of skin (Images/CSS) input box. • Once done you need to click on ‘Save Config’. • The next three stages in your Magento Installation process are optional and you can try these out if you want to
Install Widgets • If your Magento theme has come with widgets, you would have to install them. To install Magento theme widgets you need to go to CMS>Static Blocks and here click on ‘Add New Block’. • Different widgets have different installation process and you need to follow your widget installation instructions carefully to add the new widget block and activate it. • Select ‘Enabled’ and click ‘Save Block’ after which select ‘Custom Design’ Tab and in the layout select ‘Homepage’ or else the widget won’t show up on your homepage.
Display Items On Home Page • By default your home page is a CMS block and won’t display any items by itself. To display items on the homepage you would have to provide custom code in there. • To do so you need to go to CMS> Manage Pages and select the ‘Home page’ and in the content box type the home page content code that has come with your new theme. • You would have the option of changing this content anytime you want.
Customise Store • You are done with installing the Magento theme and you can now test it by opening the store in the browser and the new theme would be shown. • Now you have unlimited ways of customizing your store to meet the niche needs of your business.
About Markupbox Markupbox provides cross browser compatible and responsive theming and conversion services. Markupbox is an experienced service provider and having features like Non-Disclosure agreement, dedicated project manager and reasonable pricing. It has worked with 5600+ satisfied clients from across the globe.