Download
1 / 13
130 likes | 139 Views
Learn how to add menus and dialogs to your Android applications using advanced programming concepts. Explore topics such as adding icons to menus and using FontAwesome for menu icons. Also, discover how to create simple and sophisticated dialogs.

E N D
Menus and Dialogs CS 240 – Advanced Programming Concepts
Adding a Menu to an Activity • Add menu strings to res/values/strings.xml resource file(s) • Add a menu layout file (New -> Android Resource File) • Select ’menu’ as the resource type • Add item attributes • Example: ActivityMenuExample/res/menu/main_menu.xml • Override onCreateOptionsMenu(Menu) • Override onOptionsItemSelected(MenuItem) • Example: ActivityMenuExample.zip
Adding an Icon to a Menu • From the layout file • android:icon="@drawable/ic_file” • Use Android Asset Studio to generate the icon (Android book pgs. 253-255) • Can also download and add icons (https://developer.android.com/studio/write/image-asset-studio) • From onCreateOptionsMenu(…) • Get reference to the menu item and write code to add the icon (required to use FontAwesome icons)
Adding a Font Awesome Menu Icon • Add dependencies to your build.gradle file: • implementation 'com.joanzapata.iconify:android-iconify:2.2.2' • implementation 'com.joanzapata.iconify:android-iconify-fontawesome:2.2.2' • If the above dependencies create Gradle build errors, by bringing in incompatible transitive dependencies • 'implementation (com.joanzapata.iconify:android-iconify:2.2.2', { exclude group: 'com.android.support' }) • implementation ('com.joanzapata.iconify:android-iconify-fontawesome:2.2.2', { exclude group: 'com.android.support' })
Adding a Font Awesome Menu Icon protected void onCreate(…) {… Iconify.with(new FontAwesomeModule());… } public booleanonCreateOptionsMenu(Menu menu) {MenuInflaterinflater = getMenuInflater();inflater.inflate(R.menu.main_menu, menu);MenuItempersonMenuItem = menu.findItem(R.id.personMenuItem);personMenuItem.setIcon(new IconDrawable(this, FontAwesomeIcons.fa_user) .colorRes(R.color.colorWhite) .actionBarSize()); return true;}
Adding a Menu to a Fragment • Same as Actvity menus with the following changes: • Extra Step: Call setHasOptionsMenu(true) in onCreate(Bundle) or your menu callbacks will never be called • Method signature for onCreateOptionsMenu(…) receives a MenuInflater as a parameter • Receives the MenuInflater from the hosting activity • Example: CriminalIntent-Chapt13.zip • res/menu/fragment_crime_list.xml • CrimListFragment.java
Implementing an Up Button • Add an android:parentActivityNameattribute to the manifest entry for the activity that should have an Up button • Family Map Client Example (in AndroidManifest.xml): <activityandroid:name=".view.PersonActivity"android:parentActivityName=".view.MainActivity" />
Implementing an Up Button: Using the Same Fragment or Activity Instance • Simply adding a parent activity will cause the parent activity/fragment to be re-created • To re-use the same instance (and therefore keep it’s state), do the following • Provide a parent activity (per previous slide) • Override onOptionsItemSelected(MenuItem) • If ‘up’ button selected: • Create an Intent • Set Intent.FLAG_ACTIVITY_SINGLE_TOPand Intent.FLAG_ACTIVITY_CLEAR_TOPflags • Start the parent activity from the intent
Implementing an Up Button: Using the Same Fragment or Activity Instance @Overridepublic booleanonOptionsItemSelected(MenuItem item) { if(item.getItemId() == android.R.id.home) { Intent intent = new Intent(this, MainActivity.class);intent.setFlags(Intent.FLAG_ACTIVITY_SINGLE_TOP| Intent.FLAG_ACTIVITY_CLEAR_TOP);startActivity(intent); } return true;}
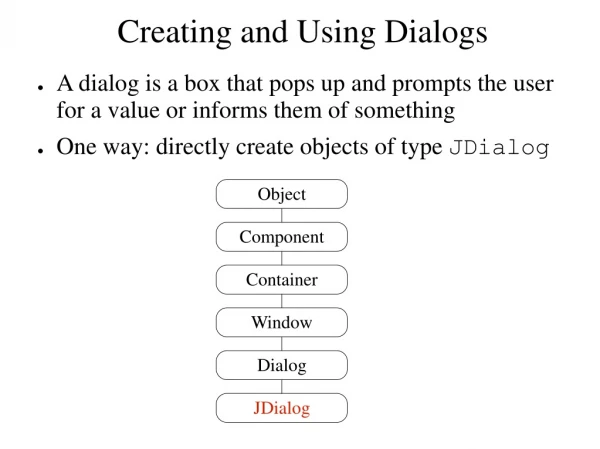
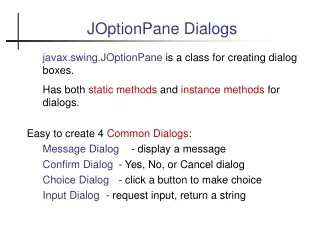
Creating a Simple Dialog • Create an instance of AlertDialog • Use AlertDialog.Builder(Context) • Call show() to make it visible • Recommended: Wrap in a DialogFragment to keep it from disappearing on rotation • Useful AlertDialog.Builder methods: • setTitle(…) • setMessage(…) • setView(…) • setPositiveButton(…) • setNegativeButton(…) • setNeutralButton(…) • Many others • Example: SimpleDialogExample.java
A More Sophisticated Example • Android book chapter 12 • CriminalIntent-Chapt13.zip