Download
1 / 34
340 likes | 353 Views
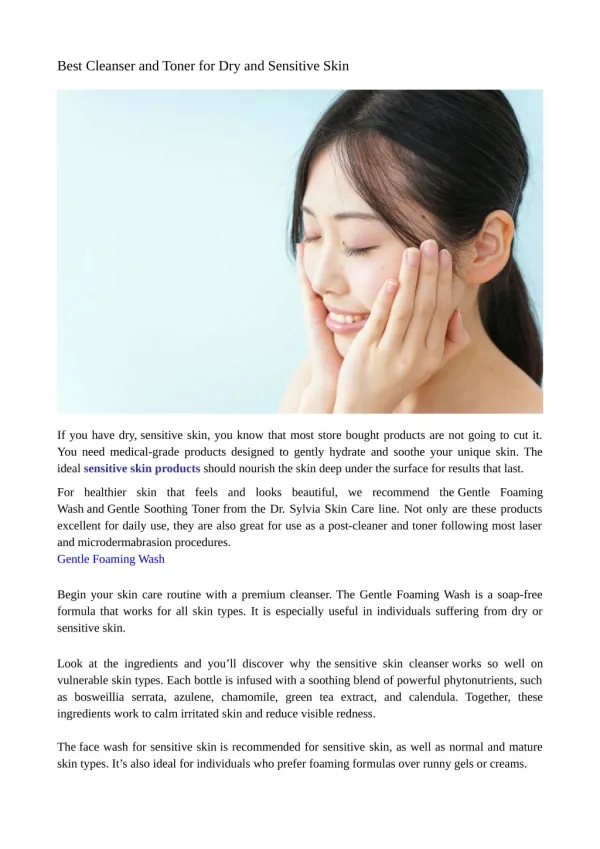
Watercolor and ink wash face tutorial. Mrs Ras. In photoshop open a new “letter” sized document. Find and copy a picture of a face, preferably with good value (it will make it easier on you later). Edit>paste Edit> free transform place your image so that it is touching two sides of the paper.

E N D
Watercolor and ink wash face tutorial • Mrs Ras
Find and copy a picture of a face, preferably with good value (it will make it easier on you later)
Edit>paste Edit> free transformplace your image so that it is touching two sides of the paper
Using your quick selection tool (or any other method of selection you prefer) select the background
Increase the featherdecrease the sift edge andOutput to: new layer with maskthen click ok
Edit> adjustment> black and whiteplay with the sliders so that your get the most value and drama
Edit adjustment> curves or bright and contrastenhance the value
Use the eye dropper tool and enhance the value by painting. Exaggerate things … it will look funky that is ok!
select the top layerFilter>filter gallery use sumi-e or watercolor
toggle off the filtered face layer and choose the other face layer
using your magic wand tool select the white area around the head
while selected paint in with black or dark gray leaving a small gradient near the face
make sure the bottom polarized face is selected and click on the “add vector mask” at the bottom of the layer box
click in layers, the white box next too the face and then click the color range box above
click on the black area of the face and then click ok (this will make a mask of those shapes)
Now Toggle off that layer and add new layer belowThis is where you are going to be collaging together watercolor blots and splashes
Paste into photoshopfree transform to scaleuse magic want tool to select the white
change layer mode to color dodge or multiply and change opacity of the layer