Download
1 / 17
170 likes | 293 Views
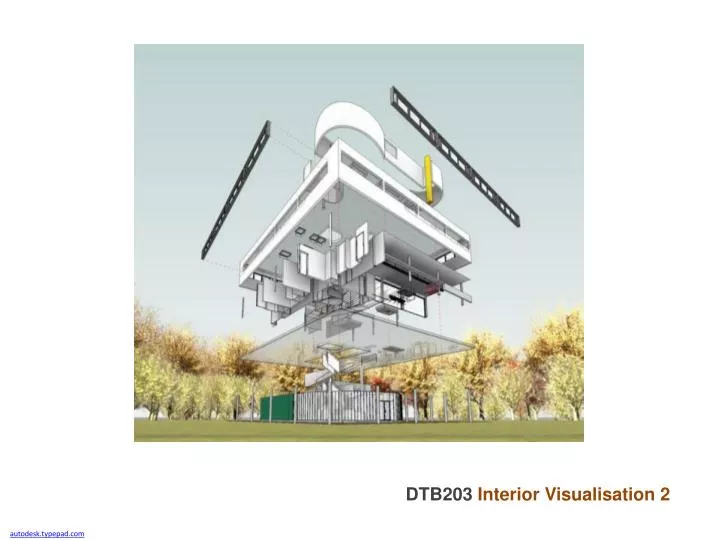
DTB203 Interior Visualisation 2. autodesk.typepad.com. DTB203 Interior Visualisation 2 2014.2. Tutorial 2: Labs Continuing Revit: Inserting doors and windows Inserting a staircase Inserting internal walls. revitrocks.blogspot.com. DTB203 Interior Visualisation 2 2014.2.

E N D
DTB203 Interior Visualisation 2 autodesk.typepad.com
DTB203 Interior Visualisation 2 2014.2 Tutorial 2: Labs • Continuing Revit: • Inserting doors and windows • Inserting a staircase • Inserting internal walls revitrocks.blogspot.com
DTB203 Interior Visualisation 2 2014.2 Inserting building objects: Doors and windows You will need to download this document: http://dtb203.jimdo.com/digital-lab-tutorial/
DTB203 Interior Visualisation 2 2014.2 Inserting building objects: Doors and windows Using the model you can download from http://dtb203.jimdo.com/digital-lab-tutorial/ open it up. Go to page 29 of your eBook and follow the instructions
DTB203 Interior Visualisation 2 2014.2 Inserting building objects: Stairs Using the model you can download from http://dtb203.jimdo.com/digital-lab-tutorial/open it up. Now let’s tackle stairs.. (and here’s a brilliant tutorial): http://www.screencast.com/t/aGZAqGmldM
DTB203 Interior Visualisation 2 2014.2 Inserting building objects: Stairs
DTB203 Interior Visualisation 2 2014.2 Inserting building objects: Stairs
DTB203 Interior Visualisation 2 2014.2 Inserting building objects: Stairs
DTB203 Interior Visualisation 2 2014.2 Inserting building objects: Stairs
DTB203 Interior Visualisation 2 2014.2 Inserting building objects: Stairs
DTB203 Interior Visualisation 2 2014.2 Inserting building objects: Stairs
DTB203 Interior Visualisation 2 2014.2 Inserting building objects: Stairs
DTB203 Interior Visualisation 2 2014.2 Inserting building objects: Stairs
DTB203 Interior Visualisation 2 2014.2 Inserting building objects: Stairs
DTB203 Interior Visualisation 2 2014.2 Inserting building objects: Stairs
DTB203 Interior Visualisation 2 2014.2 Inserting building objects: Internal walls Go to page 24 of your eBook and follow the instructions
DTB203 Interior Visualisation 2 2014.2 Next week • Week 3: Revit – importing objects into your interior space • For lots of tricks and tips: http://therevitkid.blogspot.com.au/