Download
1 / 24
280 likes | 505 Views
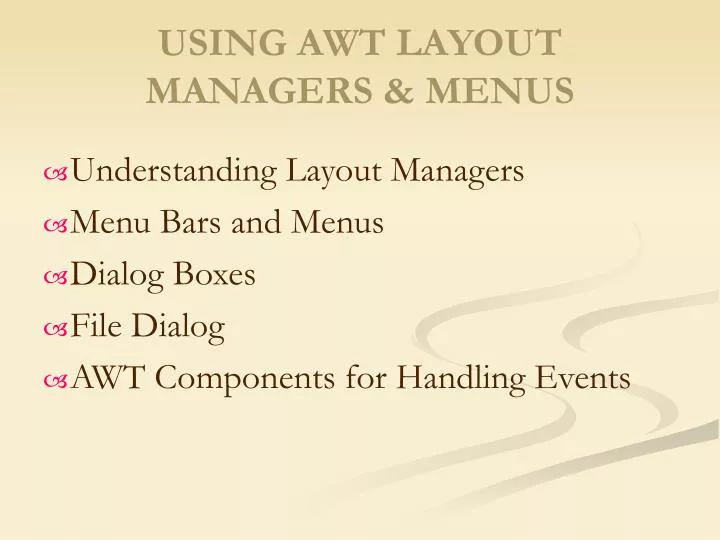
USING AWT LAYOUT MANAGERS & MENUS. Understanding Layout Managers Menu Bars and Menus Dialog Boxes File Dialog AWT Components for Handling Events. LAYOUT MANAGERS. A layout manager automatically arranges your controls within a window instead of laying out your controls by hand.

E N D
USING AWT LAYOUT MANAGERS & MENUS • Understanding Layout Managers • Menu Bars and Menus • Dialog Boxes • File Dialog • AWT Components for Handling Events
LAYOUT MANAGERS • A layout manager automatically arranges your controls within a window instead of laying out your controls by hand. • Avoiding manually laying out for 2 main reasons: * Tedious task to layout large number of components. * Width & Height information is not yet available when arranging some control.
WHAT IT IS??????? • Each Container has a layout manager associated with it. • A layout manager is an instance of any class that implements the LayoutManager interface. • The layout manager is set by the setLayout( ) method. • Whenever a container is resized(or sized for the first time), the layout manager is used to position each components within it.
……More about • The setLayout( ) method has the following general form: void setLayout(LayoutManager layoutObj) • Here, layoutObj is a reference to the desired layout manager. • The layout manager is notified each time you add a component to a container. • The layout manager is consulted by the following methods minimumLayoutSize( ) preferredLayourSize( ) whenever the container needs to be resized. • Each component that is being managed by a layout manager contains the getPreferredSize( ) getMinimumSize( ) – to display each component with the prefered and minimum size required. • Java has several predefined LayoutManager classes
LIST OF PREDEFINED LAYOUTS • FLOW LAYOUT • BORDER LAYOUT USING INSETS • GRID LAYOUT • CARD LAYOUT
FLOW LAYOUT • FlowLayout is the default layout manager. • Implements similar to how words flow in a text editor. • Components are laid out from the upper-left corner, left to right and top to bottom. • Fits to line. If not, appears in next line. • Small spaces b/w each component; ▲&▼,►&◄.
CONSTRUCTORS FOR FLOWLAYOUT • FlowLayout( ) – creates the default layout which centers components and leaves five pixels of space b/w each component. • FlowLayout(int how) – To specify how each line is aligned. Valid values are: FlowLayout.LEFT for left alignment. FlowLayout.RIGHT for right alignment. FlowLayout.CENTER for center alignement. • FlowLayout(int how, int horz, int vert) – To specify horizontal or vertical space between components.
//Use left-aligned flow layout import java.awt.*; import java.awt.event.*; import java.applet.*; /* <applet code = “FlowLayoutDemo" width = 250 height = 200> </applet> */ public class FlowLayoutDemo extends Applet implements ItemListener{ String msg = " "; Checkbox Win98, WinNT, Solaris, Mac; public void init() { //Set left-aligned flow layout setLayout(new FlowLayout(FlowLayout.LEFT)); Win98 = new Checkbox("Windows98", null, true); WinNT = new Checkbox("Windows NT/2000"); Solaris = new Checkbox("Solaris"); Mac = new Checkbox("MacOS"); add(Win98); add(WinNT); add(Solaris); add(Mac); Win98.addItemListener(this); Example for FlowLayout
g.drawString(msg, 6, 100); msg = "Windows NT/2000: " + WinNT.getState(); g.drawString(msg, 6, 120); msg = "Solaris: " + Solaris.getState(); g.drawString(msg, 6, 140); msg = "Mac: " + Mac.getState(); g.drawString(msg, 6, 160); } } WinNT.addItemListener(this); Solaris.addItemListener(this); Mac.addItemListener(this); } public void itemStateChanged(ItemEvent ie) { repaint(); } //Display current state of the check boxes. public void paint(Graphics g) { msg = "Current State"; g.drawString(msg, 6, 80); msg = "Windows 98: " + Win98.getState();
Versus UnalignedAligned
BORDER LAYOUT • The BorderLayout class implements a common layout style for top-level windows. • It has four narrow, fixed-width components at the edges and one large area in the center. • The four sides are referred to north, south, east and west. • The middle area is called the center.
Constructors for BorderLayout • BorderLayout( ) – creates a default border layout. • BorderLayout(int horz,int vert) – allows you to specify the horizontal and vertical space left between components. • When adding components: void add(Component compObj, Object region); • compObj is the component to be added, region specifies where the component will be added. • BorderLayout defines the following constants that specify the regions: BorderLayout.CENTER BorderLayout.SOUTH BorderLayout.EAST BorderLayout.WEST BorderLayout.NORTH.
import java.awt.*; import java.applet.*; import java.util.*; /* <applet code="BorderLayoutDemo" width=400 height=200> </applet> */ public class BorderLayoutDemo extends Applet { public void init() { setLayout(new BorderLayout()); add(new Button("This is across the top."), BorderLayout.NORTH); add(new Label("The footer message might go here."), BorderLayout.SOUTH); add(new Button("Right"), BorderLayout.EAST); add(new Button("Left"), BorderLayout.WEST); Example for BorderLayout
String msg = "The Reasonable man adapts" + "himself to the world; \n" + "the reasonable one persists in " + "trying to adapt the world to himself. \n" + "therefore all progress depends \n \n"; add(new TextArea(msg), BorderLayout.CENTER); } } OUTPUT:
USING INSETS • Sometimes U’ll want to leave a small amount of space b/w the container that holds your components and the window that contains it. • To do this, override the getInsets( ) method. • The constructor for Insets is shown here: Insets(int top, int left, int bottom, int right) • The values passed in are to specify the amount of space b/w the container and its enclosing window. • The general form: Insets getInsets( ) • When overriding one of these methods, you must return a new Insets object that contains the inset spacing you desire.
Example : // Demonstrate BorderLayout with Insets import java.awt.*; import java.applet.*; import java.util.*; /* <applet code="BorderLayoutDemo" width=400 height=200> </applet> */ public class BorderLayoutDemo extends Applet { public void init() { setBackground(Color.cyan); setLayout(new BorderLayout()); add(new Button("This is across the top."), BorderLayout.NORTH); add(new Label("The footer message might go here."), BorderLayout.SOUTH); add(new Button("Right"), BorderLayout.EAST); add(new Button("Left"), BorderLayout.WEST);
String msg = "The Reasonable man adapts" + "himself to the world; \n" + "the reasonable one persists in " + "trying to adapt the world to himself. \n" + "therefore all progress depends \n \n"; add(new TextArea(msg), BorderLayout.CENTER); } public Insets getInsets() { return new Insets(10,10,10,10); } }
GRIDLAYOUT • GridLayout lays out components in a two-dimensional grid. • When you instantiate a GridLayout, you define the number of rows and columns. • The constructors supported by GridLayout are: • GridLayout( ) – Creates a single-column grid layout. • GridLayout(int numRows, int numColumns) – Creates a grid layout with the specified number of rows and columns. • GridLayout(int numRows, int numColumns, int horz, int vert) – Allows you to specify the horizontal & vertical space left b/w components. • Specifying numRows as Zero allows for unlimited-length columns and viceversa for numColumns as Zero.
// Demonstrate GridLayout import java.awt.*; import java.applet.*; /* <applet code="GridLayoutDemo" width=300 height=200> </applet> */ public class GridLayoutDemo extends Applet { static final int n = 4; public void init() { setLayout(new GridLayout(n, n)); setFont(new Font("SansSerif", Font.BOLD, 24)); for(int i=0;i<n;i++) { for(int j=0;j<n;j++) { int k=i*n+j; if(k>0) add(new Button(" " + k)); } } } } SAMPLE PROGRAM
CARD LAYOUT • The CardLayout class is unique among the other layout managers in that it stores several different layouts. • CardLayout Provides these two constructors. CardLayout() CardLayout(int horz, int vert) • Use of a CardLayout requires a bit more than the other layouts. The cards are typically held in an object of type Panel. • You must create a panel that contains the deck and a panel for each card in the deck. • Next, you add to the appropriate panel the components that form each card. • Then add these panels to the panel for which CardLayout is the layout manager. • Add this panel to the main applet panel. • After this, u must provide some way for the user to select between cards. • Common approach is to include one push button for each card in the deck.
When adding cards to a panel. • void add(Component panelObj, Object name); • name is the string that specifies the name of the card and panelObj is for specifying the panel. • After the creation of the deck, ur prog. activates a card by calling one of the following methods defined by CardLayout. • void first(Container deck) – causes the first card in the deck to be shown). • void last(Container deck), void next(Container deck), void previous(Container deck) llly… • void show(Container deck, String name) – displays the card whose name is passed in the cardName. • deck – the container that holds the cards, cardName is the name of a card.