Download

1 / 22
220 likes | 314 Views
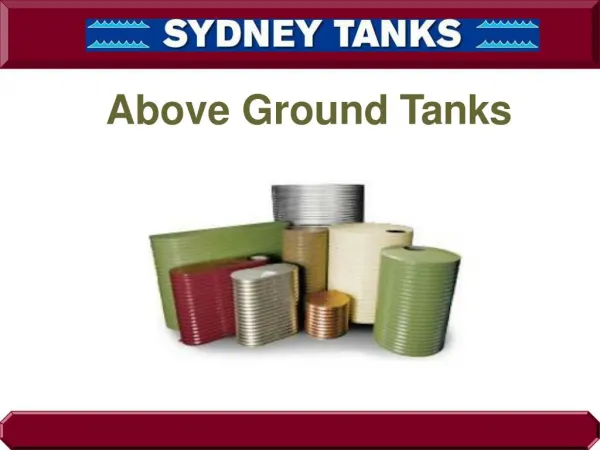
Installing the Replacement Seal on the Sydney Tank. If you notice that water continues to run into your bowl long after use or you hear the tank refill by itself (not after a flush) the Flush Mechanism Seal may need to be Replaced.

E N D
If you notice that water continues to run into your bowl long after use or you hear the tank refill by itself (not after a flush) the Flush Mechanism Seal may need to be Replaced.
The First Step in Troubleshooting is to remove the Lid from the Tank.
In conducting any maintenance on your Caroma Toilet, always start by turning off the water at the wall.
Locate the Locking tabs at the back of the Flush Valve Housing, Push both tabs with your thumbs while lifting the flush valve past the locking tabs with your index fingers.
Locate the Locking tabs at the front of the Flush Valve Housing, Pull both tabs with your thumbs, while lifting the flush valve past the locking tabs with your index fingers.
Thoroughly clean the tank to bowl passage, being careful to remove any calcium carbonate or other debris that has accumulated around the opening.
Peel the Old Seal off the bottom of the Flush Valve Assembly.
Remove the New Seal from its Package, Coat with Vegetable Oil or Liquid Soap, and stretch it over the bottom plunger on the Flush Mechanism.
Apply pressure to the surface of the Seal with your thumb and move in a clockwise fashion. This will create a sort of wave in front of your thumb and will help to ensure that the inner lip of the seal fits into the groove underneath the plunger.
When installed, the Seal should be round and fit uniformly on all sides.
Grasp the edges of the Seal with all five fingers, pulling the edges towards you and then let go.
An Improperly Installed Seal will remain curled up on one or more sides and cause your Caroma toilet to leak worse than before you installed it.
A Properly Installed Seal will lay down uniformly on all sides and will sit just off of the plastic base of the plunger.
After ensuring that the Seal has been properly installed, reinstall the Flush Vale Mechanism into the Housing, starting at the back of the Housing. Take care to ensure that the Locking Teeth on the Flush Valve Assembly fit Correctly into the Housing. Do not push the Mechanism all the way down past the locking tabs, until you have positioned the front edge as well.
After ensuring that the back edge of the Flush Mechanism is properly seated, repeat the same steps with the front edge. Take care to ensure that the Locking Teeth on the Flush Valve Assembly fit Correctly into the Housing. Once all the Locking Teeth are in place, push the entire mechanism down past the Locking tabs.