Download
1 / 12
120 likes | 125 Views
In this lesson, you will learn all about compound microscopes, including the names and functions of each part, how to carry and prepare slides, and how to properly focus. You will also learn how to calculate total magnification and understand the concept of compound magnification. This lesson is suitable for beginners and provides practical knowledge for using microscopes effectively.

E N D
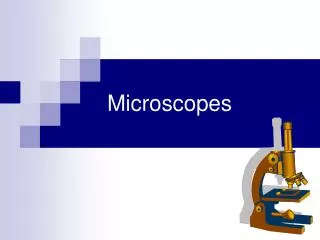
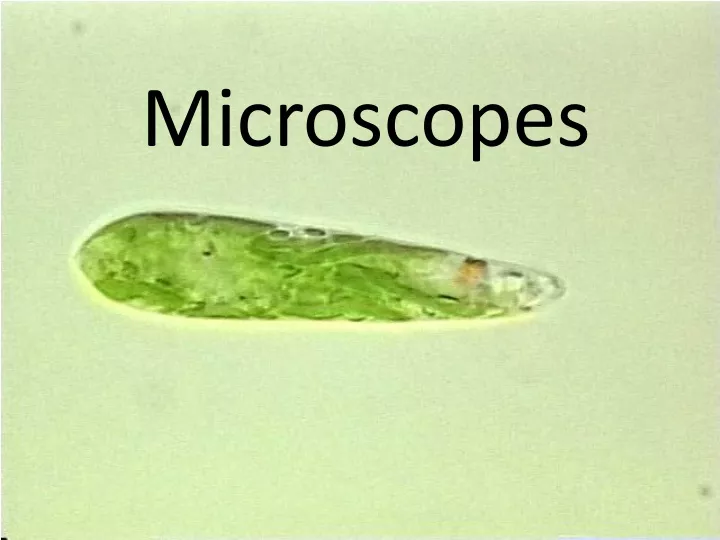
The Amazing Compound Microscope Through this lesson, you will learn all about Microscopes and by the end, you will be able to: 1. Name all of its parts and describe the function of each. 2. Explain how to carry the thing, properly prepare a slide, & focus correctly. 3. Calculate total magnification.
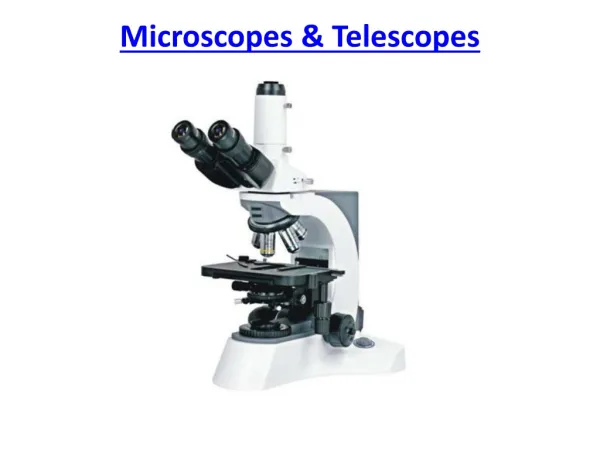
Eyepiece Body Tube Revolving nosepiece Arm Medium power objective Low power objective Stage High power objective Coarse adjustment Stage Clips Diaphragm Fine adjustment Light source Base
arm base coarse focus knob diaphragm fine focus knob high power objective lens light source low power objective lens nosepiece ocular (eyepiece) stage stage clips 1. the lens you look through, magnifies the specimen 2. supports the microscope 3. holds objective lenses 4. magnify the specimen (2) 5. supports the upper part of the microscope, used to carry the microscope6. used to focus when using the high power objective 7. where the slide is placed 8. regulates the amount of light reaching the objective lens 9. used to focus when using the low power objective 10. provides light 11. hold slide in place on the stage What do the parts do???
What’s my power? To calculate the power of magnification, multiply the power of the ocular lens by the power of the objective. What are the powers of magnification for each of the objectives we have on our microscopes?
Why is it called a "compound" light microscope? "Compound" just refers to the fact that there are two lenses magnifying the specimen at the same time, the ocular & one of the objective lenses. If two lenses are always magnifying the specimen, how do you figure out the total magnification being used ? You multiply the power of the ocular and the power of the objective being used. total magnification = ocular x objective For example, if the ocular is 10x and the low power objective is 20x, then the total magnification under low power is 10 x 20 = 200x.
We can see better details with higher the powers of magnification, but we cannot see as much of the image. Which of these images would be viewed at a higher power of magnification? Comparing Powers of Magnification
What about focusing? How do you do that? Once you have your slide in place on the stage, make sure the low power objective (the shortest objective lens) is in position & turn the coarsefocus until the lens is at a position closest to the stage. Set the diaphragm to its largest opening (where it allows the most light through). Then, while looking through the ocular, begin to slowly turn the coarse focus. Turn slowly & watch carefully. When the specimen is focused under low power, move the slide so that what you want to see is dead-center in your field of view, & then switch to a higher power objective. DO NOT touch the coarse focus again --- you will break something ! Once you are using a high power objective, focus using the fine focus knob ONLY. Be sure to center your specimen before switching to a higher power objective or it may disappear.
Things to remember • Always start using low power and gradually move up to high power. • Always center the specimen before changing power. • Only use Course adjustment when on low power.
Microscopes • Using the safe handling techniques you just learned, get a microscope from the cabinet and set it at a lab station– remember, you need a 3-pronged plug. • Get a prepared slide from the back of the room and attempt to observe the specimen. • Remember DO NOT use the coarse adjustment unless you are on LOW power!
How to prepare a wet mount slide • Only touch the edges of your slide so not to get finger prints on the area you will be observing. • Place the specimen on the slide. • Add a drop of H20. • Cover with cover slip. • Follow the directions on your lab sheet
1 – Get a clean slide and coverslip from your teacher. 2- Cut out a letter “e” and place it in the middle of the slide. 3 – Place ONE drop of water over the “e”. Don’t use too much or the water will run off the edge and make a mess! 4 – Place the edge of the cover slip on one side of the water drop. 5 - Slowly lower the cover slip on top of the drop. 6 – Place the slide on the stage and view it first with the red-banded objective. Once you see the image, you can rotate the nosepiece to view the slide with the different objectives. You do not need to use the stage clips when viewing wet-mount slides! Cover Slip Lower slowly How to make a wet-mount slide …