Download
1 / 3
30 likes | 33 Views
Many of the concerns that homeowners have about awnings are unfounded. Actually, adding an aluminum awning to your home is a terrific enhancement. It protects siding and windows from the elements in addition to offering shade. If you want to know the instructions to install an aluminum porch awning, check out our PDF. <br>

E N D
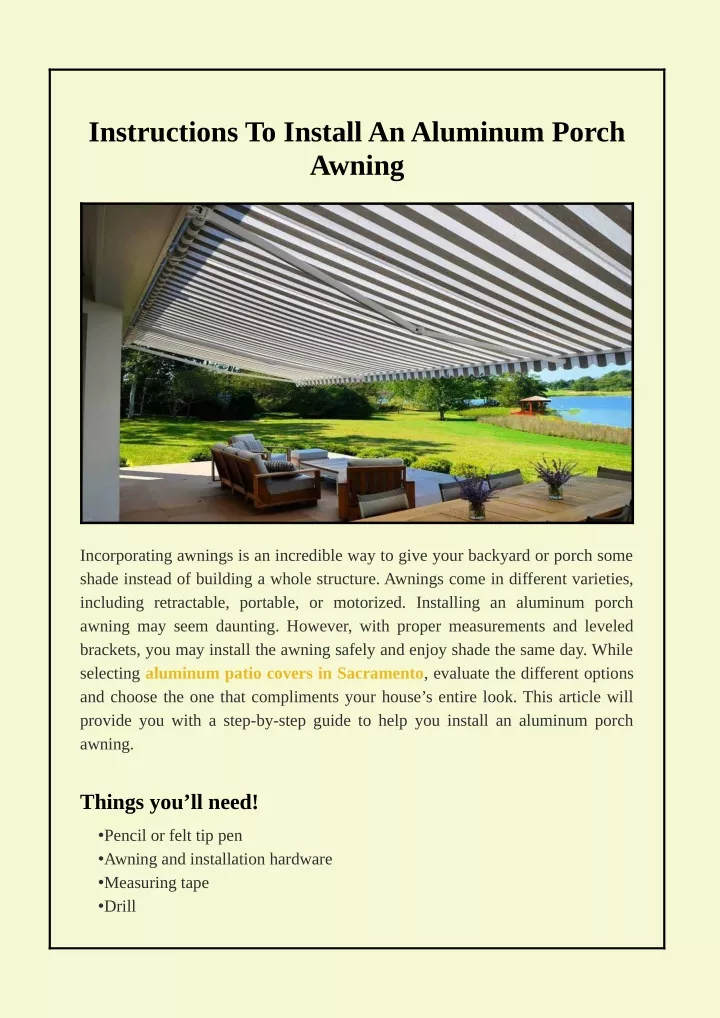
Instructions To Install An Aluminum Porch Awning Incorporating awnings is an incredible way to give your backyard or porch some shade instead of building a whole structure. Awnings come in different varieties, including retractable, portable, or motorized. Installing an aluminum porch awning may seem daunting. However, with proper measurements and leveled brackets, you may install the awning safely and enjoy shade the same day. While selecting aluminum patio covers in Sacramento, evaluate the different options and choose the one that compliments your house’s entire look. This article will provide you with a step-by-step guide to help you install an aluminum porch awning. Things you’ll need! •Pencil or felt tip pen •Awning and installation hardware •Measuring tape •Drill
•Screwdriver Read also: Essential Maintenance Tips for Your Patio Covers Instructions to install Making your measurements: • Measure the complete length of your door and divide that number in half to get the exact center of the door. Draw a line above the door’s center using a felt tip pen or a permanent marker. • Now, measure the entire awning length and divide the measured number by 2 to get the exact center. Subtly mark your awning with a felt tip pen or a permanent marker. • Allow a second person to assist you in lifting the awning into the place of installation. Draw a line from end to end below the awning with a pencil or a felt tip. Consider the length of the brackets and align the center of the awning with the center of the door. • Your awning will come with 2 to 3 brackets you need to mount on the wall before installing. Now, hold up your brackets at both ends and in the center, using your straight line as a guide, and use a pencil to mark where you need to drill them in. Attaching the hardware: • Consider reading your awning instructions for the exact drill bit to use. Drill holes for mounting brackets, following the markings you drew. Usually, the recommended drill bit is 12-14mm. Use a masonry drill bit to drill into brick. Before drilling bigger holes in vinyl siding, drill a tiny hole in reverse with your drill. To drill through stucco, wrap the area with painter’s tape to minimize dust. Then, drill through the tape into the wall. • Line up your brackets with the holes and put in the screws that came with your awning. Using a level, ensure that each of your brackets is straight. You may also need to attach a nut and a washer to each screw. Consider checking your instruction manual to discover what hardware you should be using.
• Allow a second person to assist you with this step. Reach for the brackets that came with your awning. Insert your awning into the brackets, assuring it is straight and snug. The awning’s end should not protrude from the brackets on either side. However, if your awning doesn’t fit into the brackets, possibly they aren’t correctly aligned. You may need to remove them and use a straight line and a level for correct alignment. • Depending on your awning’s brand, attach it to the brackets with either a large bolt or a screw. Attach the hardware through the brackets over the awning bar to keep it in place. Ensure the hardware you use is secure and your awning does not wobble. • To expand the awning, spin the large metal lever on the side of it. Now, you’re ready to enjoy the shade! ********************Source********************* https://articlerod.com/how-do-you-install-an-aluminum-porch-awning