Download
1 / 10
110 likes | 262 Views
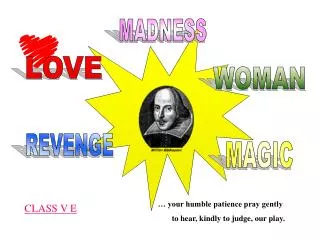
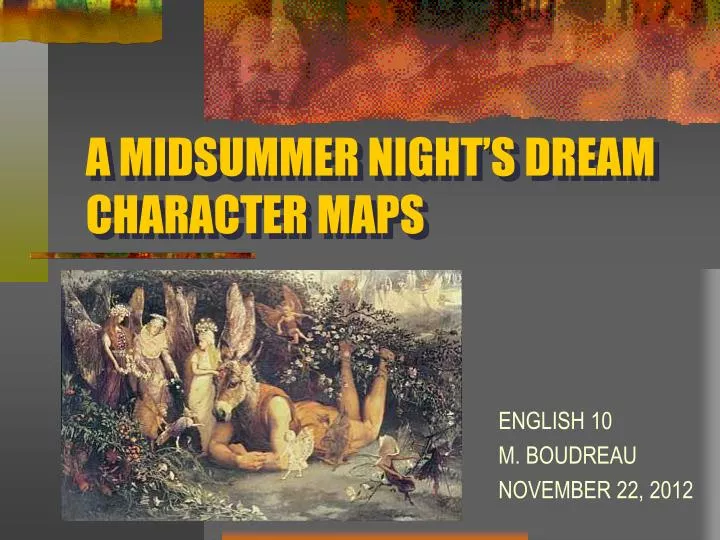
A MIDSUMMER NIGHT’S DREAM CHARACTER MAPS. ENGLISH 10 M. BOUDREAU NOVEMBER 22, 2012. CHARACTER MAPS. You will be producing a Graphic Map, examining a character from the play.

E N D
A MIDSUMMER NIGHT’S DREAMCHARACTER MAPS ENGLISH 10 M. BOUDREAU NOVEMBER 22, 2012
CHARACTER MAPS You will be producing a Graphic Map, examining a character from the play. This will take the form of a graphic representation of important events, people and places in your character’s life.
MATERIAL NEEDED a copy of A Midsummer Night’s Dream and… • 5-10 sheets of white paper (letter sized) • 1 large sheet of paper • Markers or coloured pencils • Glue • Scissors
STEP 1 (10 minutes) BRAINSTORM all the significant events in the life of your character. These can be happy memories, sad memories, scary memories, important places, important people etc.
STEP 2 (20 minutes) DRAW images or symbols that match each event listed on separate sheets of paper.
STEP 3 (10 minutes) NARROW your choices to the 8 - 10 most important events in the character’s life as told in the play.
STEP 4 (20 minutes) ARRANGE these events in chronological order (which happened first, next, last) and… REPRESENT these events on a large sheet of paper.
STEP 5 (20 minutes) CUT OUT the images you completed during step 2 and GLUE them in the correct order on the large sheet of paper.
STEP 6 PRESENT your map to the class.