Download
1 / 85
991 likes | 1.69k Views
FIRE VEHICLE. DRIVER ORIENTATION ( BL-300 ). Objectives. Understand BLM policies and regulations related to driving government engine. Perform a driver walk-around inspection and engine start-up. Perform a vehicle pre-trip inspection. Describe and demonstrate the S.T.O.P. procedure.

E N D
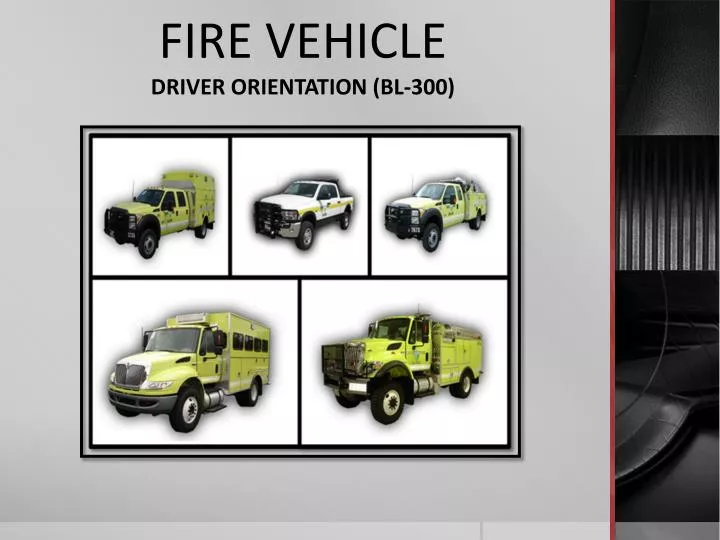
FIRE VEHICLE DRIVER ORIENTATION (BL-300)
Objectives • Understand BLM policies and regulations related to driving government engine. • Perform a driver walk-around inspection and engine start-up. • Perform a vehicle pre-trip inspection. • Describe and demonstrate the S.T.O.P. procedure. • Correctly start and move a parked vehicle to another location.
Objectives • On an established course, demonstrate vehicle handling and maneuvering capabilities, including but not limited to, positioning, parking, and braking. • Demonstrate how to properly use spotters. • Describe and demonstrate effective spotting techniques.
Bureau Policies • Drug-free Workplace • Vehicle Operation • Seat belts • Speed limits • Driver’s license • Current state driver’s license • Commercial driver’s license (CDL) instruction permit • Commercial driver’s license (CDL)
“S” – Seat belts on? • Seat belts must be available and used in Bureau motor vehicles. • The driver is responsible for asking passengers if they are wearing their seat belts and ensuring that they are worn at all times.
“T” – Tools and equipment stowed? • Ensure all tools and equipment is secured in cabinets or approved storage areas before moving the vehicle.
“O” – Operator (driver) and crew have situational awareness? • Determine if the vehicle is clear of hazards. • Never back up without checking behind the vehicle. • Utilize spotters (vehicle occupants) whenever possible.
“P” – Personnel accounted for? • Ensure all personnel are accounted for and their locations are known. • Communicate your intentions to all personnel before moving the vehicle.
Driver Walk-Around • Driver is responsible to complete a 360° visual inspection of the vehicle and surrounding area every time the vehicle is moved. • The walk-around begins as you approach the vehicle then continues in a clockwise or counter clockwise fashion.
Driver Walk-Around • What are you looking for before moving the vehicle? • Rocks in the way of tires • Debris or rocks stuck in duals or elsewhere • Holes, berms, ditches, etc. • Large stumps or downed trees • Chock blocks secured and in place • Gear or equipment around or under vehicle
Driver Walk-Around • What are you looking for before moving the vehicle? (continued) • Vehicles parked near the vehicle • Personnel relaxing or sleeping around vehicle • Body damage that occurred while away from the vehicle • Cabinet doors closed • Side and overhead clearance in and near the path your vehicle will travel
Pre-trip Inspection/Preventative Maintenance Check • Should not be confused with the driver walk-around • Performed daily to determine the vehicle’s readiness by finding problems that might cause breakdowns or accidents • Documented in the Fire Equipment Maintenance Procedure and Record (FEMPR)
Vehicle Danger Zones • When working in close proximity of a moving vehicle, there is an increased risk for an accident to occur. • Given the design and size of our vehicles and the environment we work in, operator danger zones (blind spots) exist.
Green and Yellow Danger Zones • Whenever possible operate in the green areas. • Usually offer visual contact with the operator. • Yellow areas are limited visibility and mirror use areas. • Notify the driver when you are in these areas.
Red Danger Zones • Never work in red zones when vehicle is moving. • Notify operator prior to entering red zones. • Stay out of the red zone where the driver has no visual.
The red area in front of the vehicle extends 10 feet out from the front bumper. You must have visual contact with the driver when working in front of the vehicle beyond the 10-foot range. Red Danger Zones
Using Spotters • There are always blind spots around the vehicle. • Always use a spotter to compensate for danger zones (blind spots) located in the driver’s field of vision. • If alone, get out and do a visual yourself.
Use spotters when… • Backing up • Performing off-road operations • Hazardous conditions exist • Low vehicle clearances exist • Narrow/confined driving spaces exist
Spotter Techniques • Spotter should have a clear line of sight to the driver. The spotter’s position should be located as follows: • Forward movement: Outside the forward red zone on the driver side windshield • Backing movement: Outside the rear red zone on the driver side mirror • Spotter and driver should understand a common set of hand signals.
Spotter Techniques • Spotter and driver need to communicate on the planned action. • Where to park • Distance from the shoulder • Areas of travel • Spotter distance from vehicle varies; however, visual contact between spotter and driver shall not be compromised. • If driver loses sight of the spotter, the driver should stop immediately and determine the spotter’s location.
Situational Awareness (SA) • SA is your perception of what is happening or has happened around the vehicle you are driving. • Lack of good situational awareness is the leading cause of vehicle-related accidents.
Situational Awareness Crew Safety • Know the location of your crewmembers/personnel at all times. • Never move a vehicle without ensuring all personnel are clear of the area. • Communicate with personnel on vehicle maneuvers before moving. • Honk your horn before moving the vehicle.
Situational Awareness Crew Safety • Understand vehicle danger zones. • Keep personnel where the driver can see and communicate with them (green zones) • Driver visibility is limited. (yellow zones) • Stay out of the blind spots and away from the tires (red zone and black areas)
Identify any concerns you see in these pictures. Situational Awareness
Safety Equipment • Make sure safety equipment is being used correctly. • Seat belts • Driver’s seat • Mirrors • Back-up alarm
Pay Attention to the Surroundings • Pay attention to your immediate surroundings. • Road conditions and type • Road shoulders • Clearances • Ground cover and type What is going on in this picture?
General Surroundings • Pay attention to your general surroundings. • Rock piles/rock outcroppings • Ravines/cliffs • Damaged roads and/or bridges
Ingress and Egress • Never drive a vehicle into a place where egress is difficult. • Parked vehicles need to face towards an exit (escape route). • Do not block traffic or other fire vehicles.
Ingress and Egress (continued) • Leave keys in unattended fire vehicles during fire operations. • Roll up windows. • When possible, park the vehicle in the black. • Watch for hot spots under tires. • Watch for venting fuel for vehicle fuel tanks.
Fireline Hazards and Parking on a Hill • Be aware of fireline hazards (snags, rolling debris, etc.) when parking the vehicle. • Parking on a hill: • Turn the wheels uphill or into the inside/embankment • Firmly set the emergency brake or parking brake. • Put shifter in “Park” (if automatic transmission) or in a forward gear (if manual transmission); do not leave in neutral. • Turn off engine. • Chock the wheels.
Battery ON/OFF Switch • If equipped, the battery ON/OFF switch is located inside the driver side door next to the driver’s seat.
Driver Adjustments • Driver’s seat • Mirrors
Power Control Console • Some vehicle models have a power control console that contains the power switches to operate the following features:
Emergency Lighting Switches • These switches activate the emergency lights.
Body Master Switch • The body master switch provides power to the fire package. • This switch must be on to operate the lights, pump, or hose reels.
Pump Master Switch • If equipped, the pump master switch provides power to the pump panel. • This switch must be on to operate the pump.
Radio Master Switch • If equipped, the radio master switch provides power to the radio. • This switch must be on to operate the radio.
Automatic Transmissions • Vehicles equipped with an automatic transmission must be in the “Park” (“P”) position or “Neutral” (“N”) position to start.* * Varies by transmission manufacturer/model
Manual Transmissions • The clutch must be depressed to start vehicles equipped with manual transmissions.
Starting the Vehicle • Ignition • Start the engine by turning the ignition key. • Allow glow plugs to warm up • Ensure water and glow plug indicator lights go off. • Alarms and Buzzers • All alarms and buzzers should sound or come on. • Wait for alarms and buzzers to go off before releasing the parking brake.