Download
1 / 10
110 likes | 559 Views
Power Point Feynman Diagram Tool Kit. Scott Goelzer CERN HST Program 2002. Contents. Title Contents Instructions Templates Examples. You should NOT run this presentation. Use it in the Power Point editor. Before you start.

E N D
Power Point Feynman Diagram Tool Kit Scott GoelzerCERN HST Program 2002
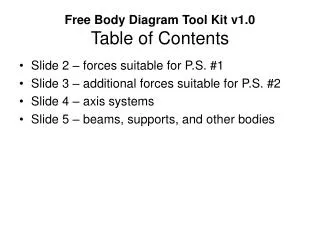
Contents • Title • Contents • Instructions • Templates • Examples You should NOT run this presentation. Use it in the Power Point editor
Before you start... • You should not alter this file. It is your template for other work. • Save a copy <save as…> • Then open your new copy and use it to work. • Oddly, you will be using this file to compose diagrams, not present them. Now would be good
Making Diagrams • In the following slides you will find some parts of Feynman diagrams that you can rearrange to make your own. • Remember, Power Point is a drawing program not a painting program. Each element is an object layered on the screen.
What to do... • The idea will be to take the pre-made objects and arrange them in a diagram Mess Finished
How to do it... • When you are at the tools page, select <Duplicate Slide> from the <Insert> menu • Simply grab the objects and drag them into place. • Duplicate objects with <Cmd-D>, flip objects with the <Draw Menu> • Arrow keys can move a selected object with greater precision. Alt and Control Key can increase precision.
Hints • Select two or more objects and choose <Group> from the <Drawing> menus. This will allow these objects to be treated as one. This is good when pasting into word. • Need a particle I did not provide? Use MS Equation Editor by double clicking on a previously made particle and then editing. Closing the Eqn. Editor will update P.Point.
After you finish... • If you do not care for the colors, double click on an object and change the color. If you select more than one object, you may change all objects simultaneously. • To save an image to disk just <Save As> a GIF file. Then you can make it a transparent GIF in a graphics file.
Real Particles Your tool kit: Anti Particles Bosons Particles
Bremstrahlung Radiation Decayingto a positron / electron pair