Download
1 / 17
240 likes | 537 Views
Shielded Metal Arc Welding. Process. Arc melts base metal and end of electrode. Melted electrode crosses arc and is deposited in the weld pool to form weld bead. Protective covering of electrode is melted which forms gas that protects weld from Oxygen & Nitrogen. Slag is formed. Dangers.

E N D
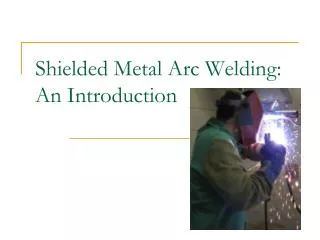
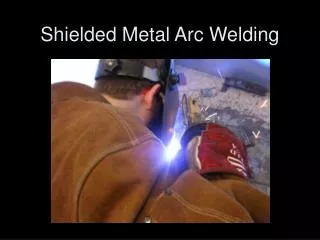
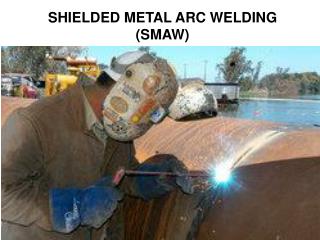
Process • Arc melts base metal and end of electrode. • Melted electrode crosses arc and is deposited in the weld pool to form weld bead. • Protective covering of electrode is melted which forms gas that protects weld from Oxygen & Nitrogen. • Slag is formed
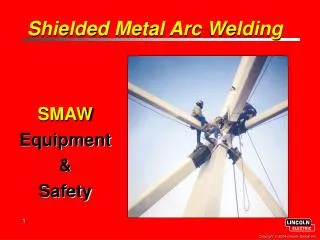
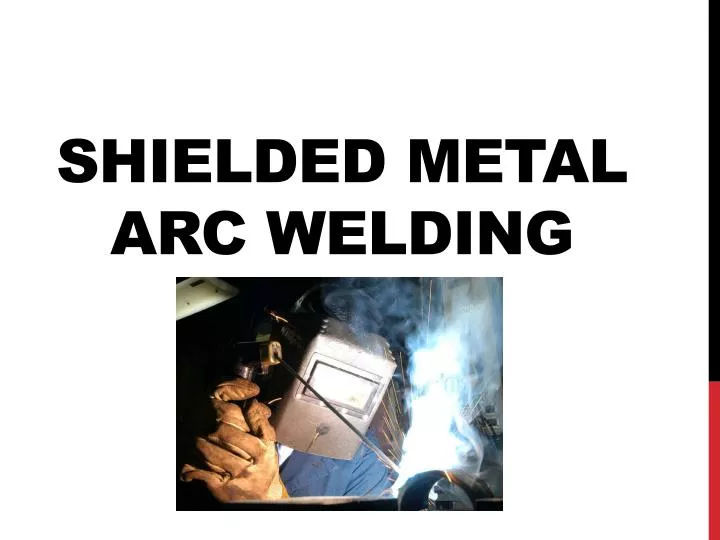
Dangers • Arc- heat, light, molten metal. Infrared & ultraviolet light • Surrounding area- clear area of combustible materials • Electrical Hazards- do not service welding machines, do not use near water • Ventilation- remove smoke and fumes, keep head out of fumes
Terminology • Crater- depression at the end of a weld • DC- current that flows in only one direction • Flux- Material used to prevent oxides • Arc blow- arc wanders from intended course. Caused by magnetism
Terminology • Reversed polarity- arrangement of arc welding leads where wok is negative pole and electrode is the positive pole • Straight polarity- arrangement of arc welding leads where work is the positive pole & electrode is the negative pole
Equipment • Power source- constant • Work clamp • Electrode clamp • Lead
Equipment Set-up • Protective equipment • Prepare machine • Connect ground • Set voltage • Turn on machine • Put electrode in holder
Machine Settings • DC electrode negative (straight polarity) • 105-110 amps
Striking the Arc • Can use a motion like a match • Vertical tapping • If electrode gets stuck, break loose by quick twisting motion.
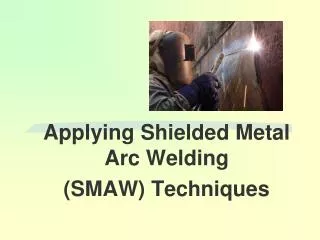
Technique • Goal: Weld should be two electrode diameters wide • Arc length: one electrode diameter • Should sound like frying. • Similar to MIG welding. Slow circles! SLOW. • Work on uniformity • After completing weld you must clean with a chipping hammer and wire brush
Tips • Hold electrode nearly vertical • Reverse direction of travel at end of bead to fill crater • Remove slag before doing another bead
Troubleshooting • Arc too long- uneven crackling sound, spatter, bead too wide • Arc too short- buzzing sound, electrode sticks to work, narrow bead • Travel speed too low- large bead, warped plate • Travel speed too fast- bead too narrow
Advantages • Simple • Cheap upfront cost • Low cost • Great penetration • Change quickly between applications • Many applications- electrode choices • Mobile • All positions • Outdoors
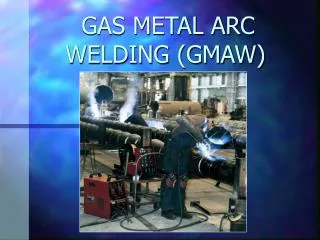
Disadvantages • Doesn’t deposit as much metal as GMAW • Frequent stops/starts (electrode length) • Lacks efficiency- electrode stubs • More difficult • Time- slag removal