Download

1 / 63
701 likes | 1.85k Views
Preliminary Edentulous Impressions & Custom Tray Fabrication. Rola M. Shadid , BDS, MSc. What Is An Impression?. A negative likeness or copy in reverse of the surface of an object . Principles & objectives of impression making. T o provide support, retention & stability for the denture

E N D
Preliminary Edentulous Impressions & Custom Tray Fabrication Rola M. Shadid, BDS, MSc
What Is An Impression? A negative likeness or copy in reverse of the surface of an object
Principles & objectives of impression making • To provide support, retention & stability for the denture • Act as a foundation for improved appearance of lips & cheeks • Maintain the health of oral tissues.
Making impressions • Examination • Selection of impression material • Selection of tray • Seating of the patient • Preliminary impression • Primary cast • Custom tray • Border molding • Final impression
Seating of the patient Maxillary impression Patient in upright position* The operator stands behind and to the right side of patient (for right handed operator) Mandibular impression Patient in upright position The operator stands facing the patient to the front and to the right side
Preliminary Edentulous Impressions • Preliminary impressions (slightly overextended) needed for diagnostic casts for making custom trays
Tray Selection • Stock tray • Perforated vsnonperforated* • Dentulous, edentulous, and combination tray
Tray Selection for Alginate (irreversible hydrocolloid) Preliminary Impression • 5 mm of clearance with soft tissues • Extends to reflection of mucosa • Hydrocolloid requires bulk for accuracy, strength and stability
Tray Selection • Maxillary trays should extend slightly beyond vibrating line • Mandibular trays should cover the retromolar pads
Tray Selection • Stock edentulous trays • Short flanges, so don’t distort vestibule
Tray Modification • Trays can be modified with compound or wax to extend the tray if desired
Preliminary Edentulous Impression Materials • Alginate (irreversible hydrocolloid) is used for edentulous primary impression and it is indicated when there are flappy ridges or severly undercut ridges • Impression compound is also used for edentulous primary impression
Preliminary edentulous impression materials When using alginate : • Make stiff or thick for edentulous impression • The mouth should be relatively dry • Elastic so suitable for ridges with severe undercuts • Not very dimensionally stable so should be poured within 15 minutes
Alginate Storage • Deteriorates if: • Stored above 54°C • Repeated openings • Deterioration results in: • Thin mixtures • Reduced strength • Permanent deformation
Alginate Storage • Pre-weighed pouches • Easier dispensing • Minimizes contamination • Bulk material • Store in cool dry airtight containers
Patient Preparation • Practice placing tray • Rotate into place
Patient Preparation for alginate impression • Dry the mucosa • Dry the maxilla with folded gauze • Don’t let patient close
Mark Vibrating Line • Prior to making preliminary & final impressions
Locate & Mark the Hamular Notch • Use the head of a mirror, to palpate the notch • Mark with an indelible marker
Indelible Marks Prior to Impression • Transfer to the impression and cast when it is poured • Eliminates error • Tissue should be relatively dry to be most effective
Measuring Powder • Fluff (shake) the powder, measure, tap and flatten the scoop with powder • Follow the manufacturer’s instructions
Mixing • Smooth creamy homologous mixture that glistens • Not granular or lumpy
Cheek Retraction • Use a mirror, instead of a finger • Provides better visibility, more maneuverability
Alginate Syringe Technique • Critical anatomy registration* • Retromylohyoid area • Hamular notches • Retrozygomal area • Deep palatal vaults • Occlusal surfaces of teeth in partially edentulous
Syringe Preparation • 12 cc disposable syringe • Cut off the tip where it begins to curve • 5 mm orifice
Plunger Preparation • Vaseline plunger • Ease of extruding material • Use: • Uncontaminated bowl, spatula • Regular set alginate
Syringe Loading • The assistant loads the syringe nearly full from the back and inserts plunger
Preliminary Impressions • Place the anterior portion of the tray first, then seat the posterior of the tray
Preliminary Impressions • Less gagging if the patient is lying down • Mold the vestibular area • Pull on the cheeks and lips to activate muscles and frena
Preliminary Impressions • Support the tray during setting - do not leave the patient • Movement causes distortion
Preliminary Impressions • Break peripheral seal • Pull up cheek and let air in • Wiggle tray until hear seal break
Preliminary Impressions • Once seal broken, remove quickly (to avoid permanent deformation) • Evaluate impression • Pour within 15 minutes
Preliminary Impressions • Rinse thoroughly with water • Gently shake to remove excess water
Preliminary Impressions • Spray with disinfectant to coat all surfaces, wrap in wet paper towel and seal in a bag
Some Problems • Vestibular material may not join the tray material • Saliva contamination • Insufficient material
Some Problems • Trapping tongue under the tray will result in underextension of the lingual vestibule
Pouring a Model • Weighing powder, measure water • Vacuum mix (less time, stronger cast)
Pouring a Model • Casts should be a minimum of 12 mm (0.5 inch) in thinnest part • Separate the alginate impression from the stone cast after 45 minutes
Trimming Casts • Trim the base on the model trimmer parallel to the residual ridges • Leave the vestibular reflection intact for making a custom tray
Trimming Casts • All anatomical surfaces should be included with minimum voids
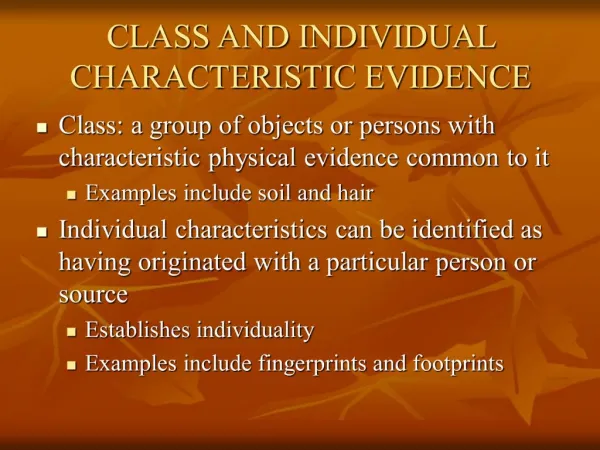
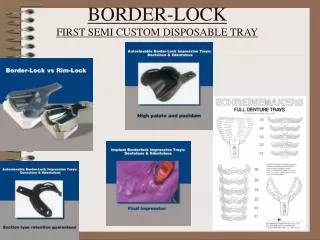
Custom Trays • Individualized trays for making final impressions • Made on a diagnostic cast
Purpose of a Custom Tray • Improve retention (border molded) • Minimize: • Impression material distortion • Uniform thickness • Rigid tray
Purpose of a Custom Tray • Minimize: • Tissue distortion • Less viscous material • Accurately adapted tray • Costs • less impression material used