Download
1 / 36
360 likes | 471 Views
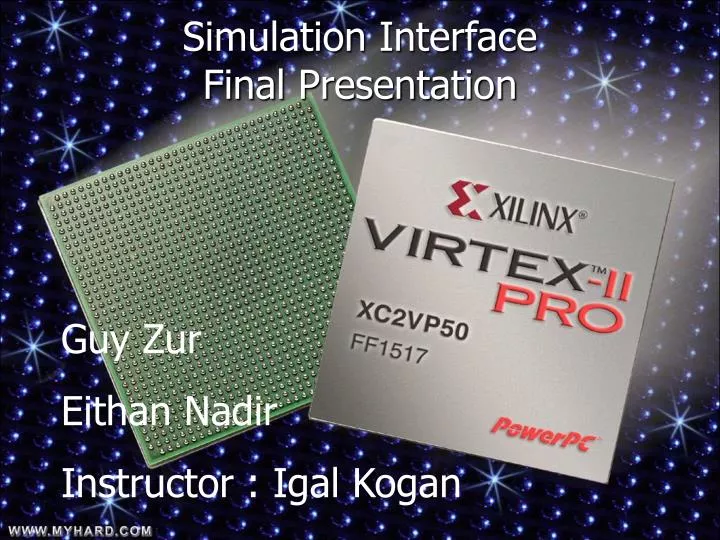
Simulation Interface Final Presentation. Guy Zur Eithan Nadir Instructor : Igal Kogan. Project Goal:. Quick Overview:. Design and implementation of a generic signal generator for test procedures of DUT (Device Under Test) by using SoPC platform. Requirements.

E N D
Simulation InterfaceFinal Presentation Guy Zur Eithan Nadir Instructor : Igal Kogan
Project Goal: Quick Overview: • Design and implementation of a generic signal generator for test procedures of DUT (Device Under Test) by using SoPC platform.
Requirements • Receive global parameters from a PC. • Processing of the parameters using Embedded 32bit RISC Processor. • Design of the unique signal generator controllers. • Design a feedback module with digital signal processing capabilities.
Virtex II Pro RAMs Logic Cells PowerPC 405 Core Project resources • Evaluation Platform • XUPV2P • FPGA : Virtex II Pro platform architecture • Processor : PowerPC 405
Working Phases1.General Tester • Transmit time slot data through the Ethernet. • Store it in the ddr, using PPC. • Extract the data from the ddr DIMM by control_unit ip and deliver it to the DUT. • A special arbiter decides who has access to the memory. • Memory controller is based on xilinx’s MIG.
Working Phases1.General Tester - Work plan • Understanding the DIMM : • mimic the data received by the Ethernet a function that writes to the memory. • Implement a DIMM controller using Xilinx CoreGen. • Impliment the Arbiter. • Simulate the controller with the arbiter. • Make a DIMM model to work with the DIMM controller. • read this data using hardware interface and write it to the uart. Done √ Done √ Done √ Fail X
Working Phases1.General Tester - Work plan • Impliment the control Unit and test it with the uart. • Impliment the Xsga Controller. • Understand the VGA interface. • Design a debug mode which write a test pattern picture on the screen
2.General Tester – DDR-PLB Controller
Working Phases2.General Tester – DDR-PLB Controller • Changing the strategy above. instead of using a DMA, PPC = DMA controller. • The read fifo of the Control unit produce interrupts- according to these interrupts the system will then fetch the next streaming data from the memory.
Working Phases2.General Tester – DDR-PLB ControllerBuilt Design
Working Phases2.General Tester – DDR-PLB Controller • We assumed that by working with processor clock of 300Mhz , using the 64bit of the plb and reading 16bit@100Mhz, We can produce the proper rate.
Working Phases2.General Tester – DDR-PLB ControllerControl Unit
Working Phases2.General Tester – DDR-PLB ControllerSVGA CNTRLR
Working Phases2.General Tester – DDR-PLB ControllerSimulation • We simulated the design in Hdl simulation tool • Surprise: The plb uses only the lower 32 bits. • Result: We had severe timing problem. • We couldn’t simulate the interrupt controller, but in general, our control unit seemed to work fine and the special control unit drivers seemed to work properly. • We’ve enabled user logic address range support, software slave registers and interrupt support. • We have spent a great deal of time understanding the IPIF protocol of the above interfaces with the plb_controller.
Working Phazes2.General Tester – DDR-PLB ControllerReal Time • The above design has been built and compiled • On the hard way we discovered that the interrupts are called ALL THE TIME. we are actually in a constant underflow state of the fifo inside the control unit. • THIS IS A DESIGN BUG THAT COULDN’T BE RESOLVED
Working Phazes2.General Tester – DDR-PLB ControllerReal Time • Demonstration
3. Transmit a Bitmap Picture Over the Ethernet
Working Phases3.General Tester – Transmit a Bitmap Picture Over the Ethernet
Working Phases3.General Tester – Transmit a Bitmap Picture Over the EthernetServer and Client • Using Xilnet Libs we have developed a server that listens to a specific port. • Whenever a client requests the server response and receives data.
Working Phases3.General Tester – Transmit a Bitmap Picture Over the Ethernet • We have designed a special FTP protocol. The client transmit size of a file (in bytes), and instantly transmits the file.
Working Phases3.General Tester – Transmit a Bitmap Picture Over the EthernetPLB tft controller • While on the previous phase we used a pure hardware controller, the plb_ftf controller is xilinx’s IP designed to write to the xsga controller using the plb. • We have written a function that produces test pattern and transmits it to the screen. • As well as another function that accesses a memory address (on the ddr – because of the size) and transmits it to the screen.
Working Phases3.General Tester – Transmit a Bitmap Picture Over the Ethernet • Demonstration + Bug Explanation
4. Streaming Data Transmission using the Svga controller
Working Phases4.General Tester –Streaming Data transmitted using the svga controller
Working Phases4.General Tester –Streaming Data transmitted using the svga controllerstream Unit
Working Phases4.General Tester –Streaming Data transmitted using the svga controllerstream Unit • Receives data (4BX1KB)from the opb, store it in a DPR 4BX2K. • This dpr is divided into two. Once a load command receives the msb of read address is switched. • Write clock is opb clk • Read clock is screen clk • The memory range is divided such that in base address located control registers test mode/ switch addresses ranges. • Base address + 0x10= write data to the dpr.
Working Phases4.General Tester –Streaming Data transmitted using the svga controllerstream Unit- internal
Working Phases4.General Tester –Streaming Data transmitted using the svga controllerSoftware • Accessing the stream unit is divided to two as mentioned above. Lets follow the next example • //clearing the control registers • XIo_Out32(XPAR_STREAM_UNIT_0_AR0_BASEADDR, 0x0); • //turn test mode on • XIo_Out32(XPAR_STREAM_UNIT_0_AR0_BASEADDR , 0x1); //test mode • //switch memory array primary to secondary or vice versa. • XIo_Out32(XPAR_STREAM_UNIT_0_AR0_BASEADDR , 0x2);//load done • //clear the req above • XIo_Out32(XPAR_STREAM_UNIT_0_AR0_BASEADDR , 0x0); // clear load
Working Phases4.General Tester –Streaming Data transmitted using the svga controllerSoftware //write pixels data: • for(i=0; i< 1024;i++) • { • //set RGB values • r=0xFF; • g=0; • b=0; • pixel=r; • pixel= pixel << 8; • pixel += g; • pixel= pixel << 8; • pixel += b; • XIo_Out32(XPAR_STREAM_UNIT_0_AR0_BASEADDR + 0x10+i*4,i); • } • XIo_Out32(XPAR_STREAM_UNIT_0_AR0_BASEADDR , 0x2);//load done • XIo_Out32(XPAR_STREAM_UNIT_0_AR0_BASEADDR , 0x0); // clear load STREAM_UNIT_Load (XPAR_STREAM_UNIT_0_AR0_BASEADDR);
Working Phases4.General Tester –Streaming Data transmitted using the svga controller Demonstration
Working PhasesGeneral Tester –Streaming Data transmitted using the svga controller • Questions ? ? ?